Getting Started
January 12th, 2017


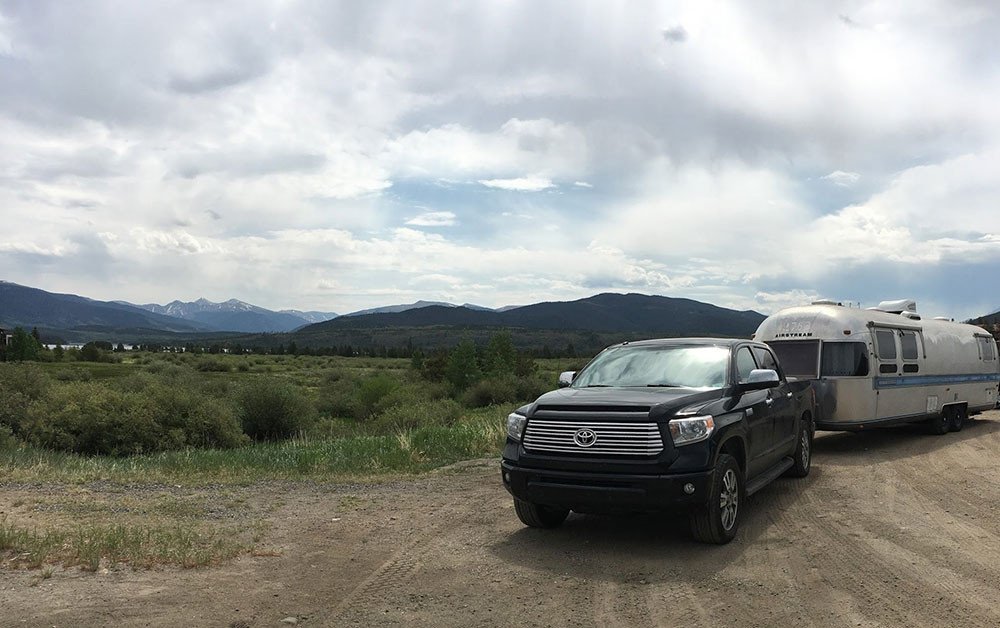
My wife and I purchased a 1984' 31' Excella about a year ago, took it on some trips out west from Kansas (Arizona, Colorado, Utah) with our young children (now 3 and 6) and are loving the experience.
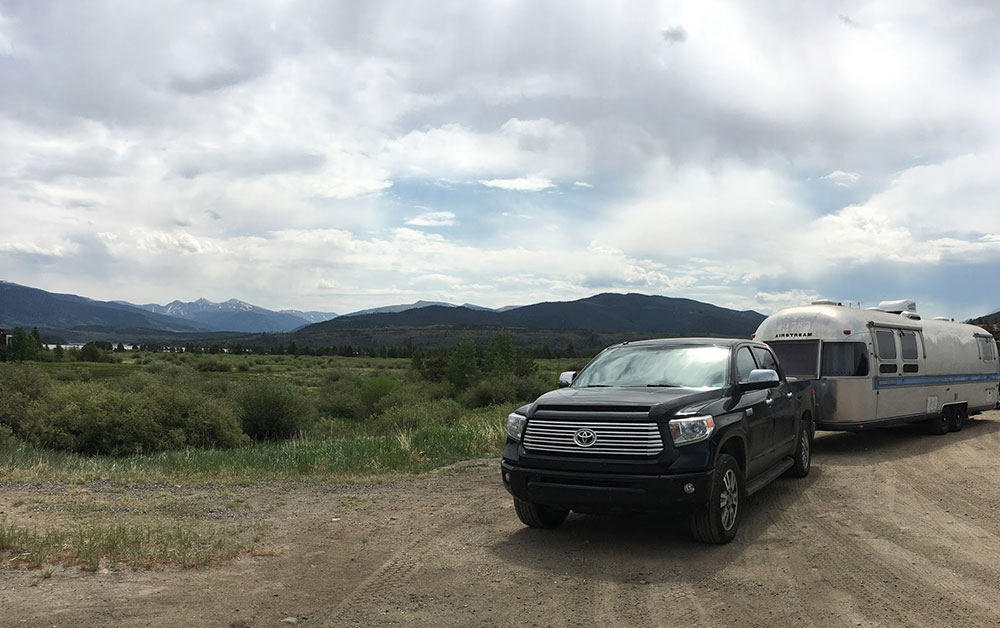
The previous owners had done some cosmetic changes, including changing out the rear bed area with a full king platform and mattress, painting the interior walls, replacing curtains, and installing floating wood floors. We stripped the original goucho to the frame and put in new foam and fabric, which helped with smell, but did not do a lot in the way of comfort. We had also replaced the toilet during our "Out West" trip because of smelly issues (the new floating floor that they had installed was thicker than the original flooring and the old toilet couldn't seal properly resulting in sewer gas venting into the cabin - we replaced that bathroom section with vinyl and a new a toilet for good measure and that took care of the issue). We also replaced the tires and brakes before going through the mountain passes of Colorado.
However, because our 30+ year old trailer needs a bit more "love" (she's very smelly, has soft spots in floor, shows obvious signs of water leaks/damage, et cetera), and because we love projects like this, my wife and I decided to go all in and do a complete overhaul. As so many have done before us, I wanted to share our experience with the hope that someone might find the information useful, and also so that we can benefit from the broad experience of the members of this forum.
Day 1: Our First Challenge - Getting her up the driveway
We live on a hill. Let me rephrase, we live on a ridiculous slope with a driveway approach angle that from day one was the bane of our existence in trying to get our airstream near our house:
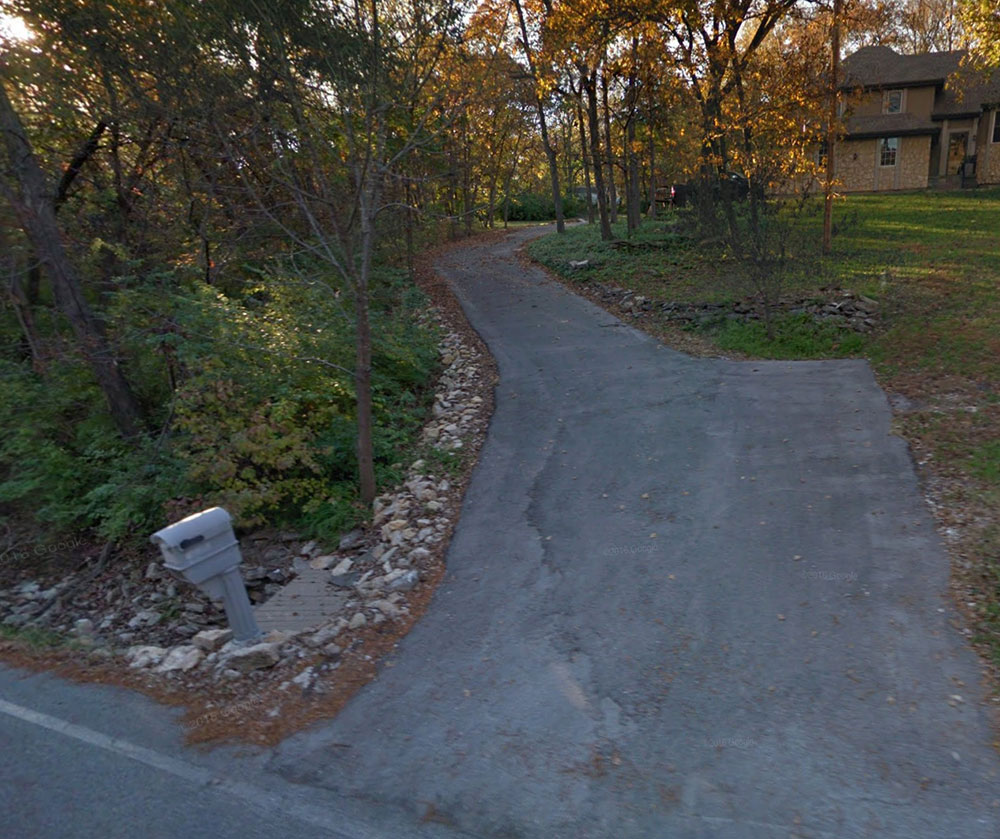
When we purchased the airstream, we knew it was unlikely that we would be able to park it at our house because of this. I was completely new to trailering at that time, and every angle/direction I attempted resulted in the rear of our long trailer bottoming out in the street/driveway (the street runs downhill at an angle opposite of our uphill driveway. Suffice to say we ended up taking it to a storage facility about 5 minutes from our house.
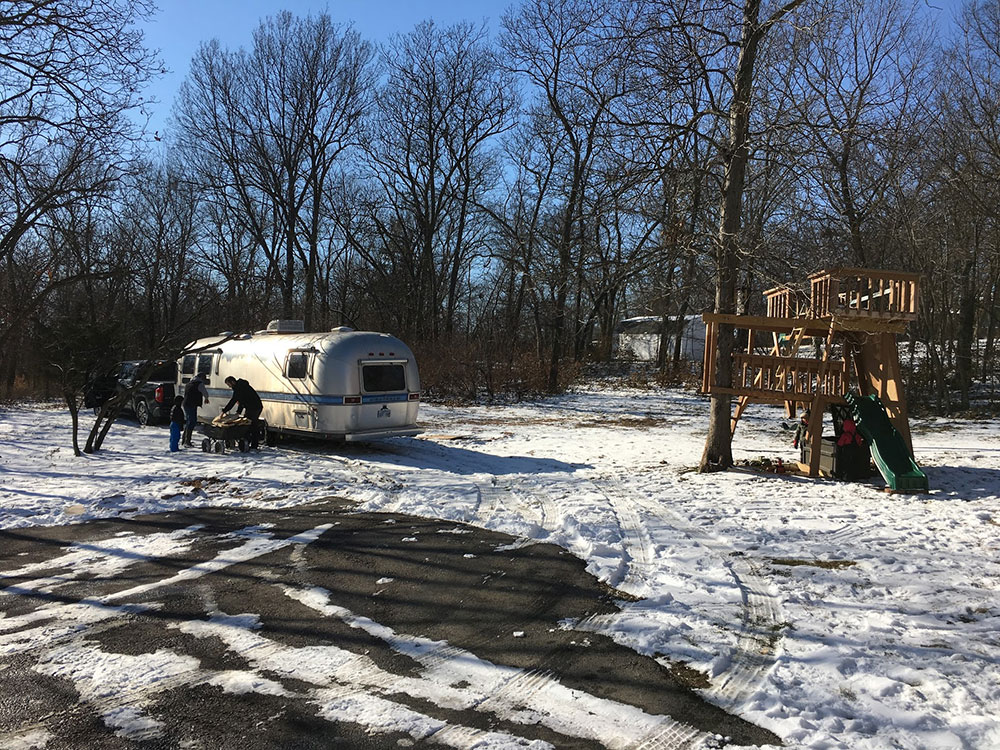
Finally, a year later and after we had mentally committed to doing a full renovation and enlisting the help of our kind neighbor (who used to build trailers), we were able to get Stella up our driveway! (Okay let's be real, I let my neighbor back it up our driveway after doing a three point turn into the grass shown to the right in the picture above. Threading a needle, for sure. Here she sits:
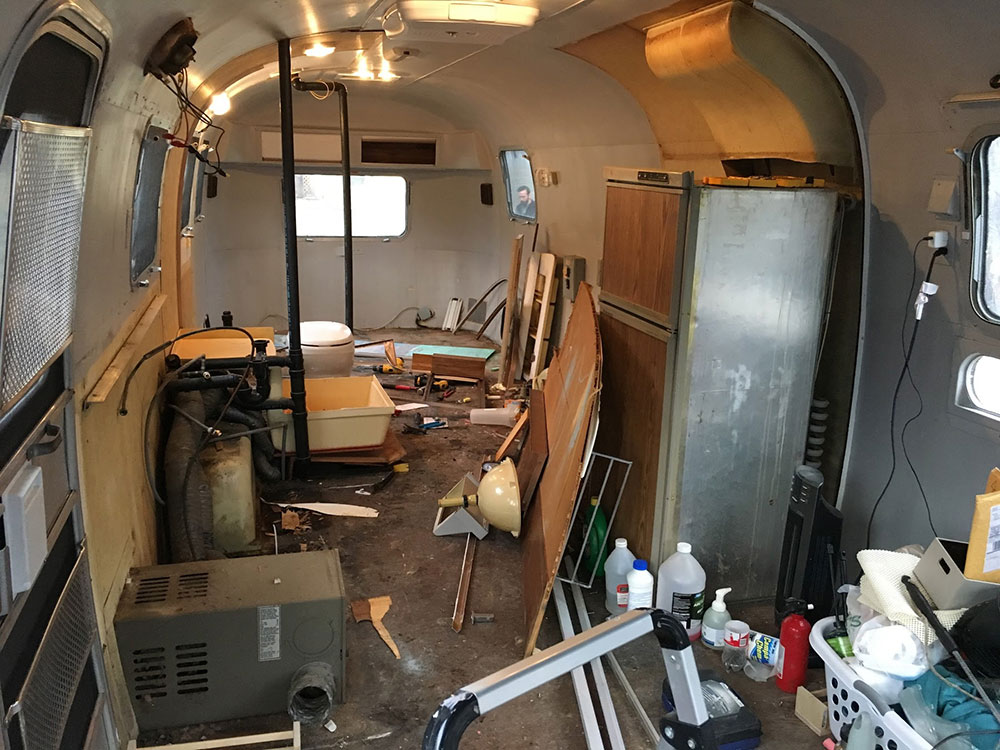
Day 1 Continued: Starting Tear-Out
The first thing we did was remove the goucho (we had previous practice due to our refoaming/upholstering job 6 months back so this went quick):
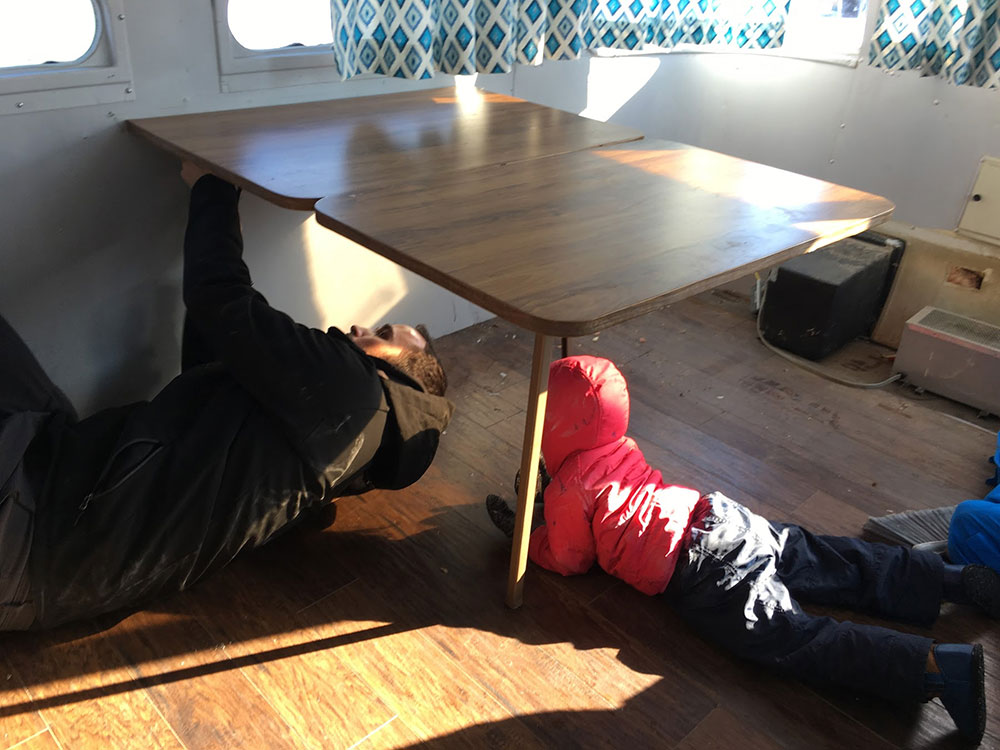
Then the flimsy fold out table:
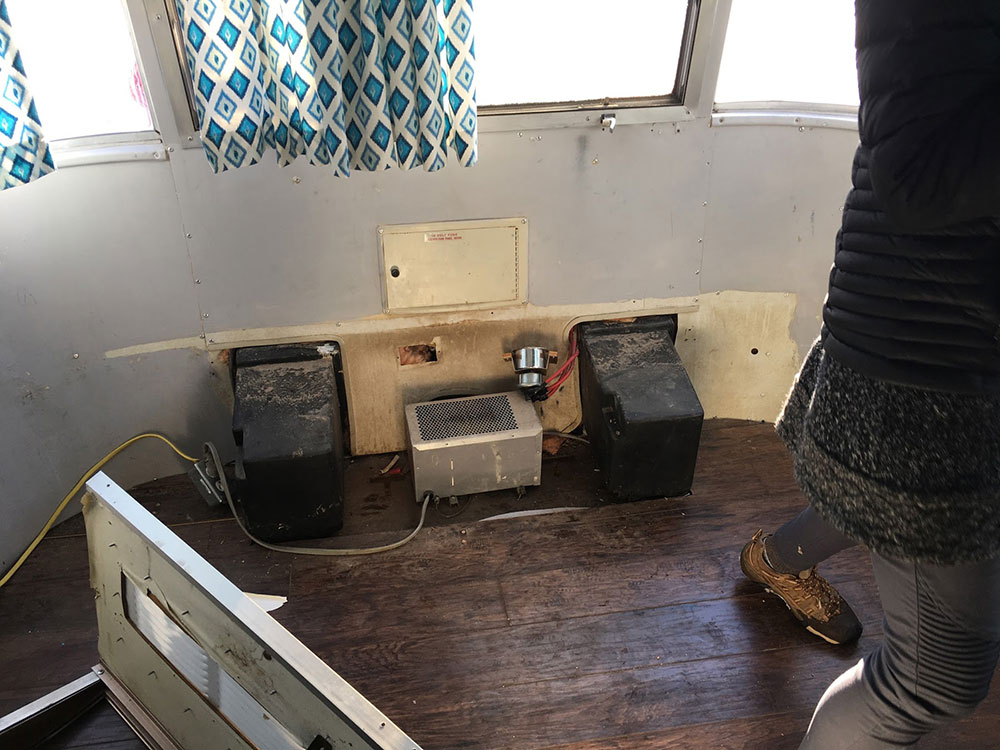
Then the overhead bin above the sinks (which was crumbling apart):
Then the floating floors:
Then the king bed frame, and at that point we ran out of daylight/energy.
Day 2: Removal of Interior Continued
I wish I could say I "tore things up" and got a lot done on the second day, but the credit goes mostly to my wife - I ended up having to do work-work instead of "fun"-work for most of the day. She got a lot done:
I ended up helping the last few hours of the day to help take care of the last of it:
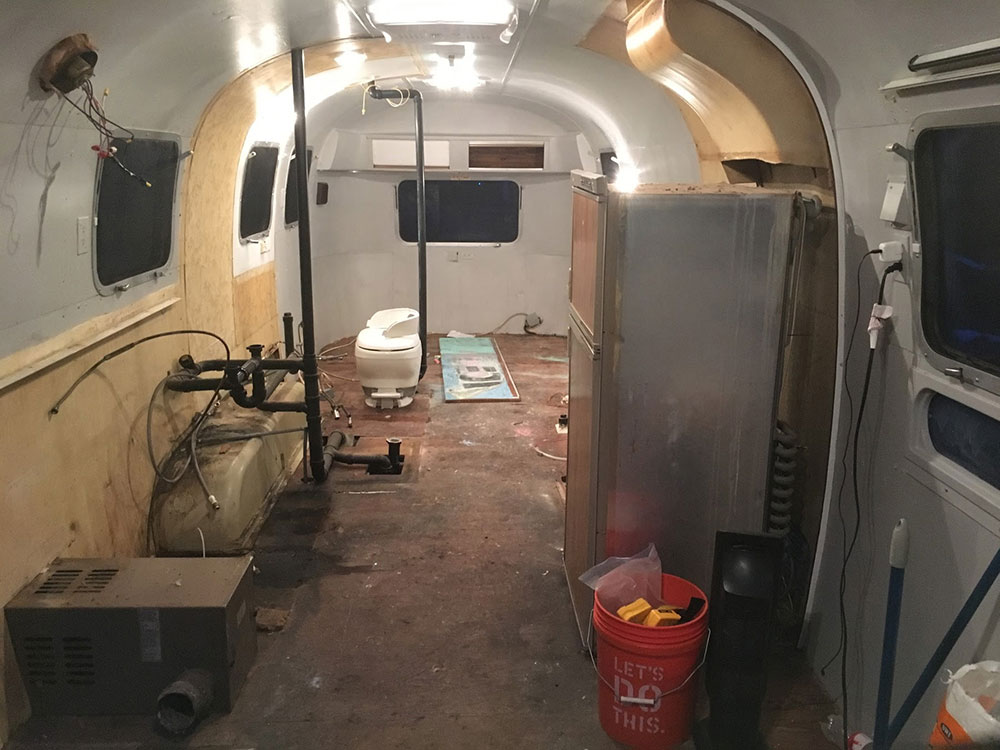
We left the pipes for now until we decide 100% if we're relocating anything (which we probably won't at this point).
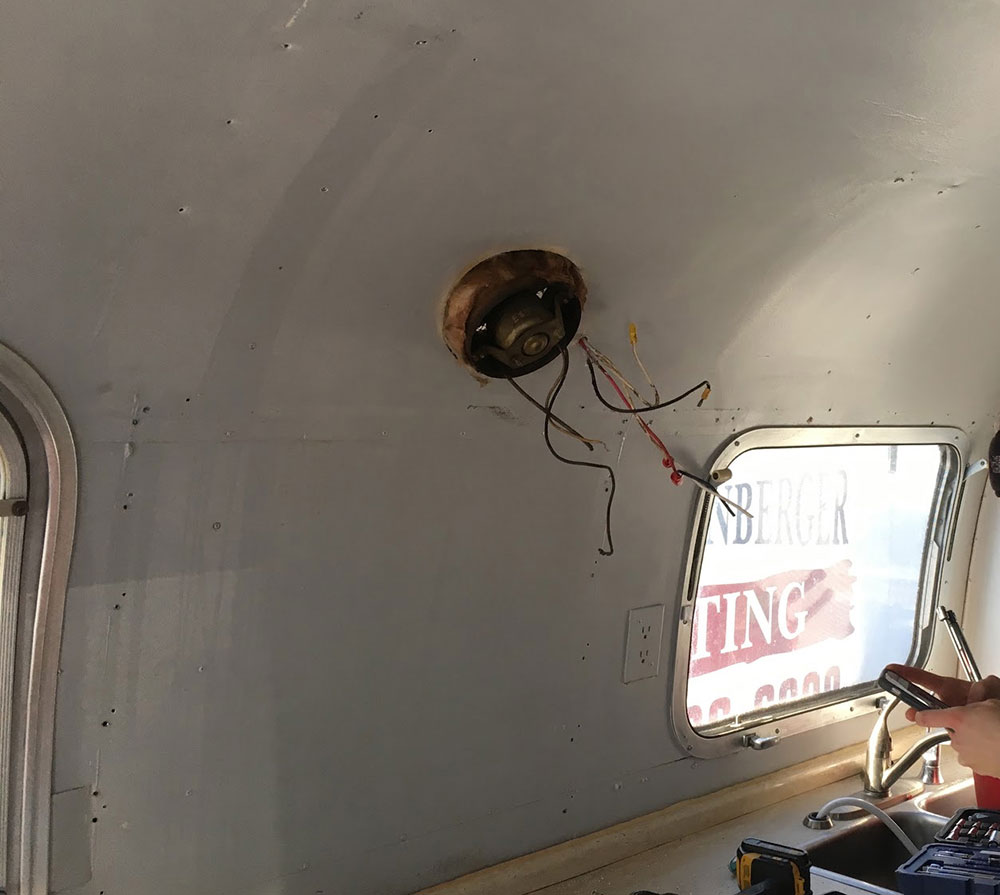
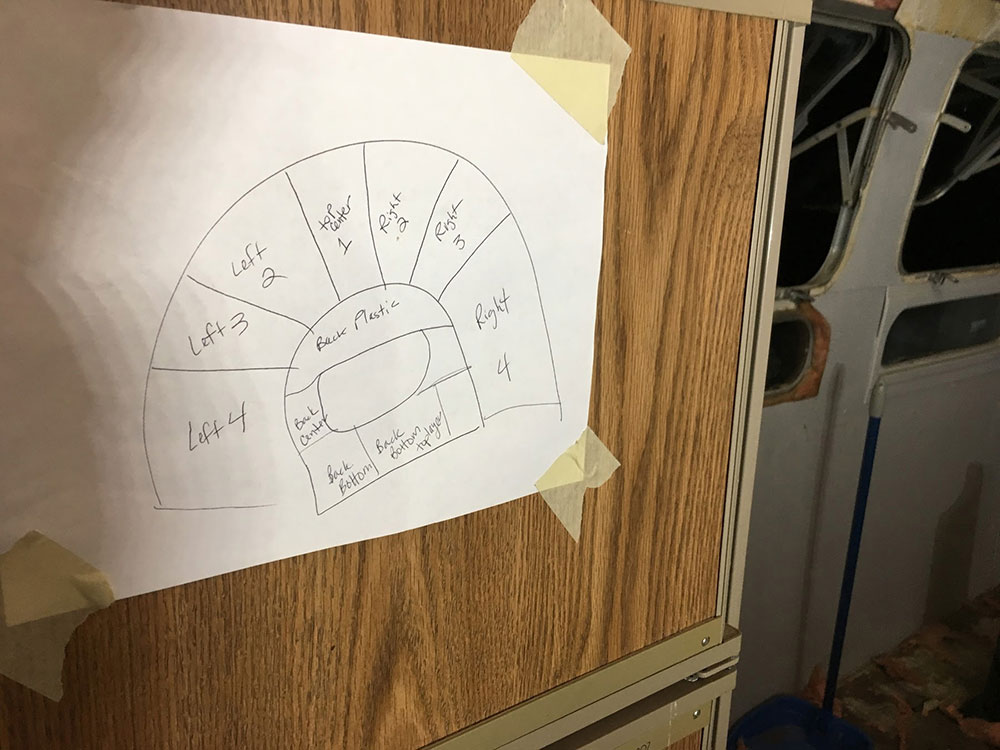
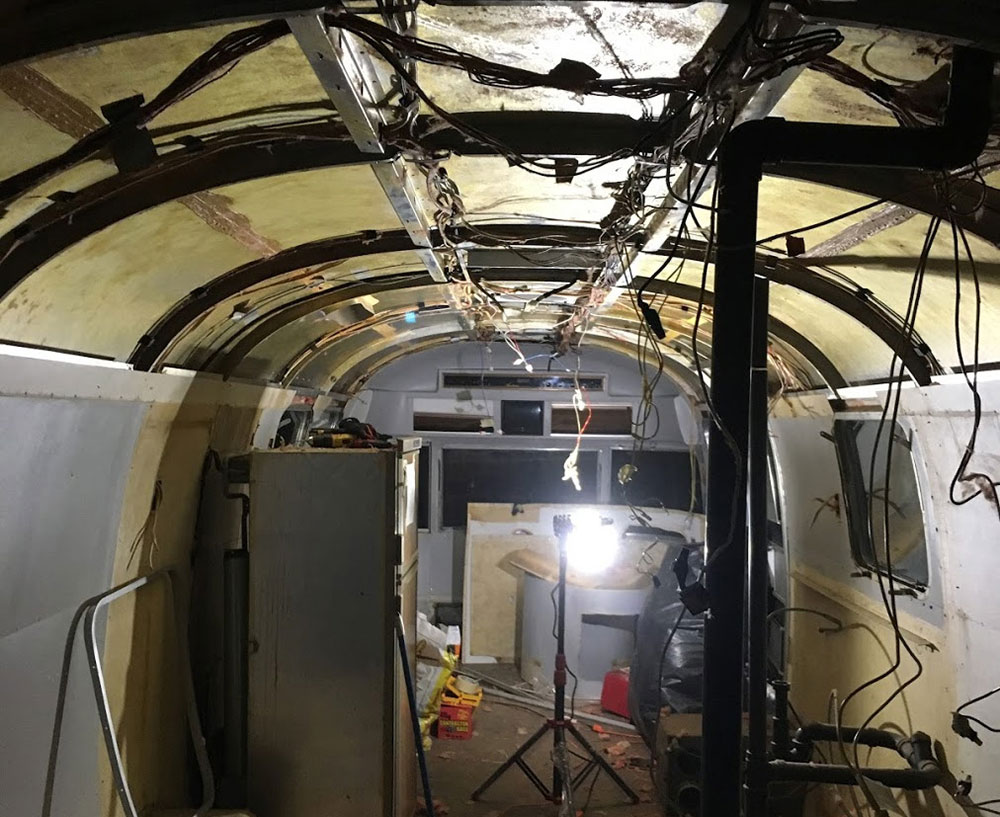
Day 3: Drilling out Rivets and Removing Interior Skins
I should mention to anyone considering this endeavor that one major step we took before removal of each item was meticulously taking photos and videos of placement/orientation/et cetera so we can remember how everything gets puts back together. We are doing this because we're not sure which elements we are going to save/reuse and which we are going to scrap altogether, and better safe than sorry. In preparation for the interior skin removal, we also drew a little diagram (and put labels on each panel) to help ourselves later:
We drilled out a million rivets and got out the upper panels. The insulation was pretty neat - it was like looking at one of those ant farms, except with mice (Hooray!). We have a space heater running because it has been down in the 20s at night. We ended up picking up an LED work light tripod and it's been the bees knees. Here's a picture of my awesome better half all bundled up:
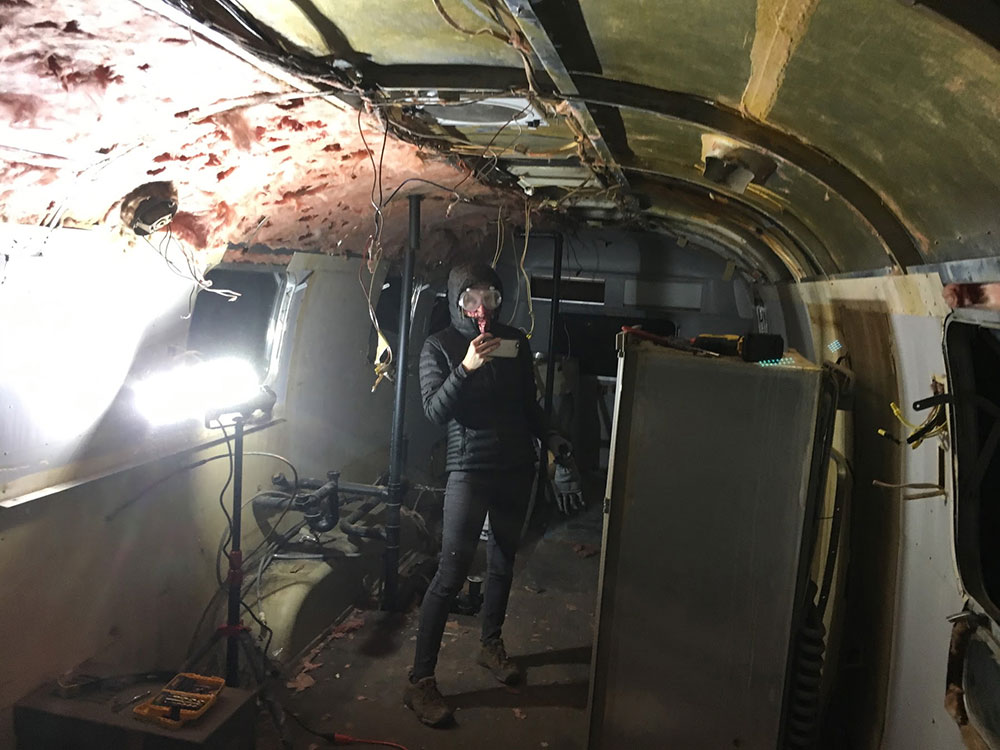
I put the kids to bed and she finished cleaning things up:
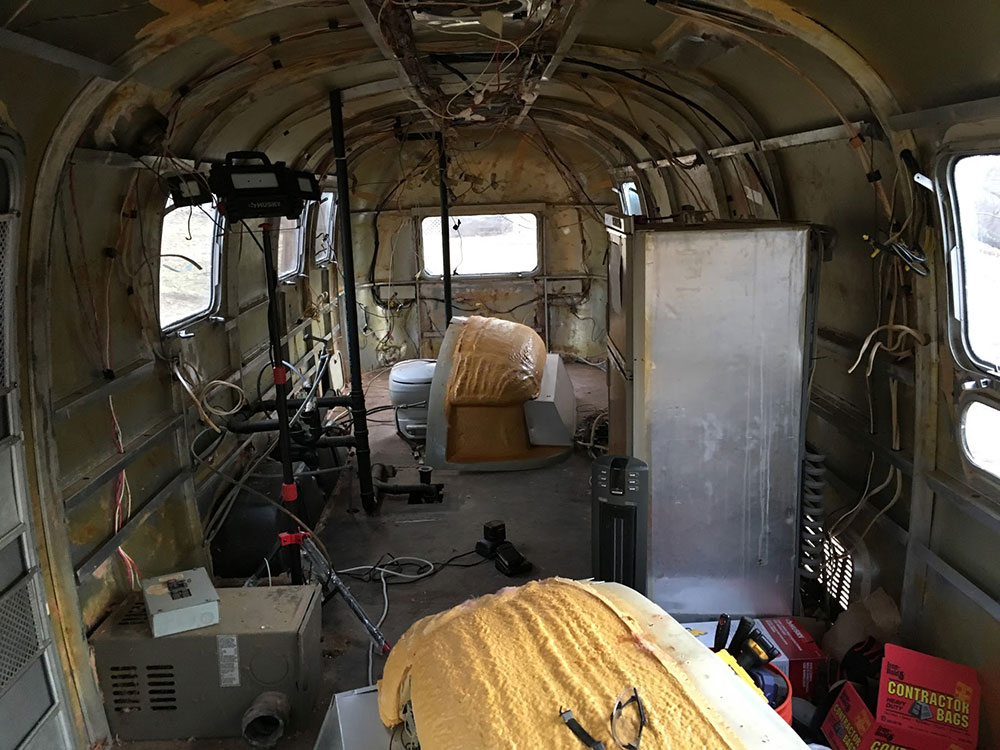
Day 4: More Rivets and Removing Interior Skins
This day was the more tedious of days. My wife bore the brunt of the effort, and an effort it was. Removing a million rivets, electrical fixtures, water hoses, window trim, door trim, and other oddness takes a good amount of time. Still, we were able to finish the remaining skin and insulation tear out and get everything down to the "bones":
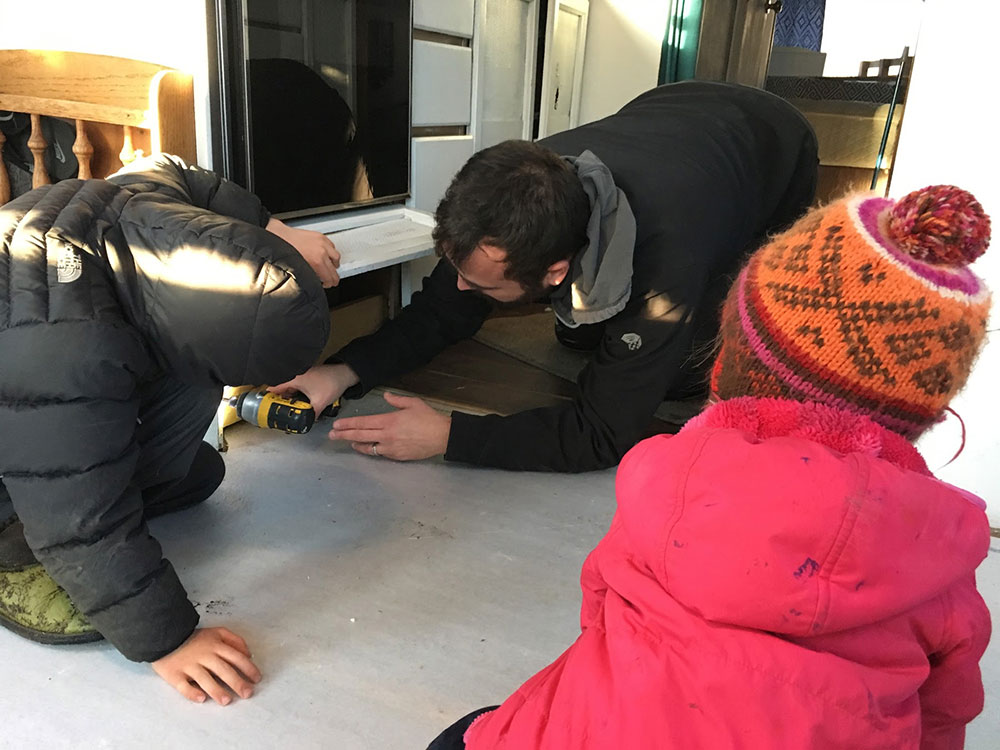
Day 5: Today! Sub Floor Removal
I have done a lot of "research" on floor removal and have read that we need to be very cautious especially around removing the middle section of flooring. My intent is to remove section by section and on every floor frame cross member place a "shim" of the sub floor to prevent the whole thing from dropping. Based on other people's experience with floor removal in terms of how long it takes, combined with a busy schedule today, it's unlikely I will get to the point where I need to worry about it, but feel free to share any additional tips you may have. More to come later.
Posted in the category Renovation.
Other articles to consider
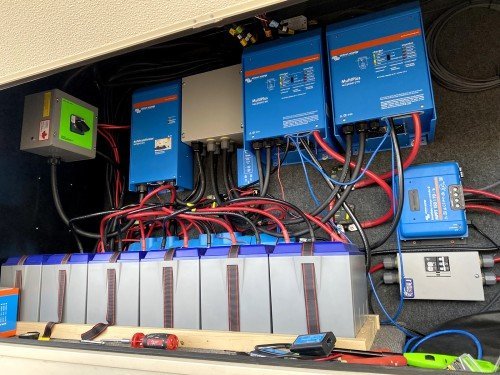 Nov1Dual Victron Multiplus 3000 3-Phase 50amp Power Issues
Trouble in Paradise
...See Details
Nov1Dual Victron Multiplus 3000 3-Phase 50amp Power Issues
Trouble in Paradise
...See Details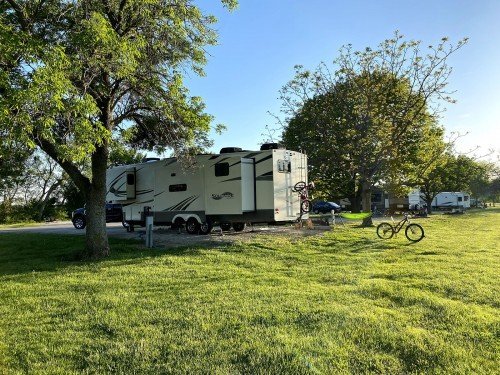 May18Clinton Lake, KS and Sioux City North, SD
We finally are ready to...See Details
May18Clinton Lake, KS and Sioux City North, SD
We finally are ready to...See Details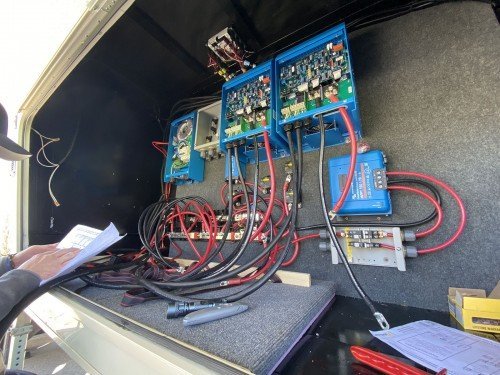 May1(Almost) The First Half of 2020
Wow, what a crazy (almo...See Details
May1(Almost) The First Half of 2020
Wow, what a crazy (almo...See Details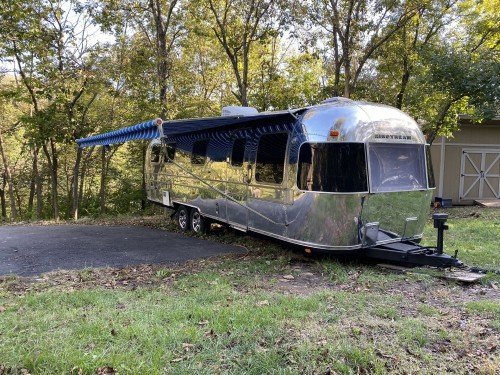 Nov20We Sold the Airstream!As our family continues to get older (an...See Details
