
Just Kidding, No Subfloor Today
January 13th, 2017


Day 5 - Just Kidding, No Subfloor Today
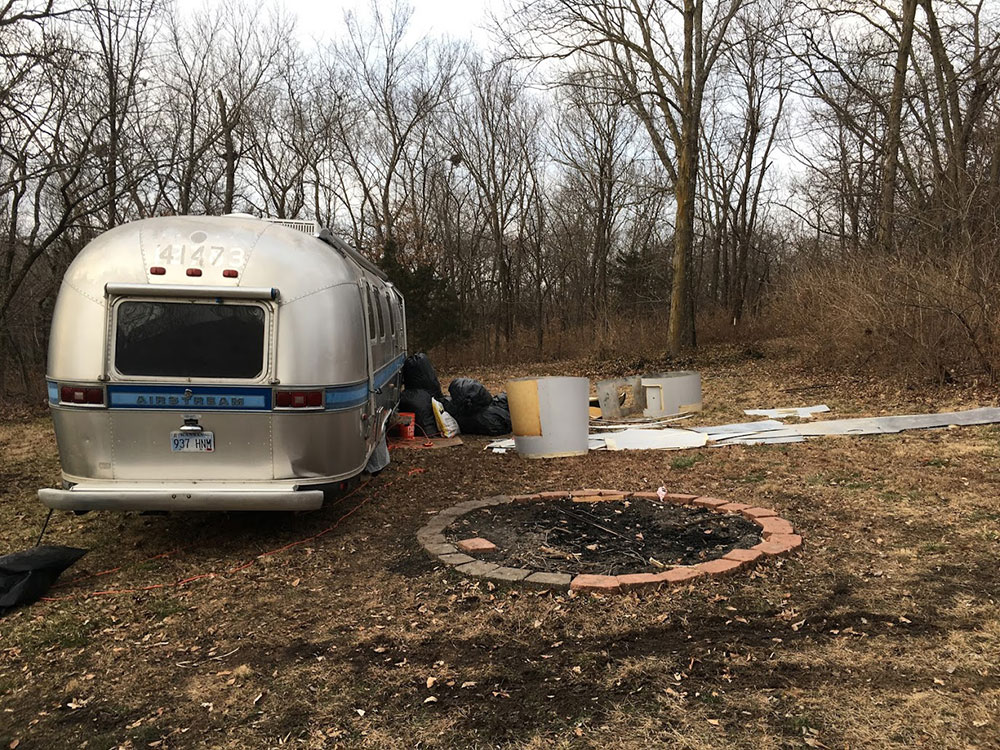
I had fully planned on getting to the subfloor today, but the massive pile of garbage outside our airstream and in our garage demanded our attention:
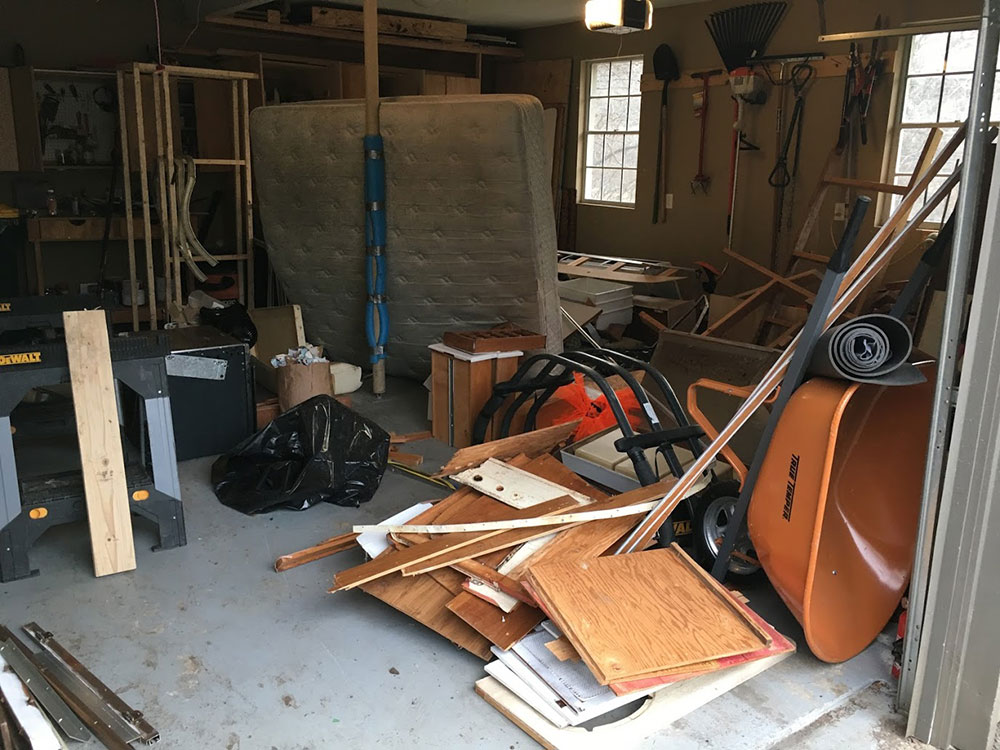
We are starting to look like hoarders:
So we spent the better part of the day organizing the mess, bagging up the garbage, rolling up and tarping the savable items (aluminum siding, et cetera), and running back and forth to the dump with a pickup load at a time.
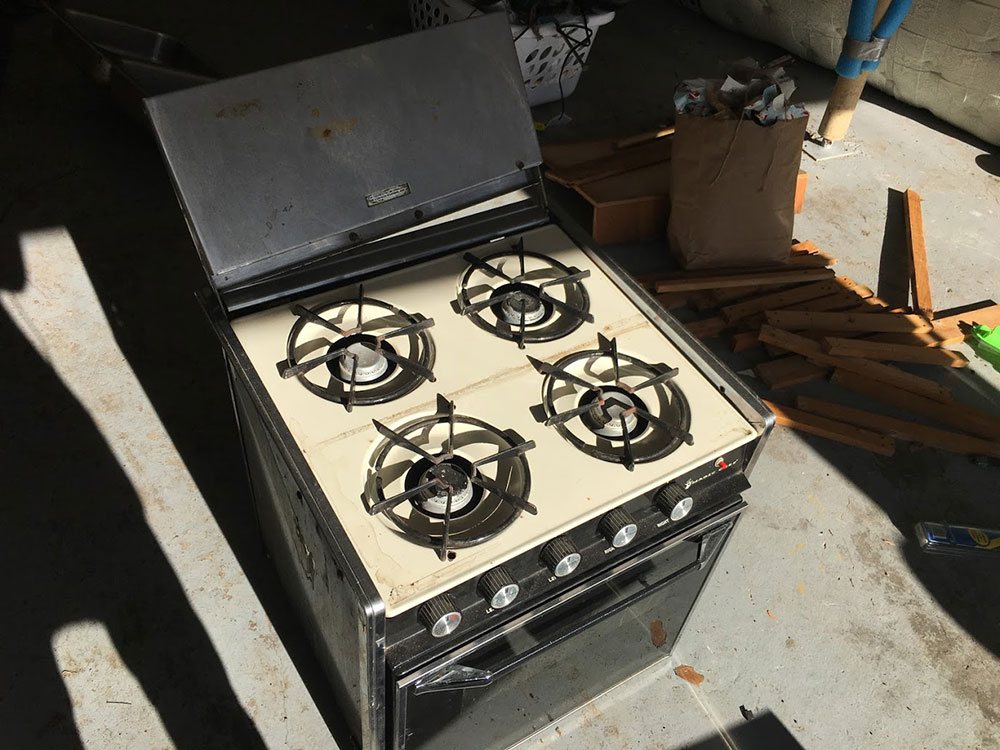
After that, we started taking photos of the items we are planning on selling or giving away for free. For example, the old stove:
After that, I planned on starting the floor tear out, but realized we still had a bunch of "little" things to do before that could go full steam, such as removing the furnace, toilet floor flange, and miscellaneous water/drain pipes - so I made short work of those items:
Throughout all of this I was stressing about the "next steps", specifically "what am I going to insulate with?" and "where will I be able to get reasonably pricing long sheets of aluminum if we want to replace the interior skins?" and "wow there a lot of wires in here, I hope I can sort this all out", and "maybe I should just buy an already completed airstream, what did I get myself into?"
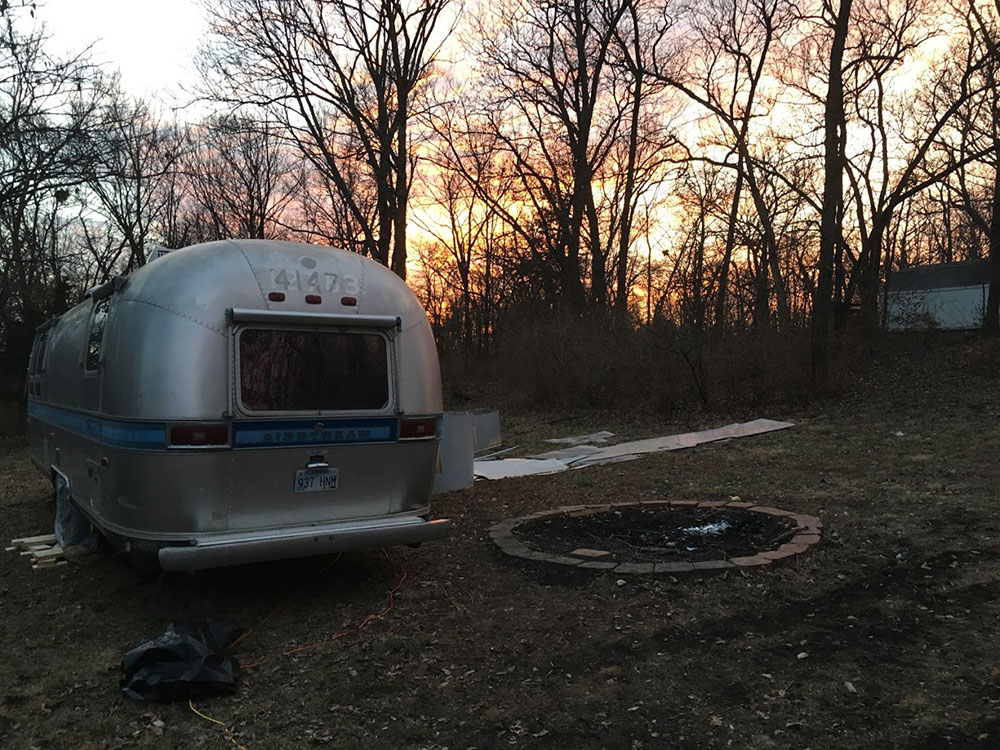
Then I turned around walking back from the house and was reminded how awesome it will be to take this thing out when it's all done:
Day 6 - Subfloor Removal, for Serious
My better half spent the majority of the day scrubbing at the walls removing the last bits of insulation, and also started the process of clearing out the wires we didn't want to keep, and finally cleaning the last bits of insulation and mess from the remaining salvageable wires. I was stuck inside doing no-fun-work, as I like to call it.
While I was working, I took the liberty of figuring some of the answers to my questions from the previous day:
- Insulation - after careful review and consideration, my plan is 1.5" Roxul with the possibility of the foil bubble stuff wedged between it and the interior aluminum skin. Good insulation, but still breathable to hopefully help with potential condensation issues.
- Interior Siding - AirPartsInc.com - how lucky am I, this provider is right here in Kansas City, and the woman I spoke with was tremendously helpful. At this point I think I will end up scrapping all existing interior skins and doing a full replace so it looks as nice as possible.
- Shower Pan - Oops, these are apparently very expensive to replace, and mine is currently buried at the dump. However, it seems Inland RV has a decent price, especially compared to other places I looked (does anyone here know of/recommend another vendor for the wheel well shower setup?)
- Wheel well Covers - our interior side wheel well colors were a bit rough. Looks like Inland RV has those too (and a bunch of other stuff)
One other big thing I did was start a Google Spreadsheet to list out all of the items we will need to purchase/obtain to complete this project. The list will continue to grow I'm sure, but having it helps me keep my mind straight.
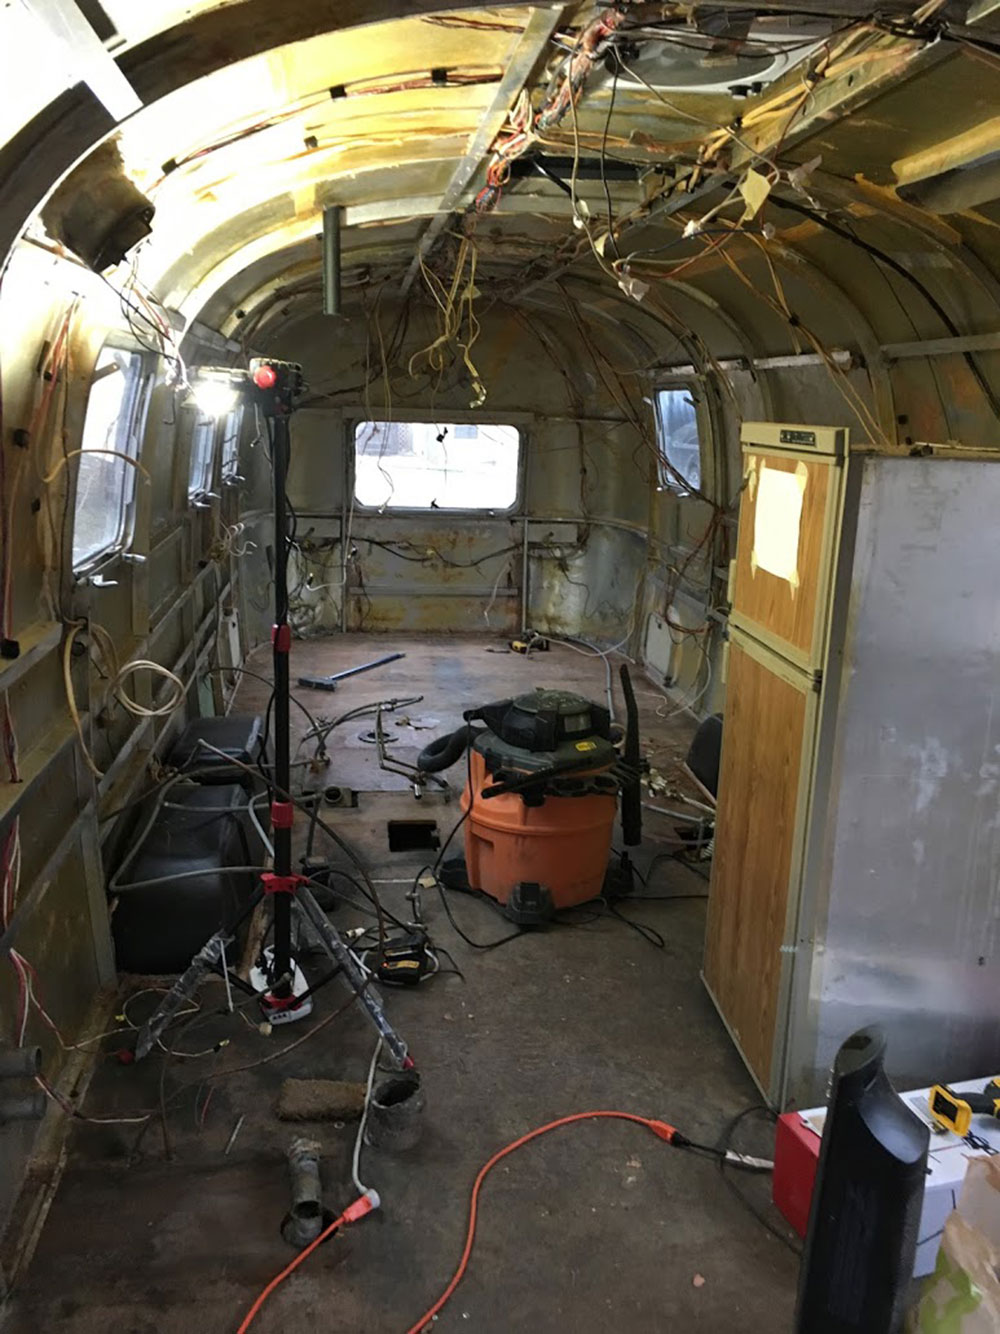
After wrapping up work-work, I spent about two hours starting to tear out the floor. Knowing that the shell is held up largely by the floor, I opted to trim away at the floor about 4-6 inches from the edges, and then plunge out around each bolt in the middle areas. It went pretty fast, using only a circular saw, hammer, and flat pry bar - in about 2 hours I was able to have two thirds of the trailer ripped up and most of the leftover middle bolts taken out:
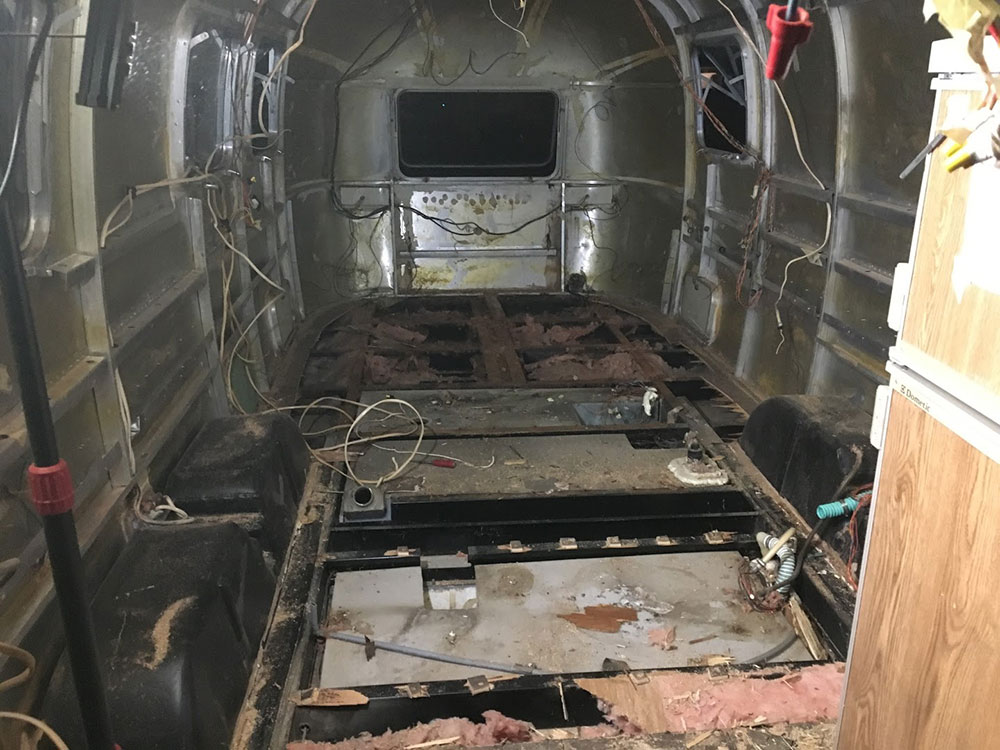
The frame looks pretty good, some surface rust that we will grind off and then a few coats of the Rustoleum Rust Reformer should do it. Belly pan looks great too.
I'll finish the rest of the subfloor removal (sans the strip around the outside edge) tomorrow.
A week or so back I ordered a Progressive Dynamics PD4655V converter-charger to replace the EXTREMELY loud one that was in our unit. Before it got too late I ran to Home Depot to get some fuses, wire, and other supplies to test it out. I grabbed one of the lights that was on the 12V set of lights from the interior of the airstream, hooked it all up, and it worked!
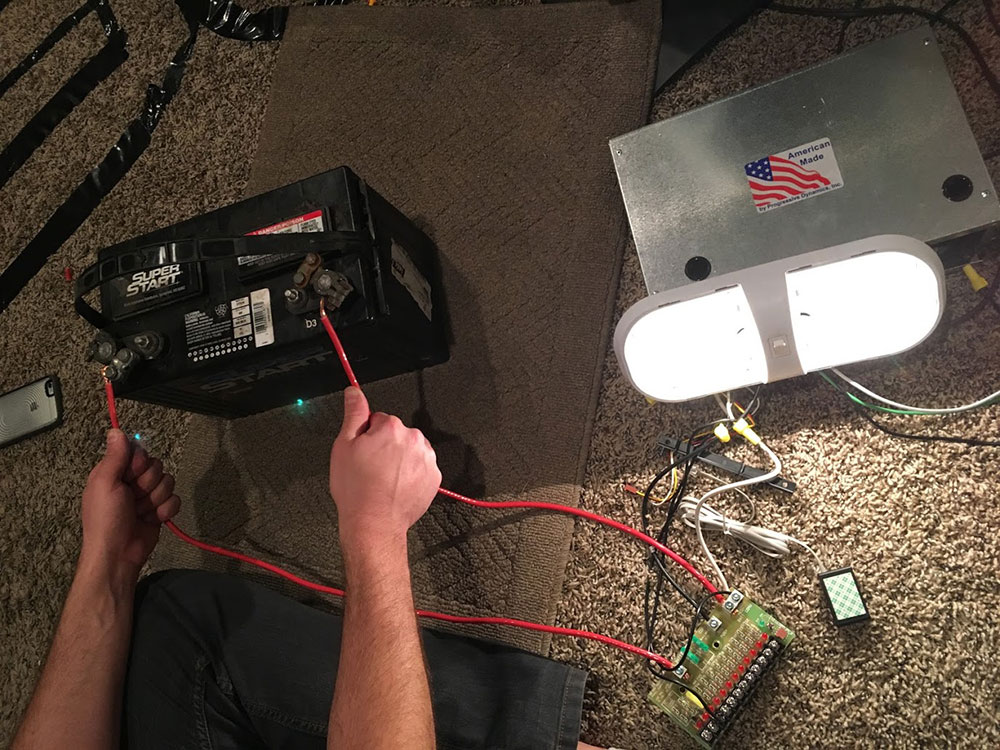
I have to admit, I had to "phone a friend" (I am lucky enough to have an electrician buddy) to walk me through some of it, but after a thorough explanation I'm feeling pretty good about the wiring situation.
The last thing we've been doing tonight (and will continue to do) is daydream floor plans. From the picture above of the tear out you can see that the gray water tank has a second pipe coming up off to the right - not sure why that is there but I'm thinking we may take advantage of it and try for a double sided bathroom setup, rather than the rather cramped single side we had before. So the plan would be vanity/sink on the left, toilet "closet" next to it on the left, and then to the right/across from the toilet closet would be the tub/shower spanning the space that the vanity/toilet would occupy, with pocket doors to close it off from the rear bedroom and front kitchen area. Anyone have any thoughts/suggestions on this front?
More to come soon.
Posted in the category Renovation.
Other articles to consider
 Nov1Dual Victron Multiplus 3000 3-Phase 50amp Power Issues
Trouble in Paradise
...See Details
Nov1Dual Victron Multiplus 3000 3-Phase 50amp Power Issues
Trouble in Paradise
...See Details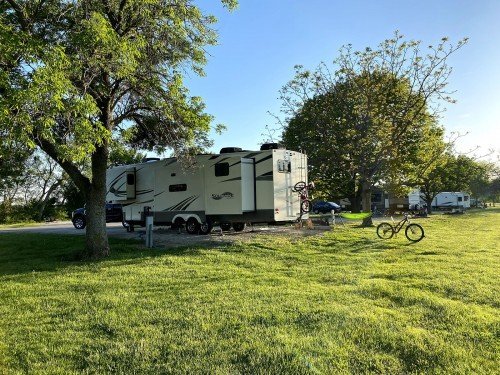 May18Clinton Lake, KS and Sioux City North, SD
We finally are ready to...See Details
May18Clinton Lake, KS and Sioux City North, SD
We finally are ready to...See Details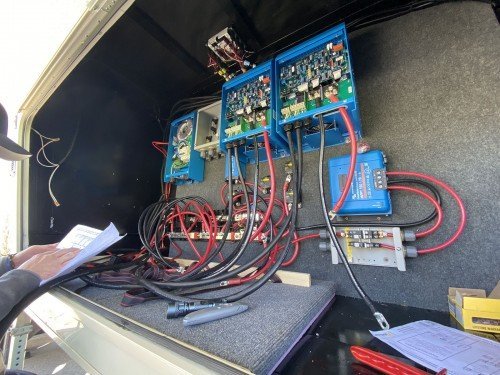 May1(Almost) The First Half of 2020
Wow, what a crazy (almo...See Details
May1(Almost) The First Half of 2020
Wow, what a crazy (almo...See Details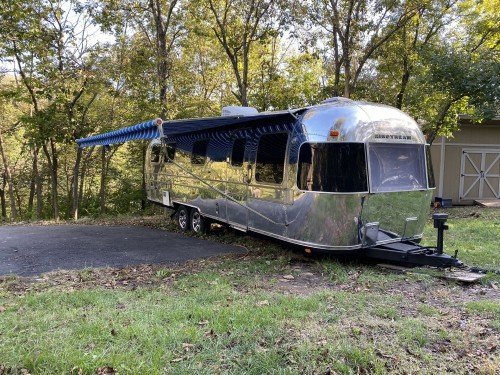 Nov20We Sold the Airstream!As our family continues to get older (an...See Details
