Insulation, Skins, Endcaps, and Light Testing
February 25th, 2017
We've been making some serious headway! As is typical, we've done a fairly lousy job of taking photos and documenting our process, but there is only so much time in a day!
With some help from my father-in-law to help hold things up, we got the endcaps installed:
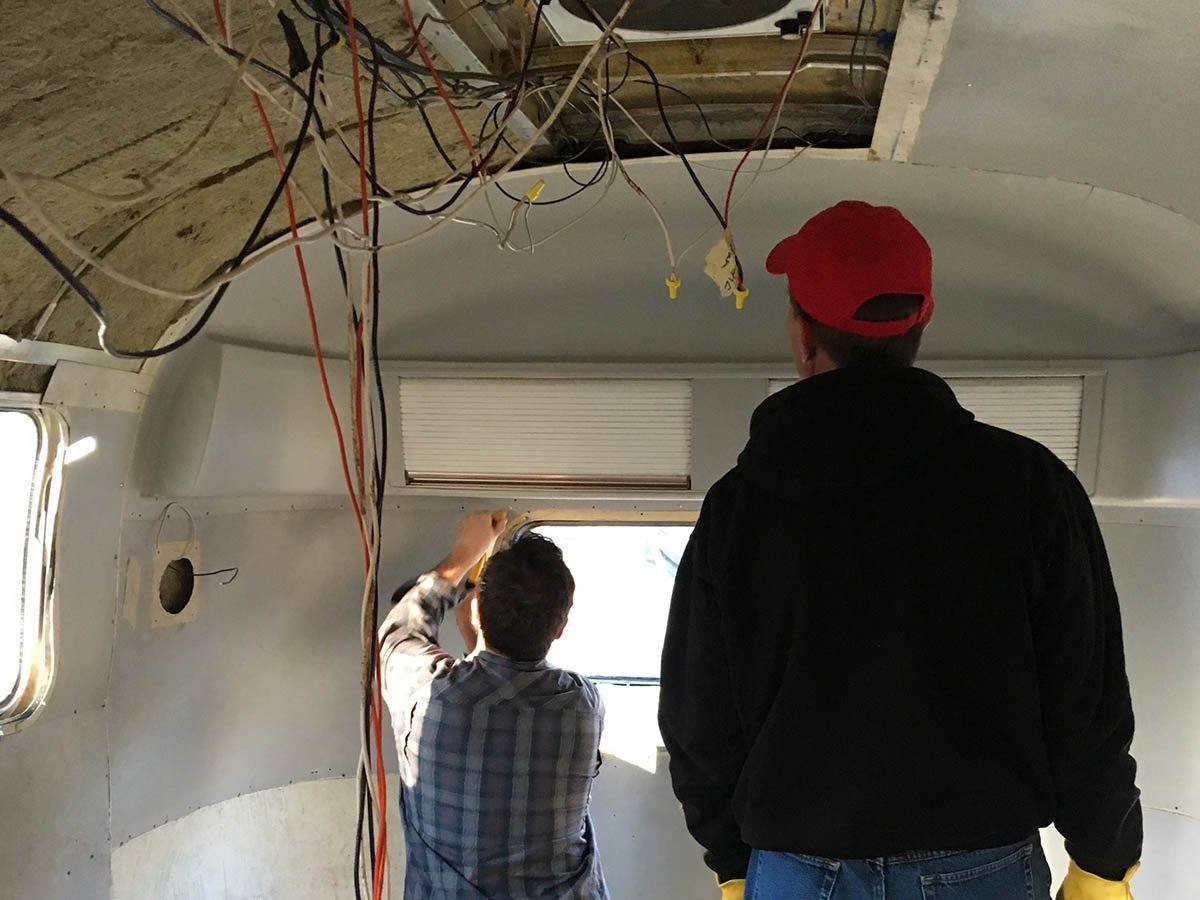
It's definitely starting to look like an airstream again:
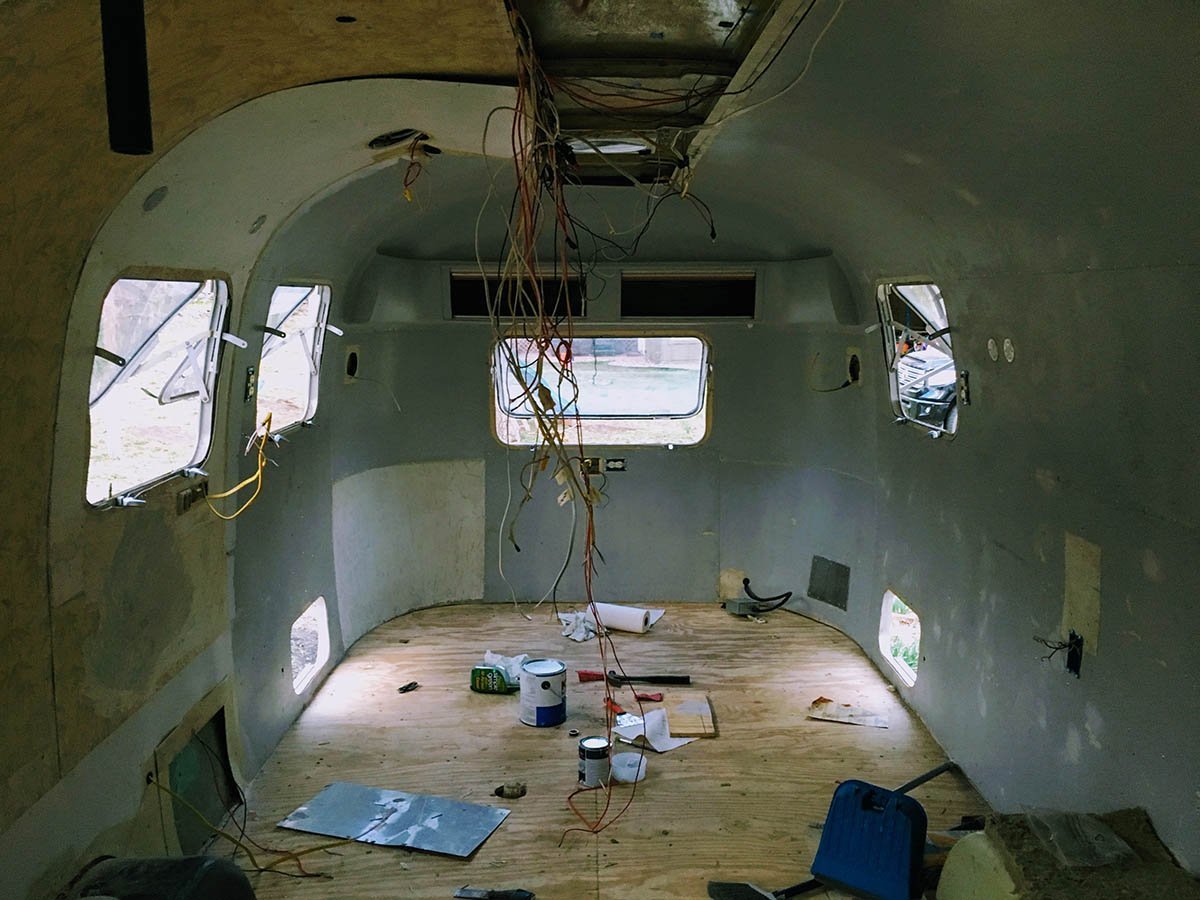
Earlier in the week I finished routing all of the tank sensor wires. We plan on putting the Sea Level Tank Monitor (709-4PH) mounted to the side of the overhead bin to make checking levels convenient; here's to hoping I ran everything correctly:
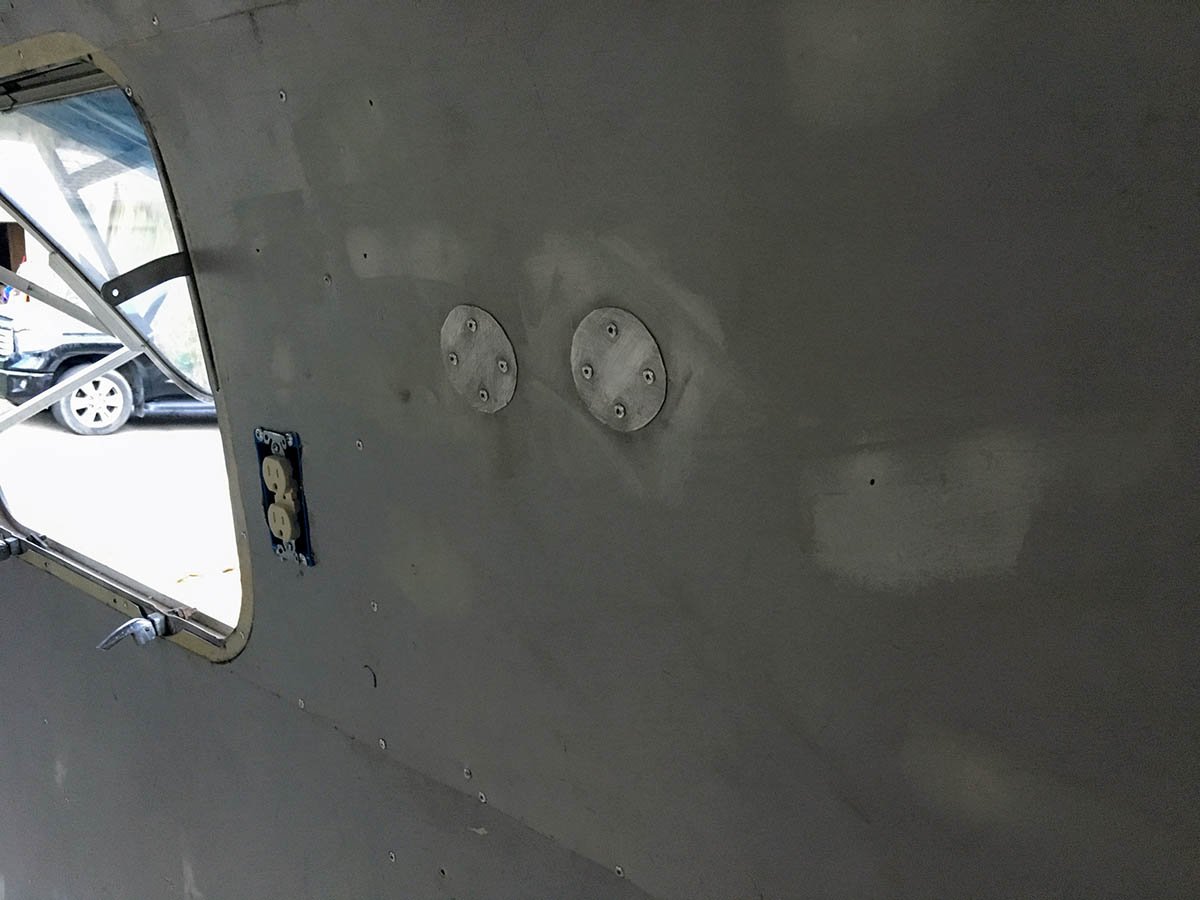
We had a lot of old holes from where the old lights were, so I made a bunch of patches and got them installed. Pretty simple process, use a cup as a template and use a sharpie to mark the circle, cut out with tin snips, then mount with rivets:
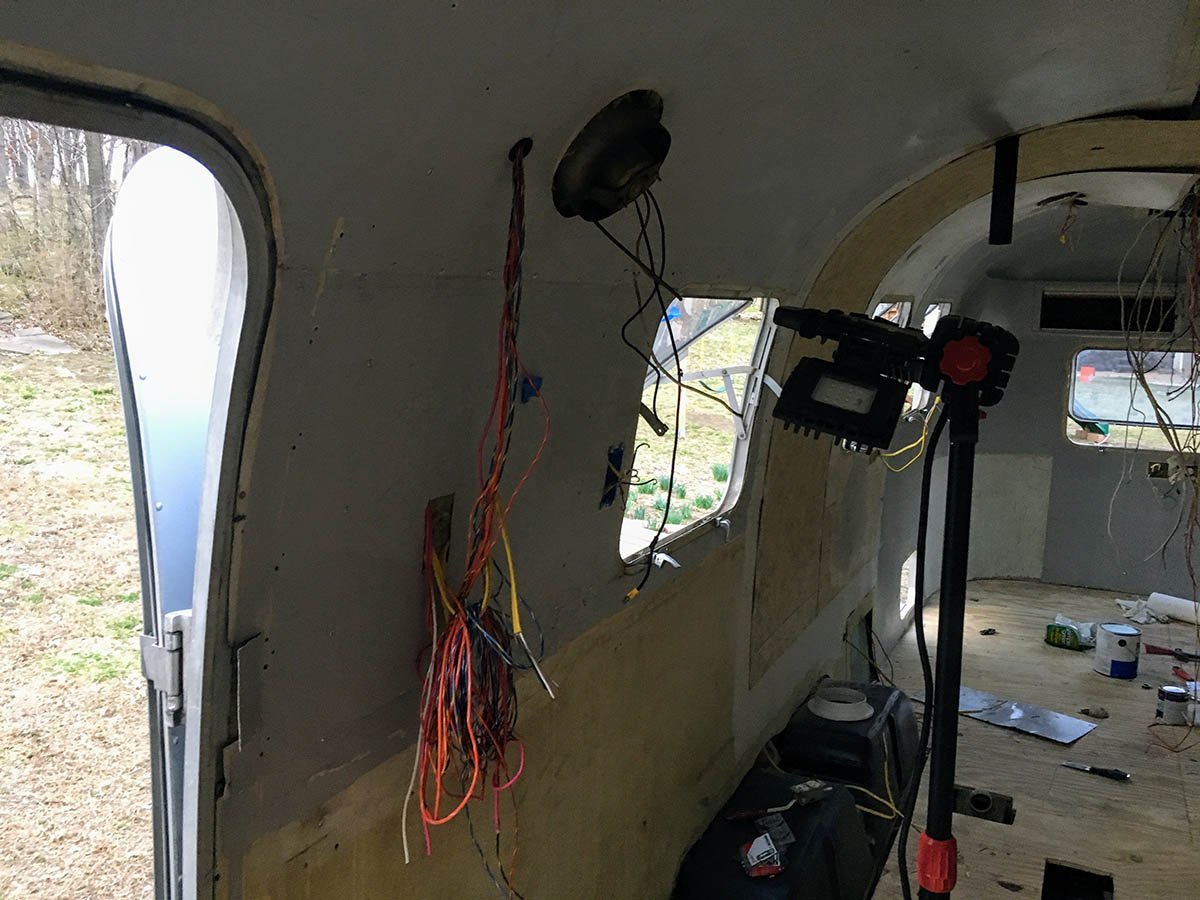
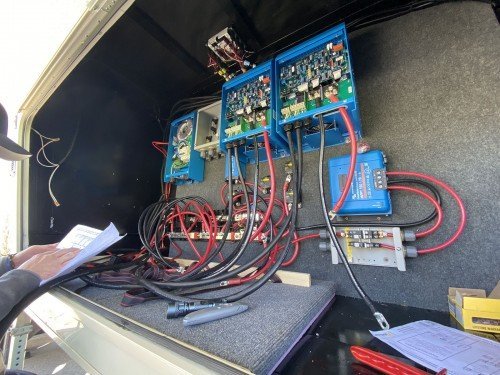
This electrical area is quickly becoming a mess but until we get a dinette built out it's sort of stuck in this limbo state. Now that we have the aluminum skins up, we marked all of the 110 wiring so it was obvious which run went where:
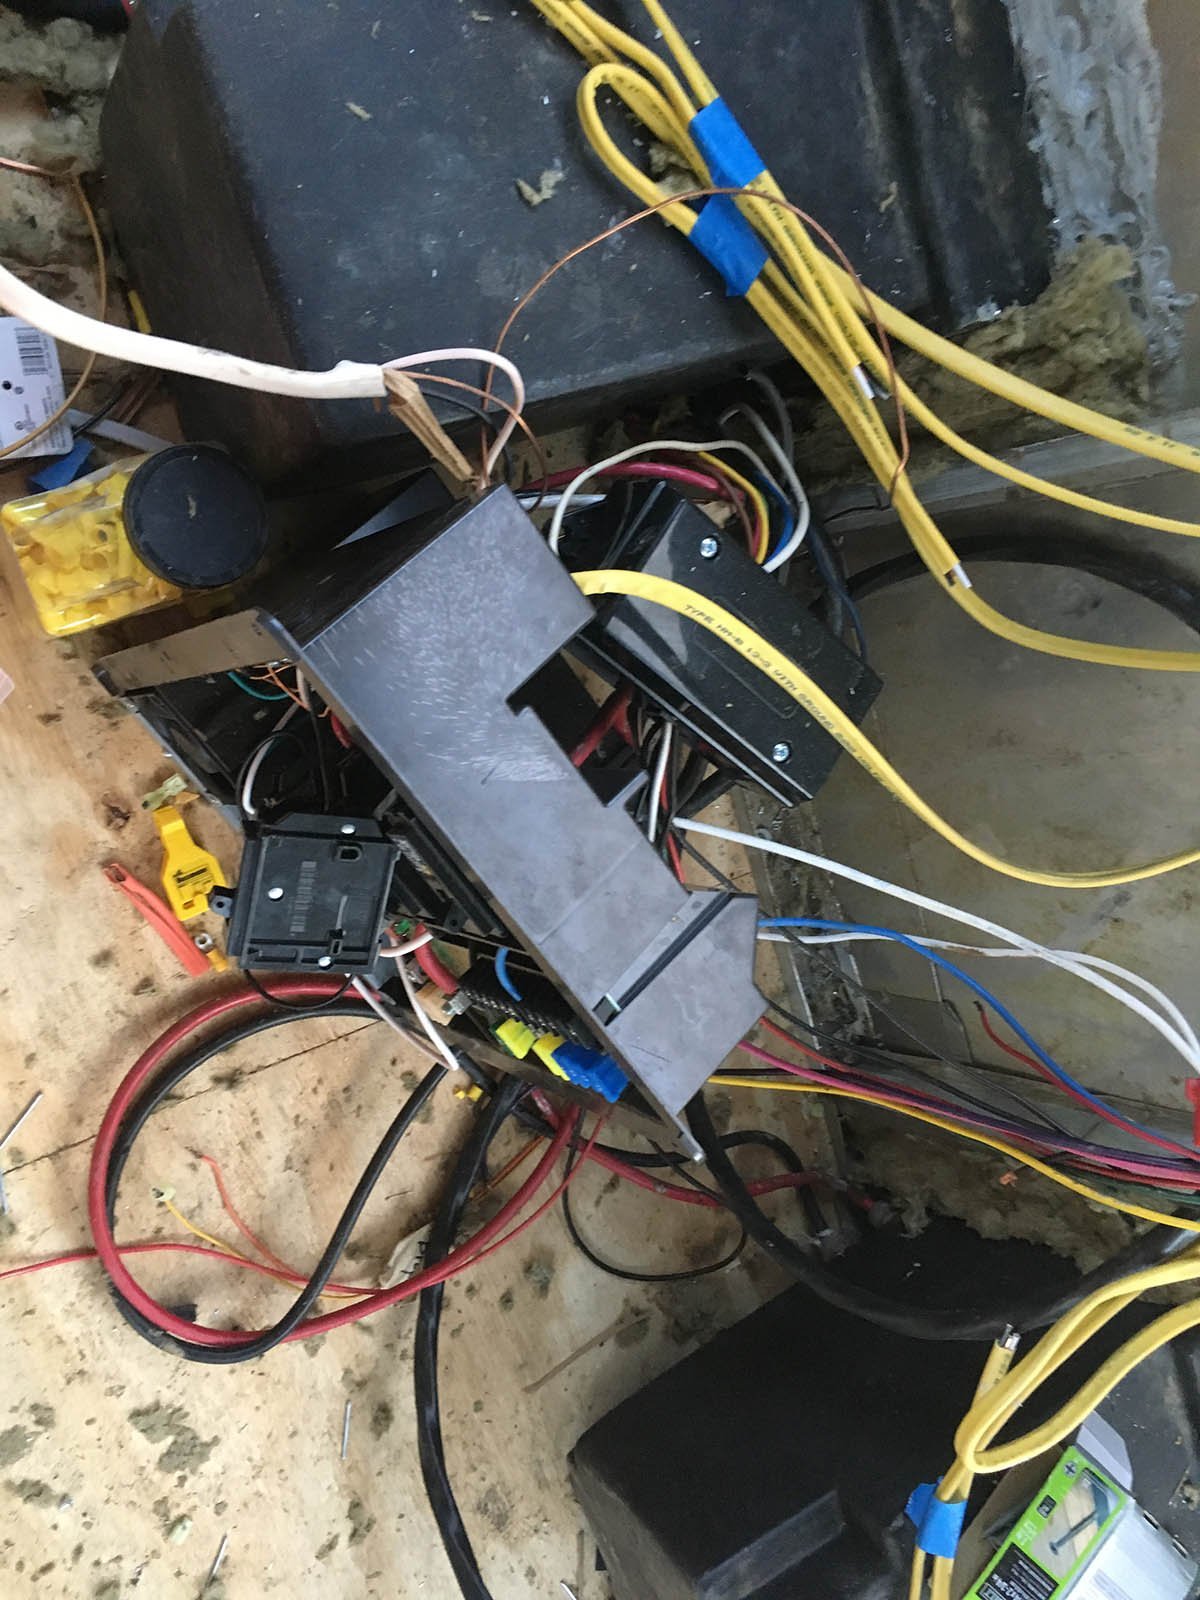
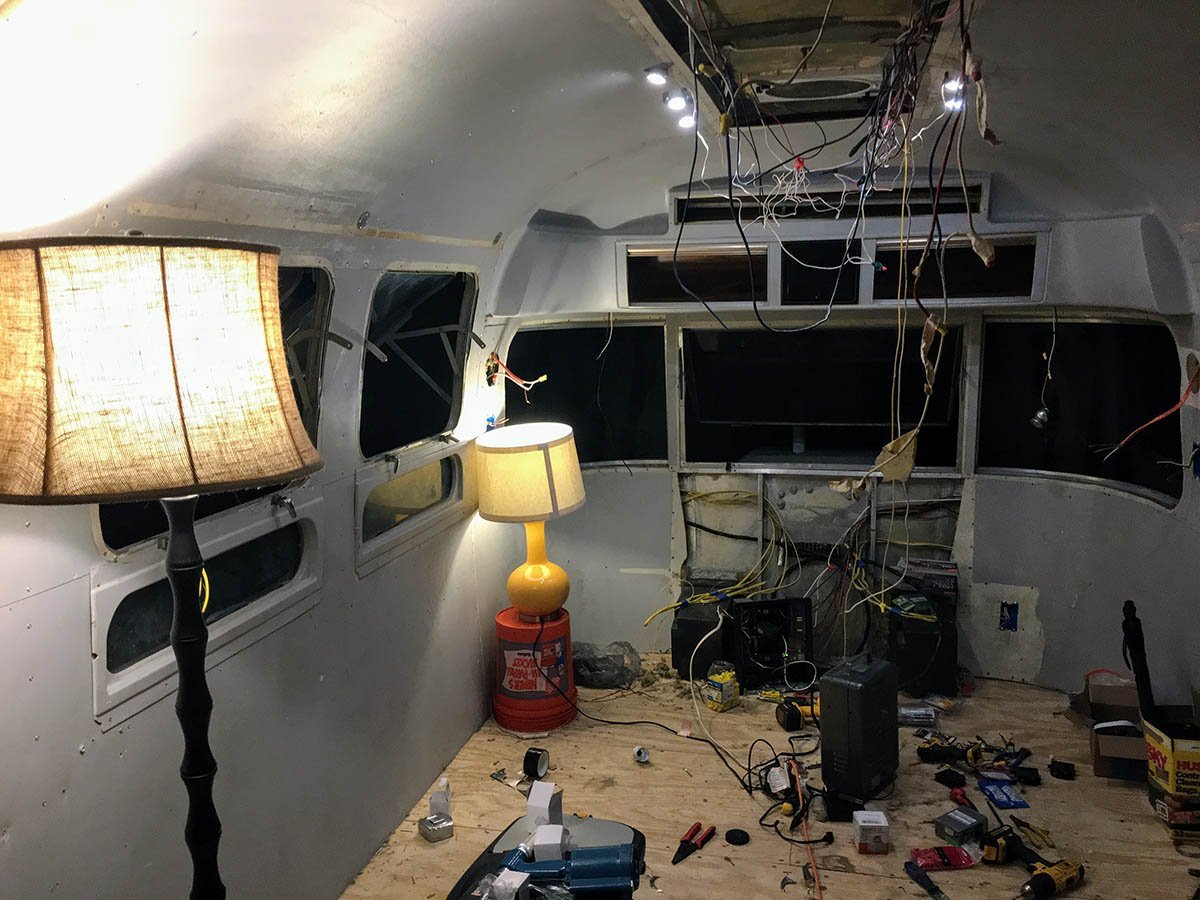
We are trying to figure out what lighting to go with. We ordered a bunch of led puck lights from SuperBrightLeds.com. We taped them to the ceiling to test out spacing/brightness, and are digging the look. We also really like the "mood" of lamps, at least while testing, so maybe we will get wall sconces that are lampshades or something.
Other articles to consider
 Nov1Dual Victron Multiplus 3000 3-Phase 50amp Power Issues
Trouble in Paradise
...See Details
 May18Clinton Lake, KS and Sioux City North, SD
We finally are ready to...See Details
 May1(Almost) The First Half of 2020
Wow, what a crazy (almo...See Details
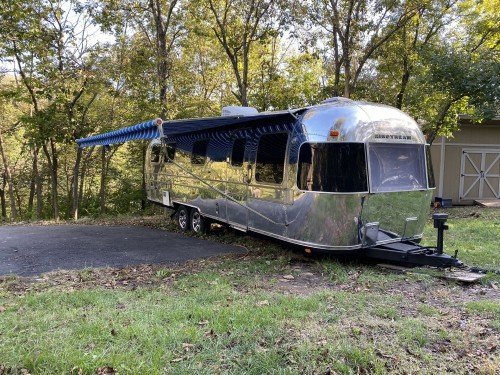 Nov20We Sold the Airstream!As our family continues to get older (an...See Details


