
Caulking, Battery Boxes, Electrical, Frame Bolts, Window Latches, Bathroom Fan, Roof Work, oh my.
February 5th, 2017


Despite being gone for most of the week, we got a lot accomplished! Where was I this week? Breckenridge!

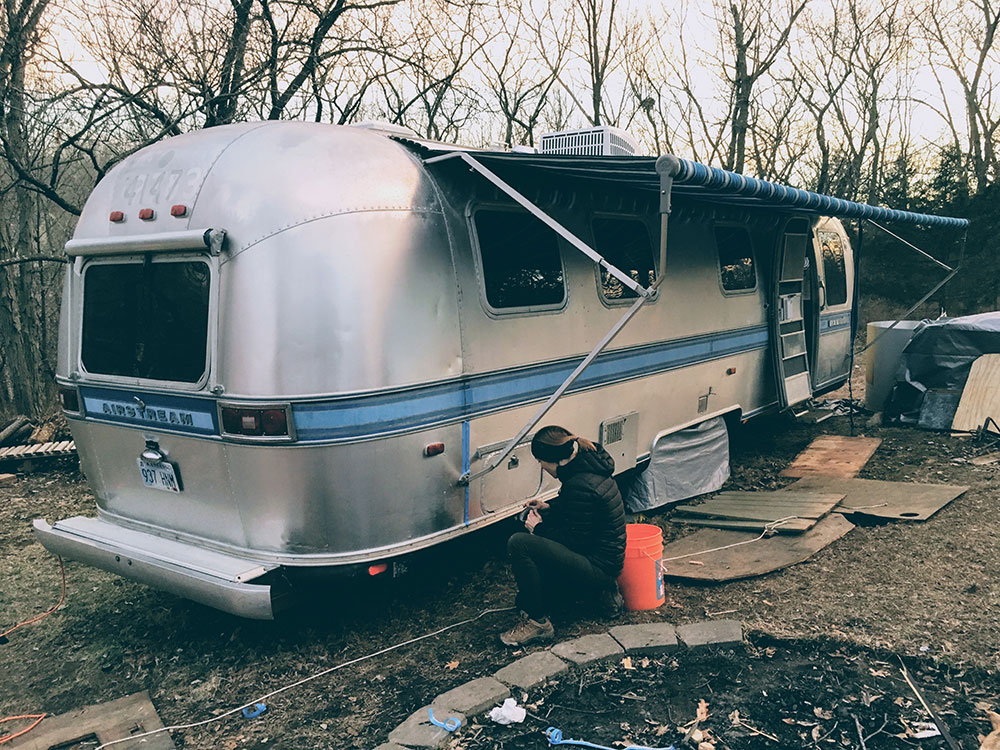
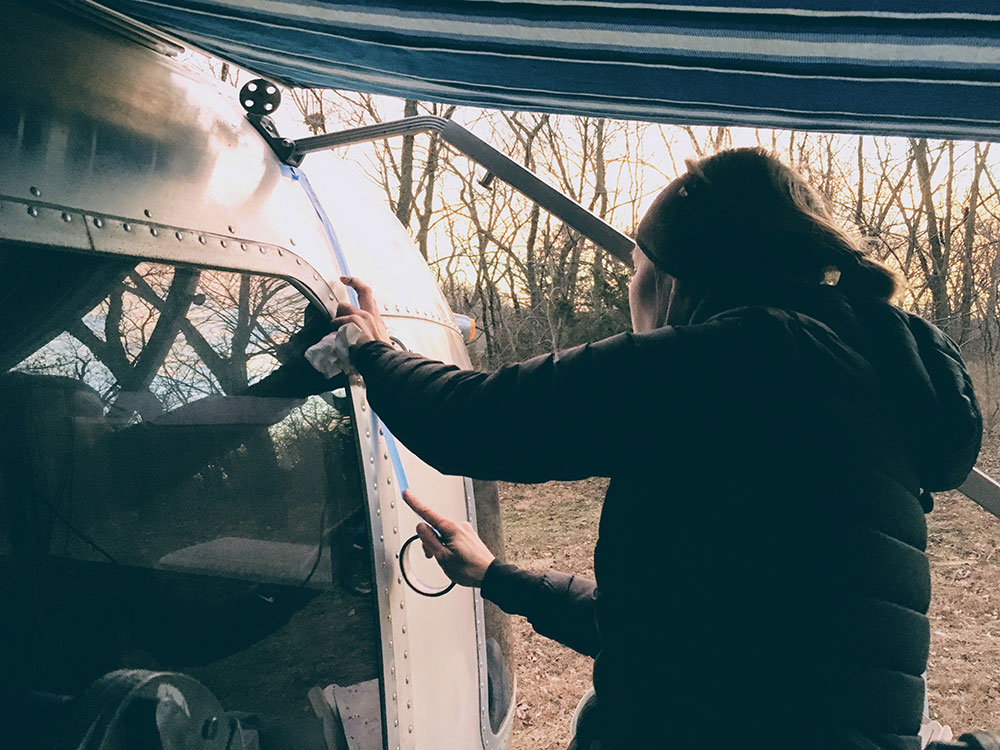
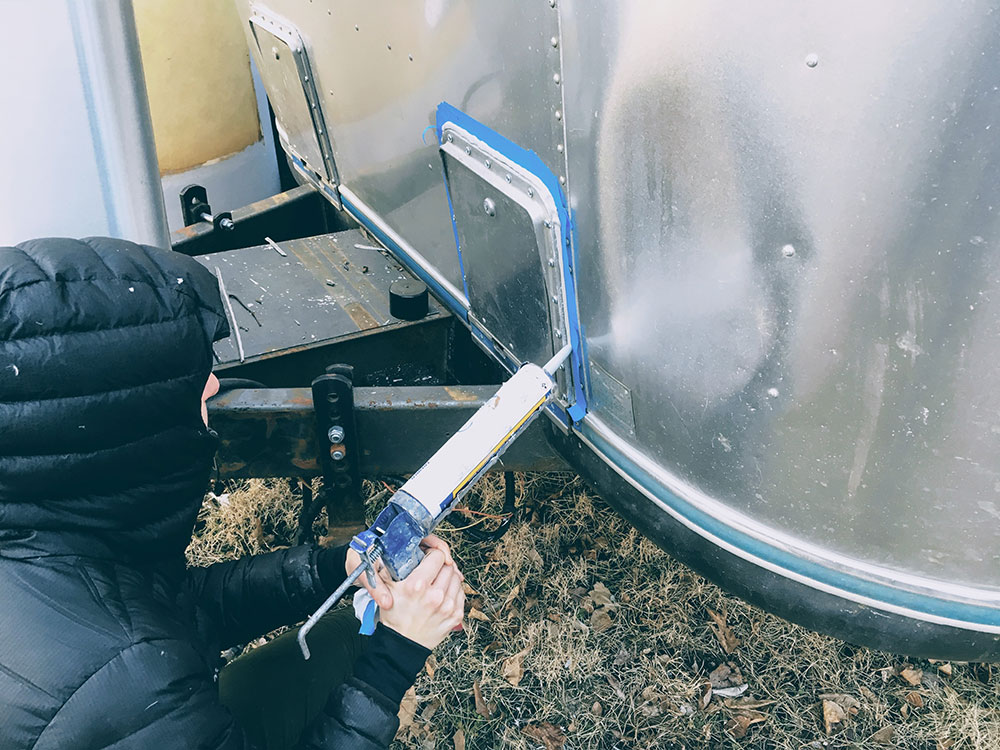
Exterior Caulking Continued
We have been caulking a LOT. And by “we” I mean mostly my wife while I was gone having fun with my brothers on the ski trip. She is a rock star, meticulously hitting every single window, seam, nook and cranny:
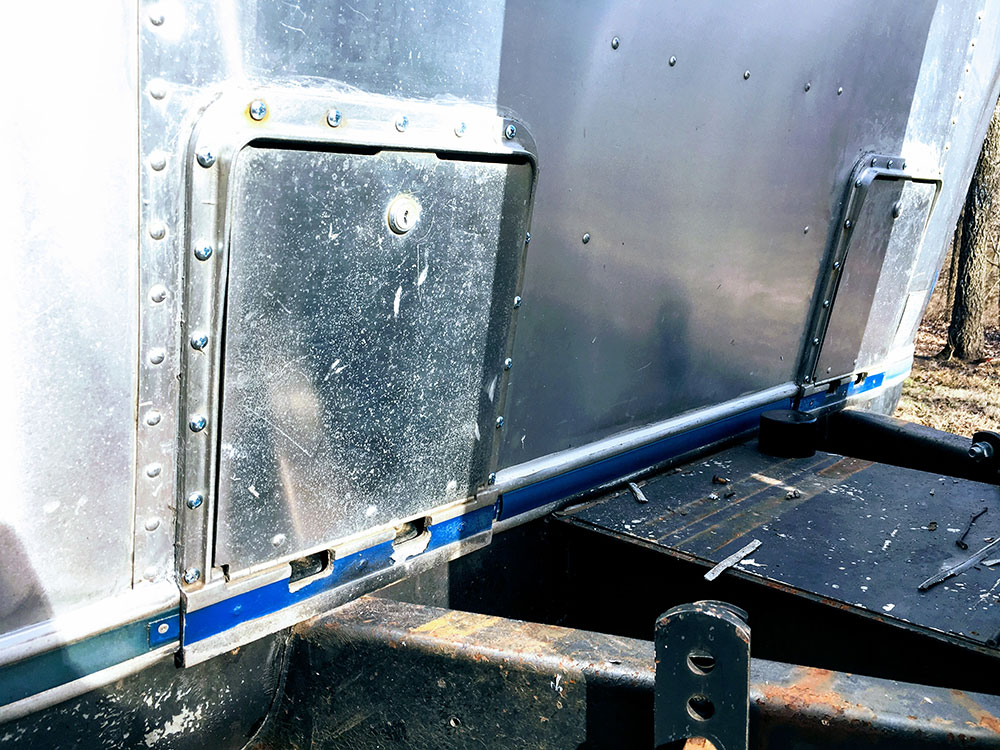
Battery Boxes Re-Installed
We got the battery boxes reinstalled and caulked up:
Electrical
I changed my mind on the electrical setup. Originally I opted for a 30 amp service and had purchased the Boondocker BPC-4 power center to support that setup, but after consideration I decided that a 50 amp setup makes way more sense. I figure we can always use a 30 amp hookup with our 50 amp setup but will have the bonus option of running at the higher amperage if available and desired, so why not?
Unfortunately, because I had already installed the Boondocker (purchased from bestconverter.com), I was unable to return it - so if anyone needs this power center and wants a sweet deal, contact me. Luckily, another forum member had the exact power center I had planned on upgrading to (the Progressive Dynamics PD 4560), so I managed to salvage the situation somewhat by snagging a discounted price on that.
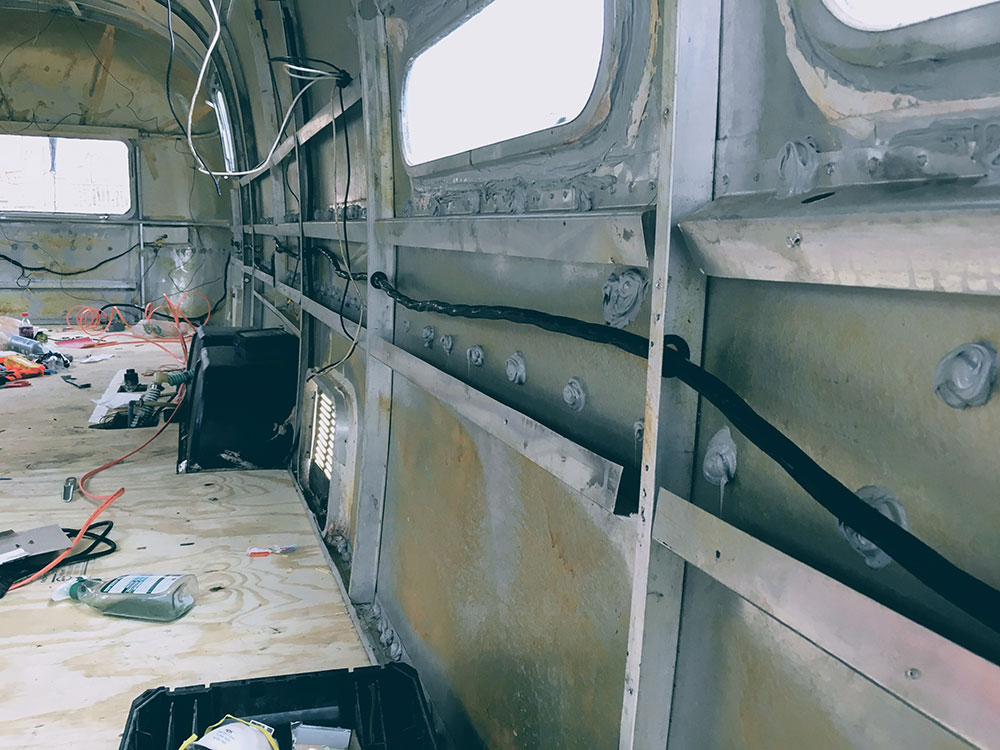
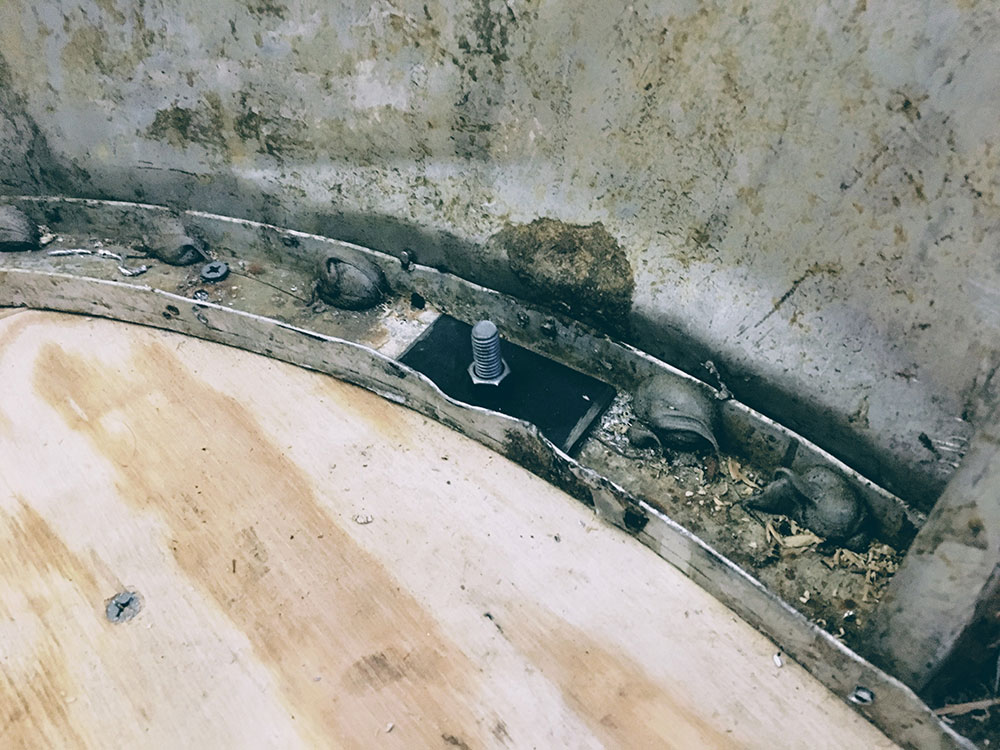
In preparation for the arrival of the new power center, I purchased and ran a 50’ 6-3 (50 amp supportable) wire from the rear of the trailer through the street side wall to the front, drilling new 1” holes and installing rubber grommets (purchased from vintagetrailersupply.com) along the way:
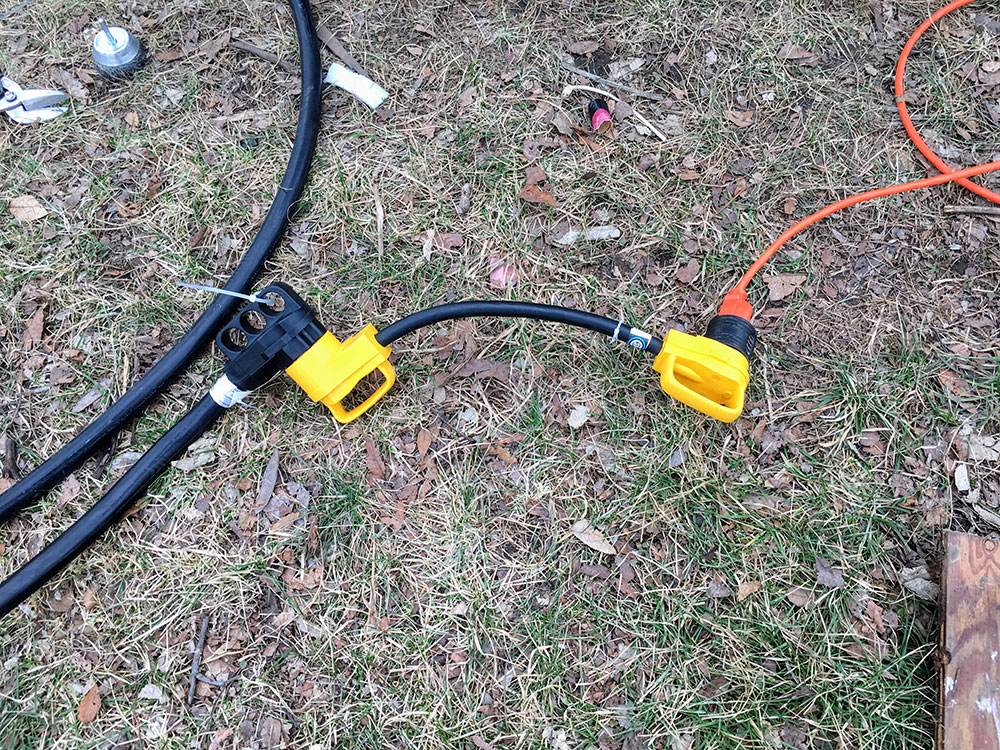
Additionally, I ordered a new shore power exterior cable and 50-to-30 amp adapter from Amazon, and got that all connected up (this picture shows the 50 amp shore cable going to a 50-to-30 amp adapter which in turn has a 30 amp to 110v adapter plugged into an extension cord running to my house):
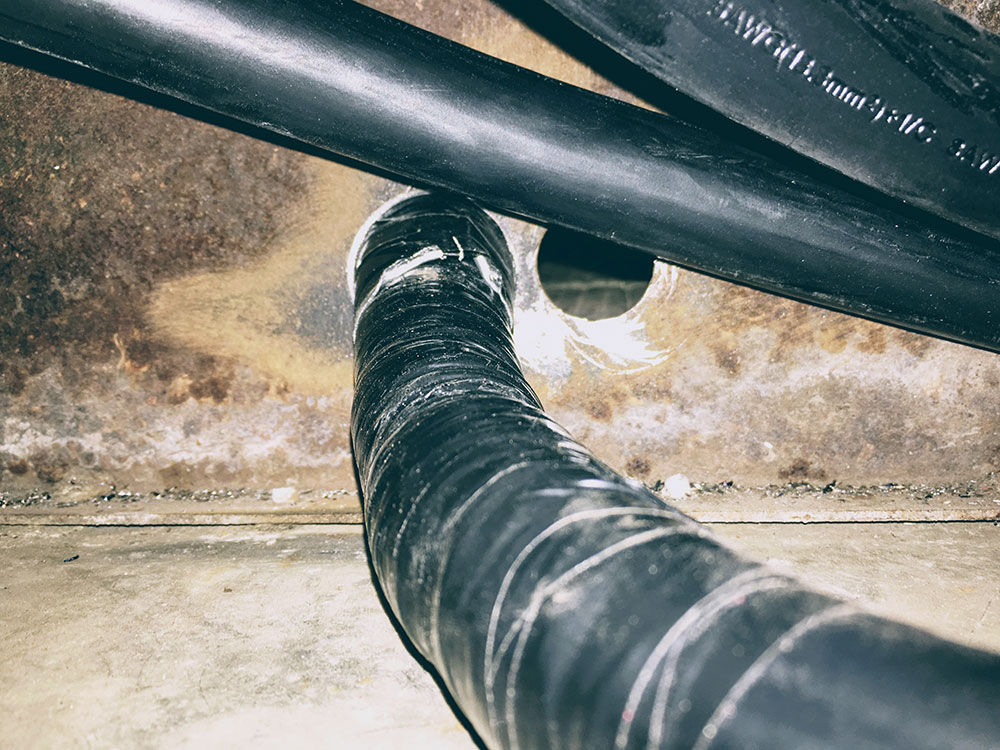
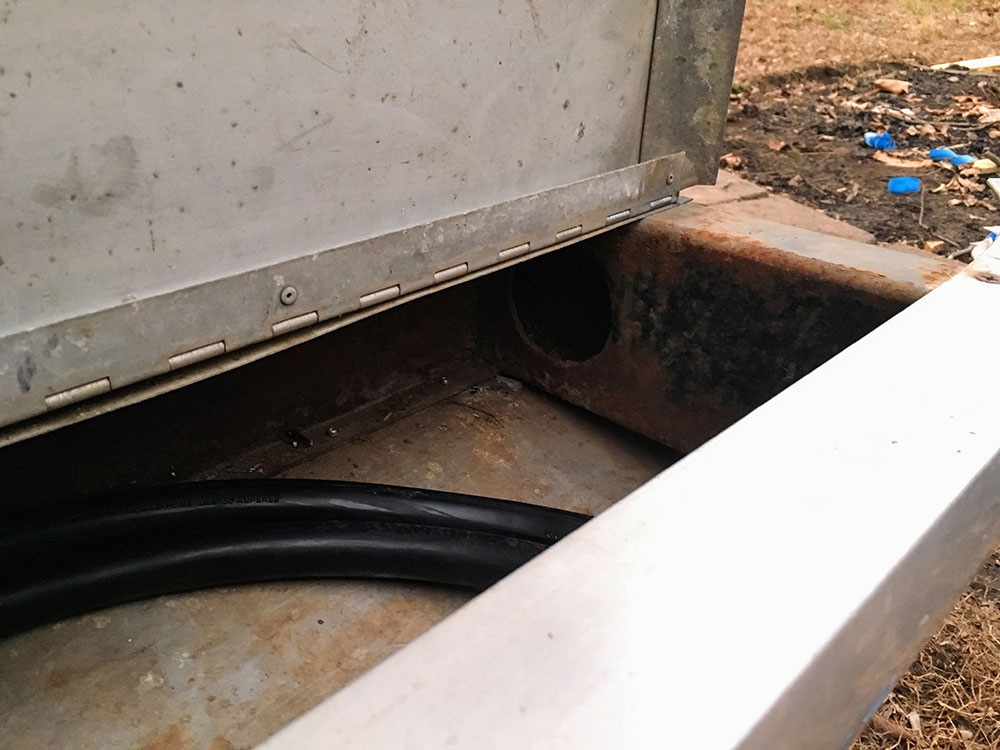
The original hole in the “trunk” where the 30 amp cable ran was not large enough and I didn’t have the appropriate tool to ream it out to make it larger, so as a quick fix I drilled a new hole next to the original hole and will fill/patch the original hole later:
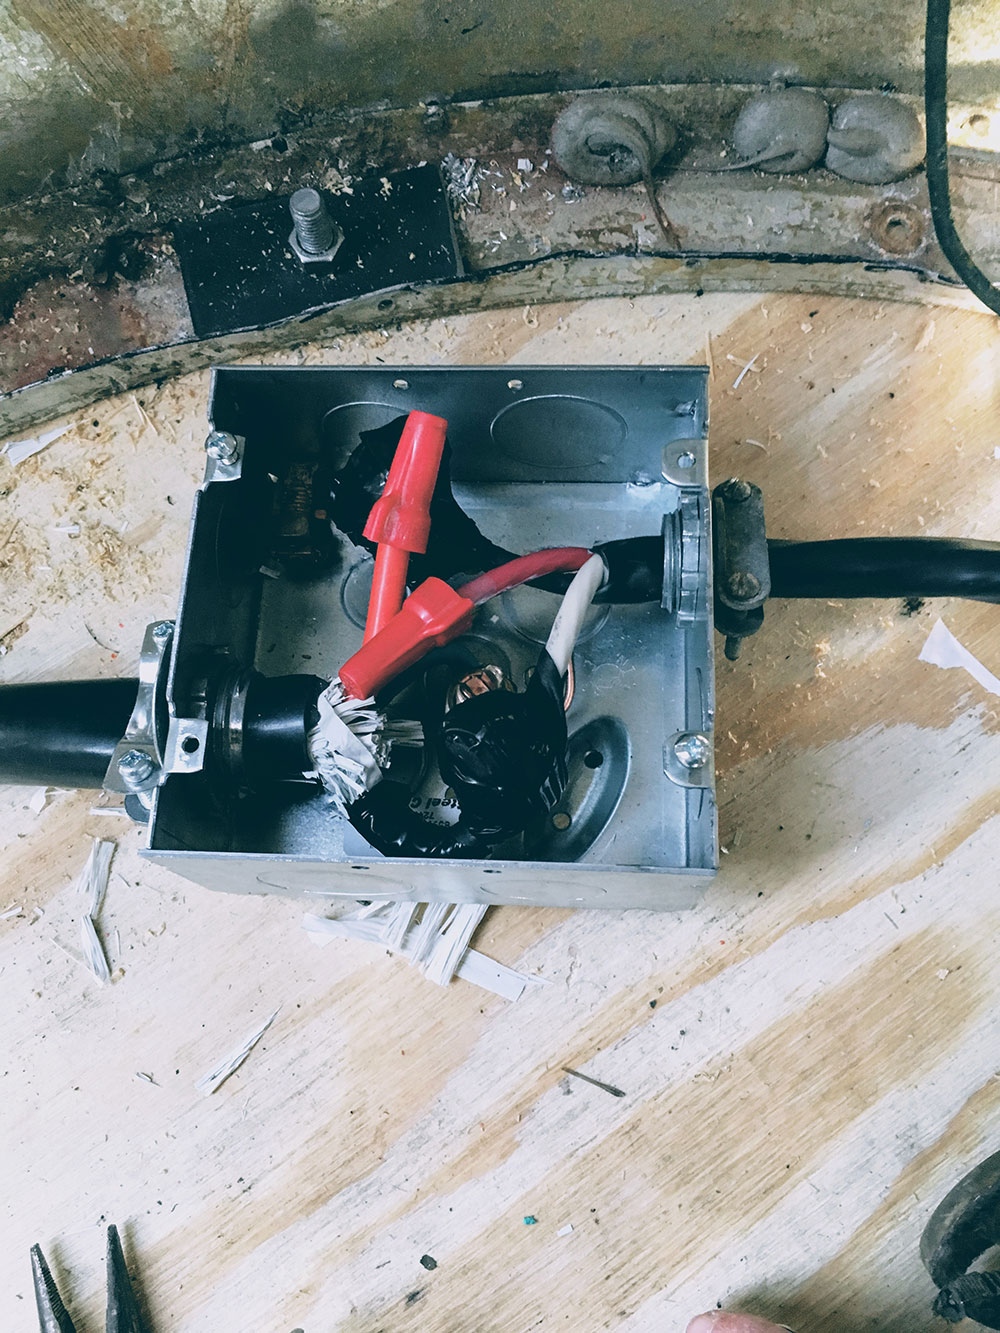
After that I connected everything up inside the trailer (in the rear, where it will eventually live permanently under the bed):
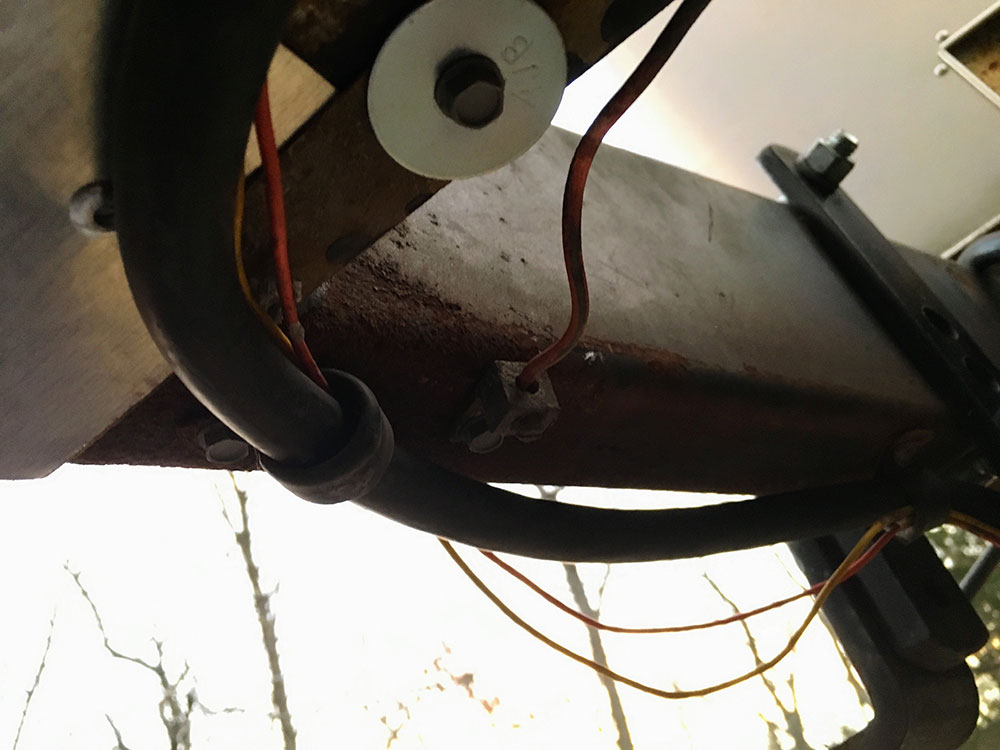
I also tracked down where the ground wire near the front-end of the trailer was hooked up to ensure everything was on the up and up, and I’m glad I did, because (not-so-) hilariously it was not hooked up to anything and simply free-hanging near the frame. The bolt must have snapped off at some point in the past. I went ahead and re-secured it to the frame:
4 Main/Primary Bolt Re-Installation
In addition to the bolts that were installed on each outrigger, there were four larger 3/8” hex bolts on each of the four corners of the unit, with a 1/4” piece of steel bar under the nut serving as a heavy duty washer. These are obviously important, so I spent a good chunk of time prepping the holes and getting these ready for re-install. All of the bolts were rusted badly, to the point where I had to angle grind the rear ones from the top during the sub-floor removal. I purchased 2.5” length, 3/8” diameter galvanized hex bolts, lock washers, and nuts. I also misplaced 3 of the 4 steel bar “washers”, so I purchased a new steel bar at Ace Hardware and they even cut it to size for me. My awesome neighbor used his drill press to drill out the new holes for these “washers”, which was super helpful.
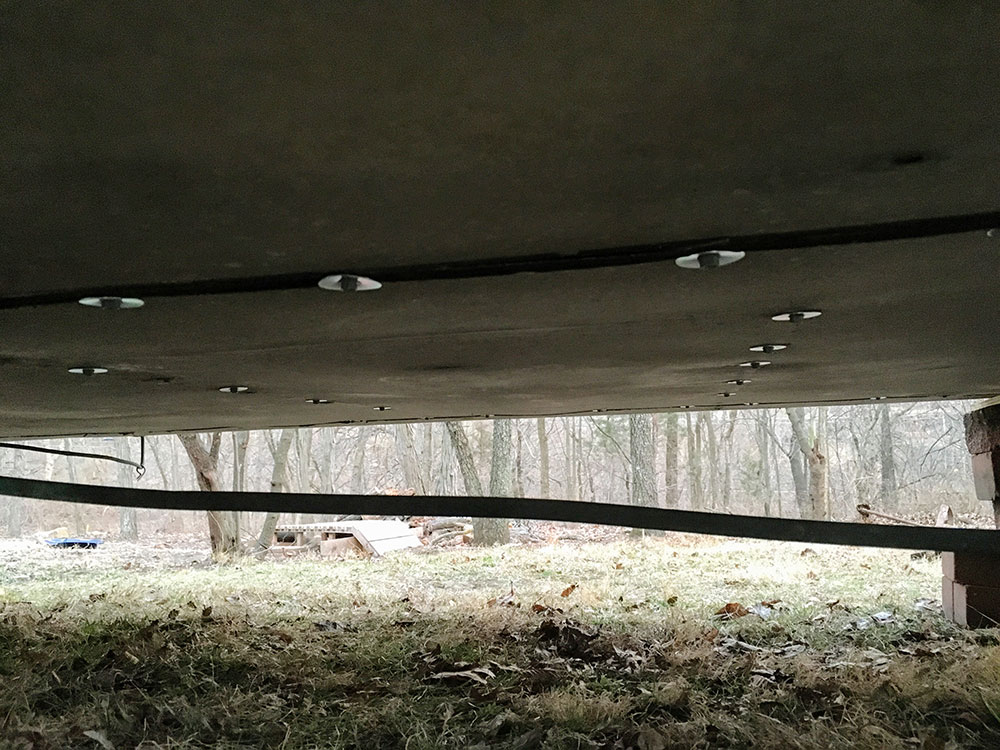
For the rear bolts I had to drill new holes because of having to angle grind off the old ones (they were not removable at this point). For those rear bolts I was able to get to them via two large holes in the frame, accessible in the trunk:
With help from the Mrs (she was outside pushing up the bolt and I was inside receiving and attaching the “washer” and nut), we got it done:
The front two bolts unfortunately were not accessible without dropping the belly pan, something I wanted to wait on doing until later. However, this ended up being super easy and involved drilling out just a couple dozen rivets near the front. I also took the opportunity to patch a rotted area of the belly pan near the front:
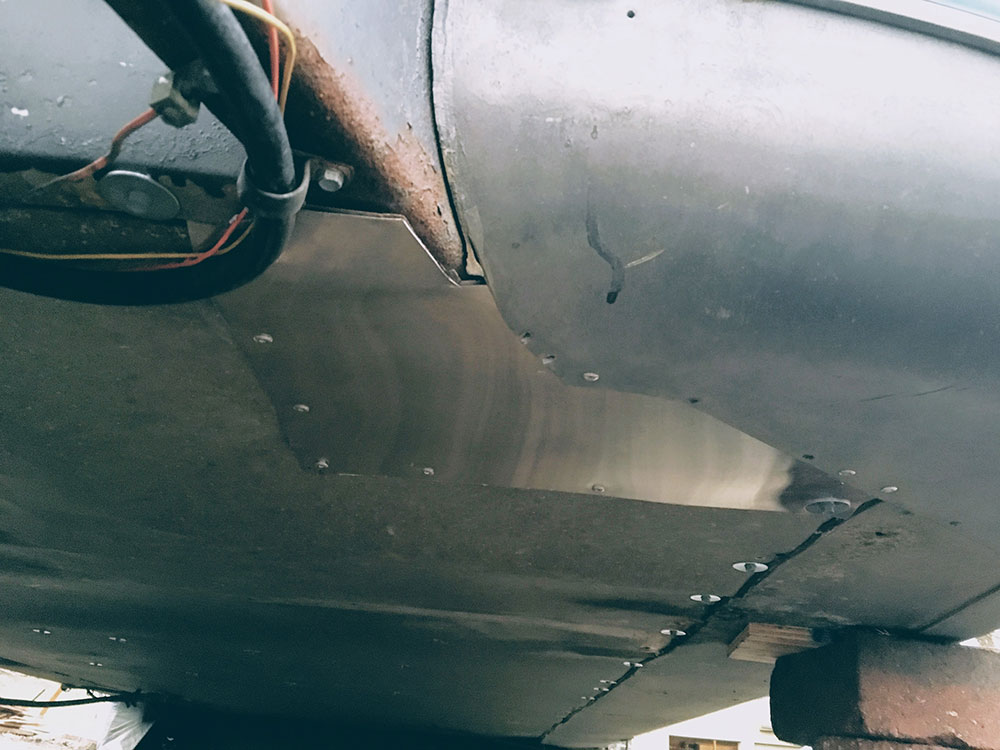
This is a temporary fix as I plan on replacing this belly pan at some point in the relatively near future. To reattach the belly pan I opted for 3/16” diameter, 3/4” length Tek self-tapping screws, coupled with a fender washer, which worked both quickly and amazingly well:
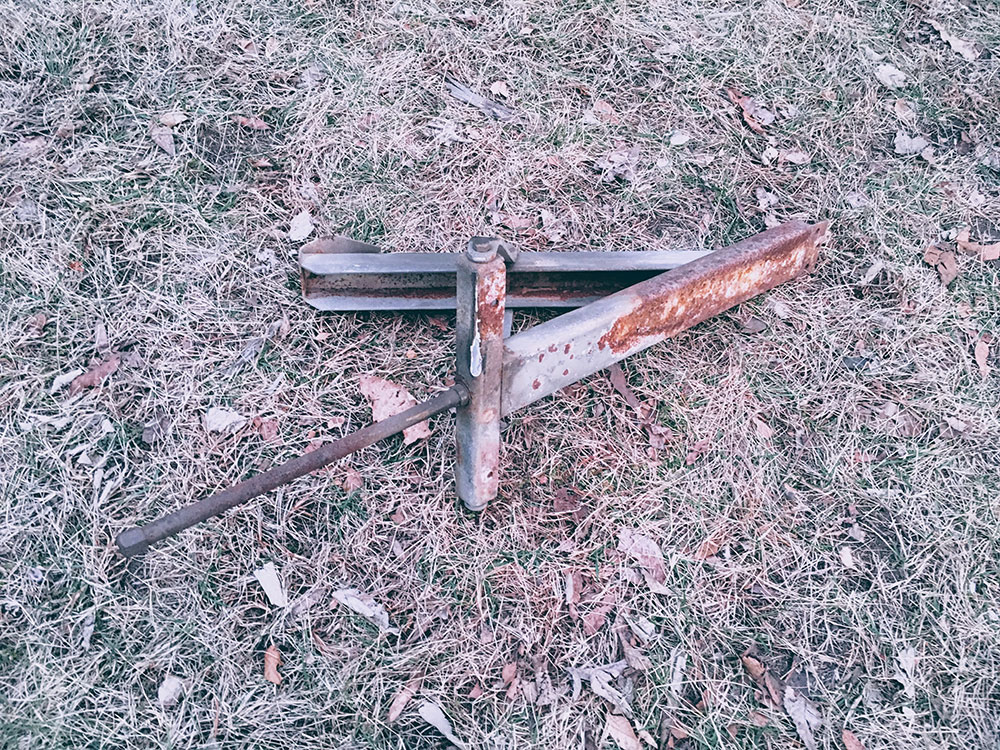
I had to remove the front two stabilizer jacks to get the belly pan removed, and on both of them two of the bolts snapped off because they were so rusted. I think I will try to sandblast these first before replacing them (luckily I have the best neighbor in the world who not only has a sandblasting machine but has volunteered to help me with the process):
Window Latches
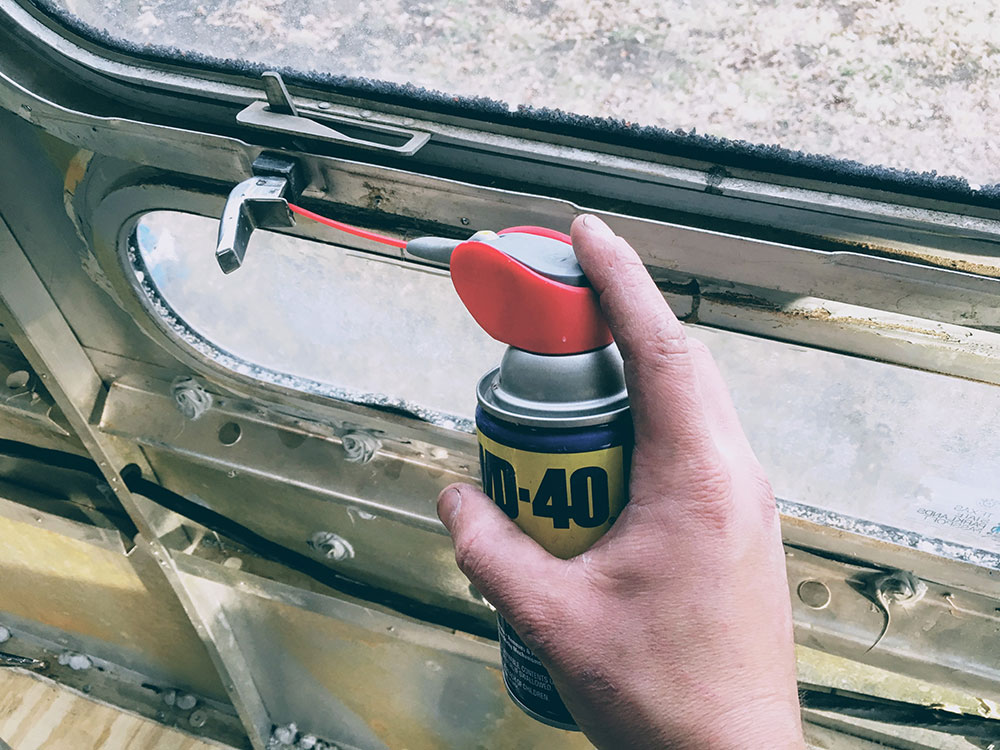
I have long worried that we would have to replace all of our window latches because virtually all of them were very stiff and difficult to operate/fully close. Before fully committing to that end, I decided to see about repairing and adjusting them first, and I am glad I did - in the end a couple squirts of WD 40 combined with minor nut adjustments fixed all of them, and now they work as smooth as silk:
Bathroom Fan Installation
Our old bathroom fan was barely functional and very loud. I took the easy road here and purchased a brand new drop-in replacement from vintagetrailersupply.com. It was super easy to remove the old and drop in the new:

I used butyl tape to act as a barrier between the fan and the exterior of the airstream, and then we caulked it all up with Trempro 635 (which we have been using for virtually everything). The cover for the fan was black, so we decided to use some aluminum-colored rustoleum spray paint on it before installing:

Roof Work
In our effort to make the airstream as water-tight as possible, we took on the task of removing the 3 fantastic fans to reseal them properly - and I’m glad we did as they did not have a good seal at all. About a hundred pounds of clear, cracking silicone caulking covered them, which was a real treat to scrape off:
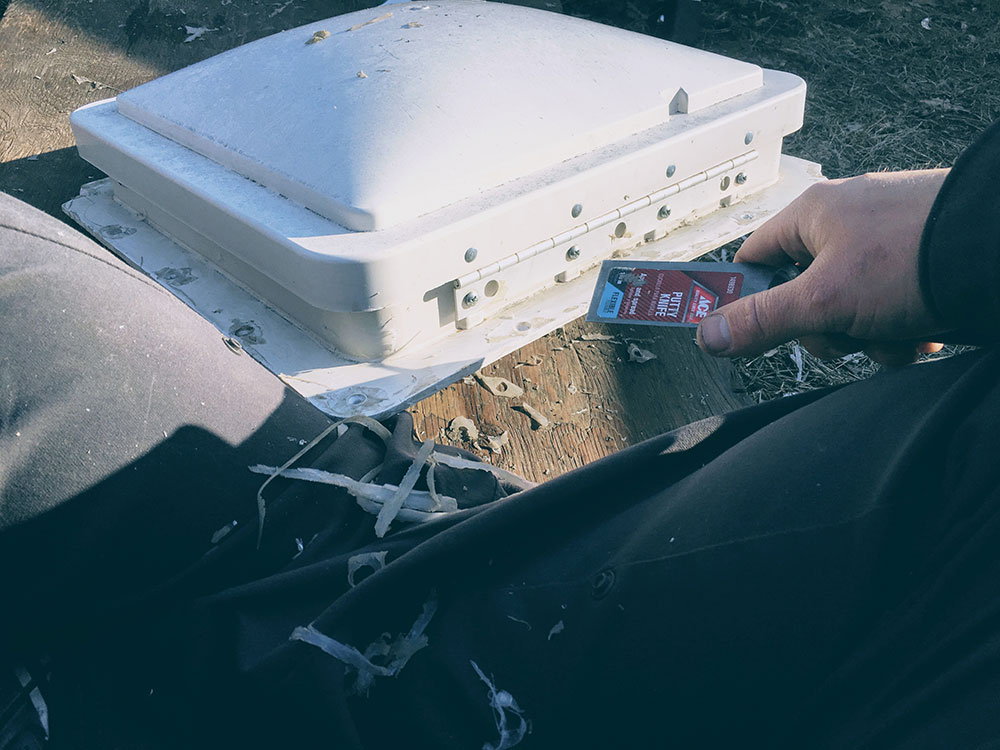
My lovely lady did most of the work, and here she is prepping the aluminum for reinstallation:

A little butyl tape and a lot of caulk later, all three vents were back in place:
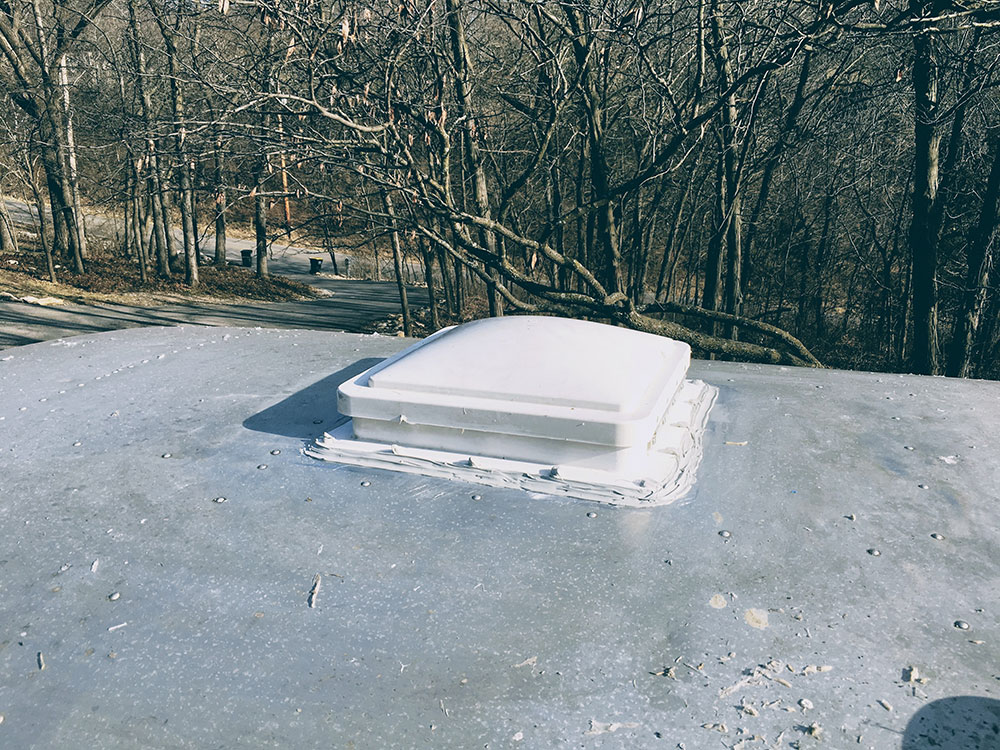
She also scraped and resealed the other roof items (satellite dish mounting brackets, refrigerator roof vent, seams, et cetera). Did I mention yet that she is amazing and the real workhorse of this operation?
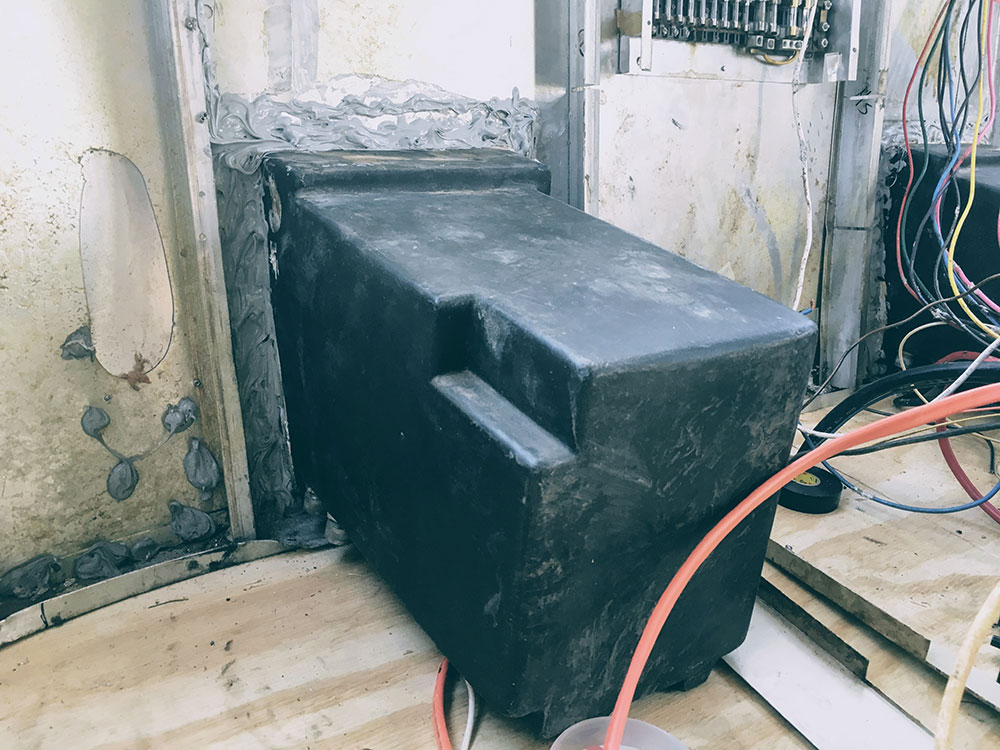
Appliances
We plan on getting a new fridge, furnace, and water heater. I tracked down a local company here in Kansas City that carries everything we want, so we plan on making a visit soon to get all of that squared away. I still have not decided on what specific water heater to get (tankless vs 10 gallon propane/electric), so if anyone has any thoughts feel free to let me know.
Shower
As I mentioned in an earlier post, I (foolishly) threw away our shower pan, and thus have the fun job of finding a way to rebuild it. At last post my plan had been to fabricate a fiberglass shower pan, but after some further “research” I think I will try what the good folks at Hoffman (in California) do with there bathrooms, which seems to be a combination of marine-grade plywood with a sealant, taped seams and a rubber membrane type product covering all of that, followed by a flexible thinset and resin/lightweight mosaic tile. Not only does that look fantastic (and better than what we could do with fiberglass given our zero experience with such material), but all is in the wheelhouse of what my wife and I are comfortable doing on our own.
Next Steps
All in all it was a very productive week. We are 99.9% ready for a water test to check for any remaining leaks - with as much caulk as we’ve gone through, I’m crossing my fingers that there won’t be many to address. The new power center will be here Tuesday, so I plan on getting that setup and tested to ensure there aren’t any kinks on that front. Hopefully all goes smoothly and we can get the insulation and electrical ran this week. If not, we’ll switch gears and get some of the fresh water plumbing tackled so we can screw down the last piece of subfloor.
More updates to come soon!
Posted in the category Renovation.
Other articles to consider
 Nov1Dual Victron Multiplus 3000 3-Phase 50amp Power Issues
Trouble in Paradise
...See Details
Nov1Dual Victron Multiplus 3000 3-Phase 50amp Power Issues
Trouble in Paradise
...See Details May18Clinton Lake, KS and Sioux City North, SD
We finally are ready to...See Details
May18Clinton Lake, KS and Sioux City North, SD
We finally are ready to...See Details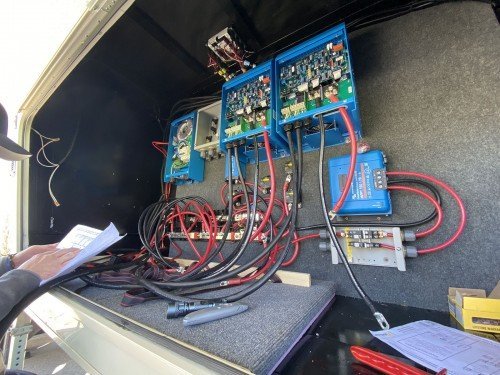 May1(Almost) The First Half of 2020
Wow, what a crazy (almo...See Details
May1(Almost) The First Half of 2020
Wow, what a crazy (almo...See Details Nov20We Sold the Airstream!As our family continues to get older (an...See Details
