How to Fabricate an Airstream/RV Shower Pan with No Mortar - Part 1
April 29th, 2017


UPDATE - I would now recommend using the Schluter® Shower System or similar for an installation such as this. More info here: https://www.youtube.com/watch?v=XBZdCgSaXeI&ab_channel=Schluter-SystemsNorthAmerica
I've scoured the internet trying to find ways to fabricate a shower pan/liner that would be ideal for Airstreams/RVs/Schoolies but haven't been able to find anything suitable for our situation - so I decided to come up with my own way.
The Challenge
Building a shower pan isn't the most complicated task, in a residential setting. There are many ways to accomplish it - for example a pitched slope mortar bed over subfloor, then PVC shower liner/membrane on top of that, then another layer of mortar, and then finally tile:
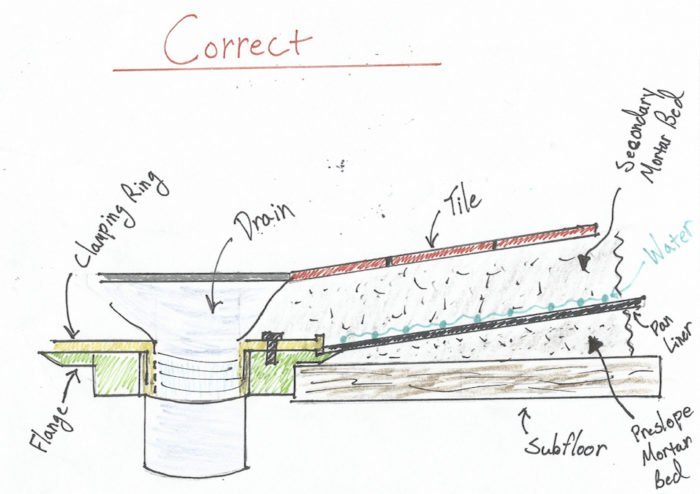
Photo/information from finehomebuilding.com
However, as you may or may not know, installing a mortar shower base in your airstream, schoolie, or RV isn't a viable option because of both weight and rigidity - driving down a bumpy highway will turn that meticulously crafted mortar base to crumbling dust in short order.
So what are your options? You can:
- Hope that you didn't foolishly throw away your original shower surround (like we did) and/or that it's repairable.
- Hope that you can find one used or new for purchase for under $2000 or that you're lucky enough to not have an-oddly sized side bath setup that makes it impossible to locate a replacement.
- Hope that you can find a local bodyshop/fiberglass fabricator make a new liner for you (for a basic pan you're looking at least $1000 or more), or be willing to learn the art of fiberglass fabrication yourself (and spend a decent amount of cash and huge amount time getting the tools and skills you need to make this happen).
- Leave your camper parked permanently and go ahead with an all-mortar base.
The Solution
None of the above were viable options for us. That left me with one route - come up with another way. After thinking about it for several weeks now, I believe I have come up with a great way to build a mortar-free, pitched slope shower pan that will have two layers of waterproofing.
If you get stuck or want to discuss, feel free to contact me - I'd be happy to share any information I can.
The Tools and Materials You Will Need
If you are an airstream/RV owner, the tools and materials you will most likely need for for this, 99% of which you can get at your local Home Depot/Lowes, are the following:
- 1/2" Baltic birch or high quality marine grade plywood
- 1/4" Baltic birch or high quality marine grade plywood
- 6-8 packs of composite/cedar shims
- Wood glue
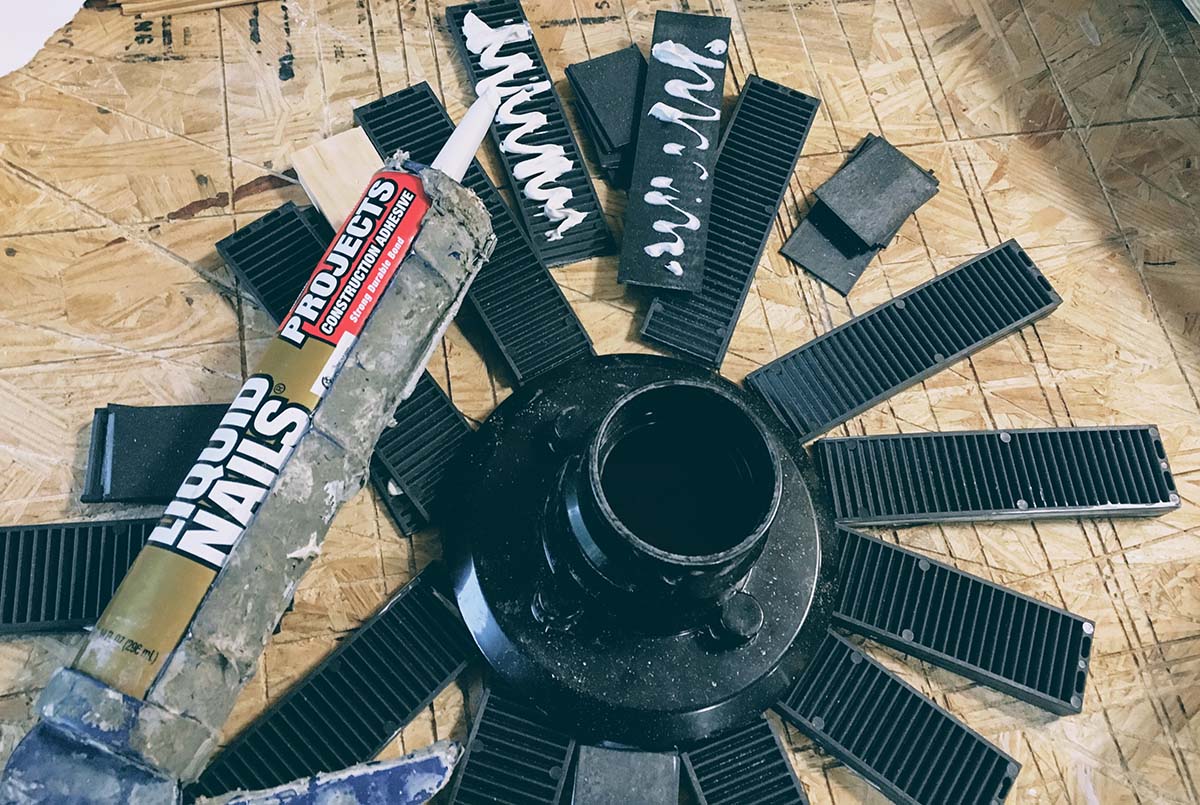
- Liquid Nails Interior Projects Construction Adhesive (and Caulk Gun)
- Great Stuff Gaps and Cracks Insulating Foam Sealant with Quick Stop Straw
- Shower Drain (we used an Oatey Black ABS Shower Drain)
- 1' length of 1.5" diameter ABS pipe
- 2" to 1.5" ABS Coupling Fitting / Reducer
- Replacement ABS U-Trap
- Oatey ABS Cement
- Oatey Shower Gray PVC Shower Pan Liner (about 3' by 3')
- Drill
- Jigsaw
- The following are the steps I took to build out my custom airstream mortar-free pitched slope shower pan:
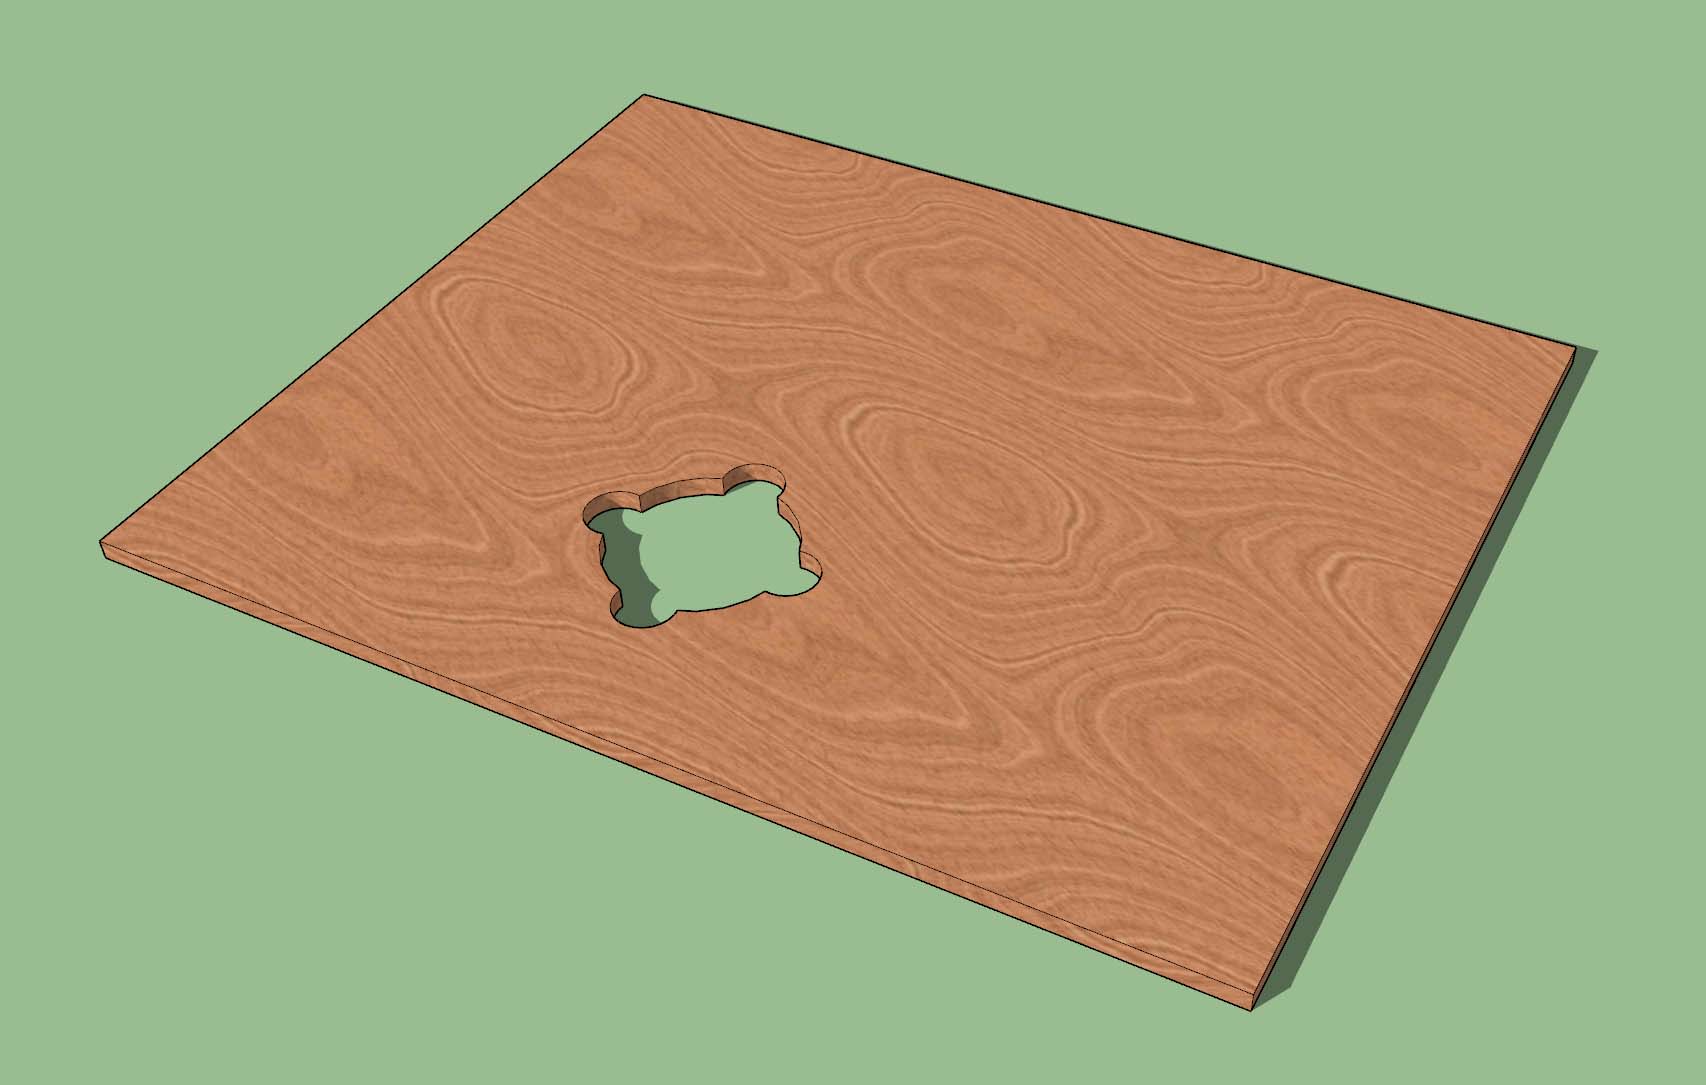
Step 1: Cut Your Plywood Base
The guide assumes you have already built out a suitable support structure on which your shower pan will rest. In my case I used pieces of 1/2" Baltic birch plywood screwed together. After your structure is in place, measure out the dimensions of your floor and cut out your 1/2" birch/marine grade plywood to this dimension. This will serve as the "subfloor" for your shower pan that your drain will rest on.
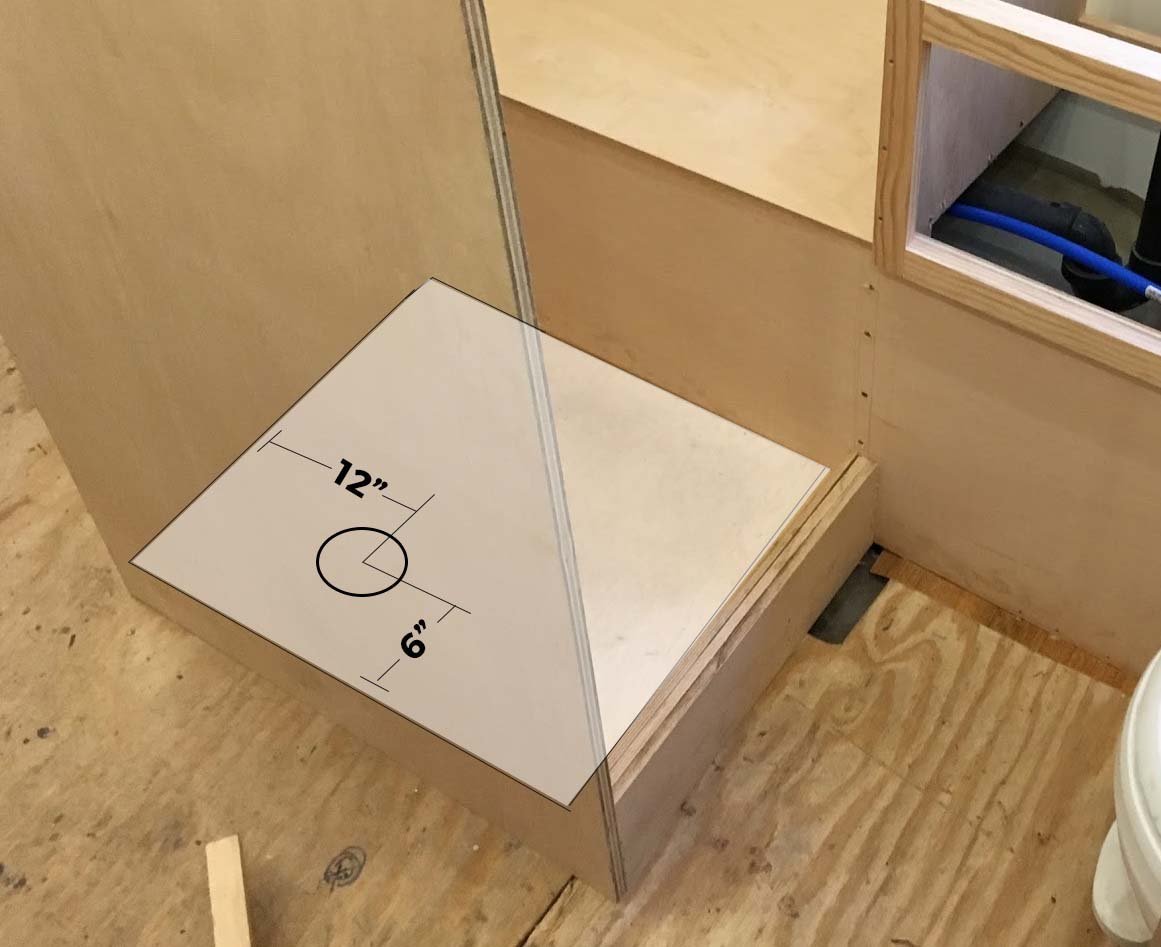
Step 2: Cut a Hole for Your Shower Drain
Dry fit your u-trap and drain into your plumbing system. Carefully measure the position of where your drain will be relative to the floor, and mark it on your plywood base. Measure the rough hole size for your drain and drill a pilot hole. Use your jigsaw to cut out the the hole.
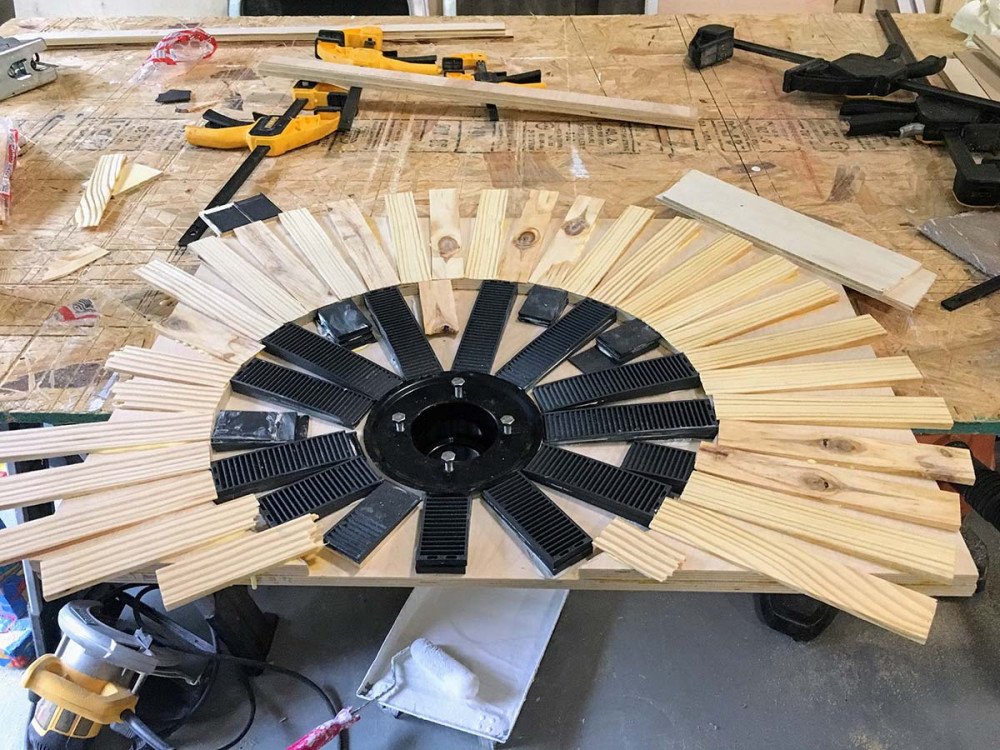
Step 3: Use Your Shims to build Pitch/Slope and Cut Second 1/2" Plywood Sheet
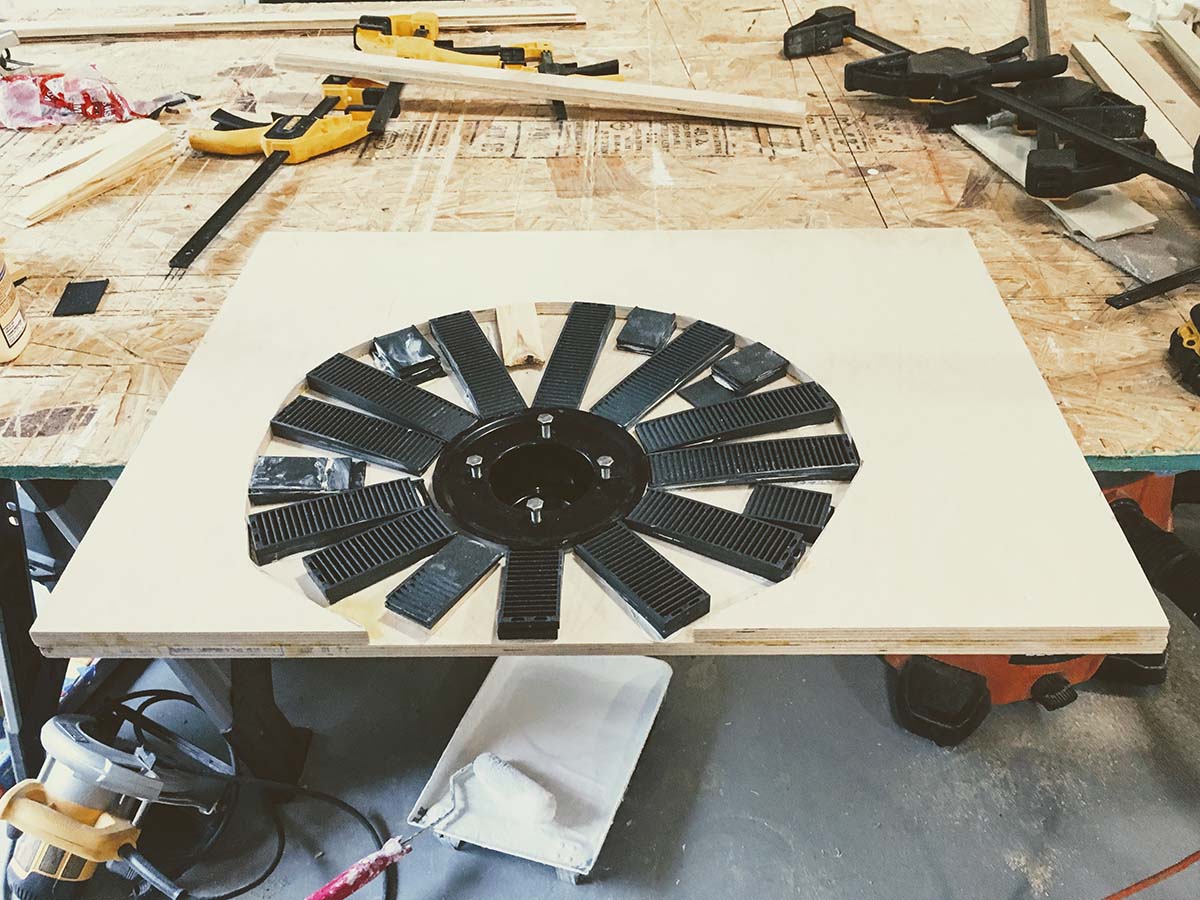
Set your drain in place. Grab your composite/wood shims and stack two on top of each other so they add up to about 1/2" thickness. Spiral these out from your drain to make a slope. Template this shape onto a second piece of 1/2" Baltic birch/marine grade plywood cut to the same dimensions as your sub floor. Use your jigsaw to cut out this shape and set in place.
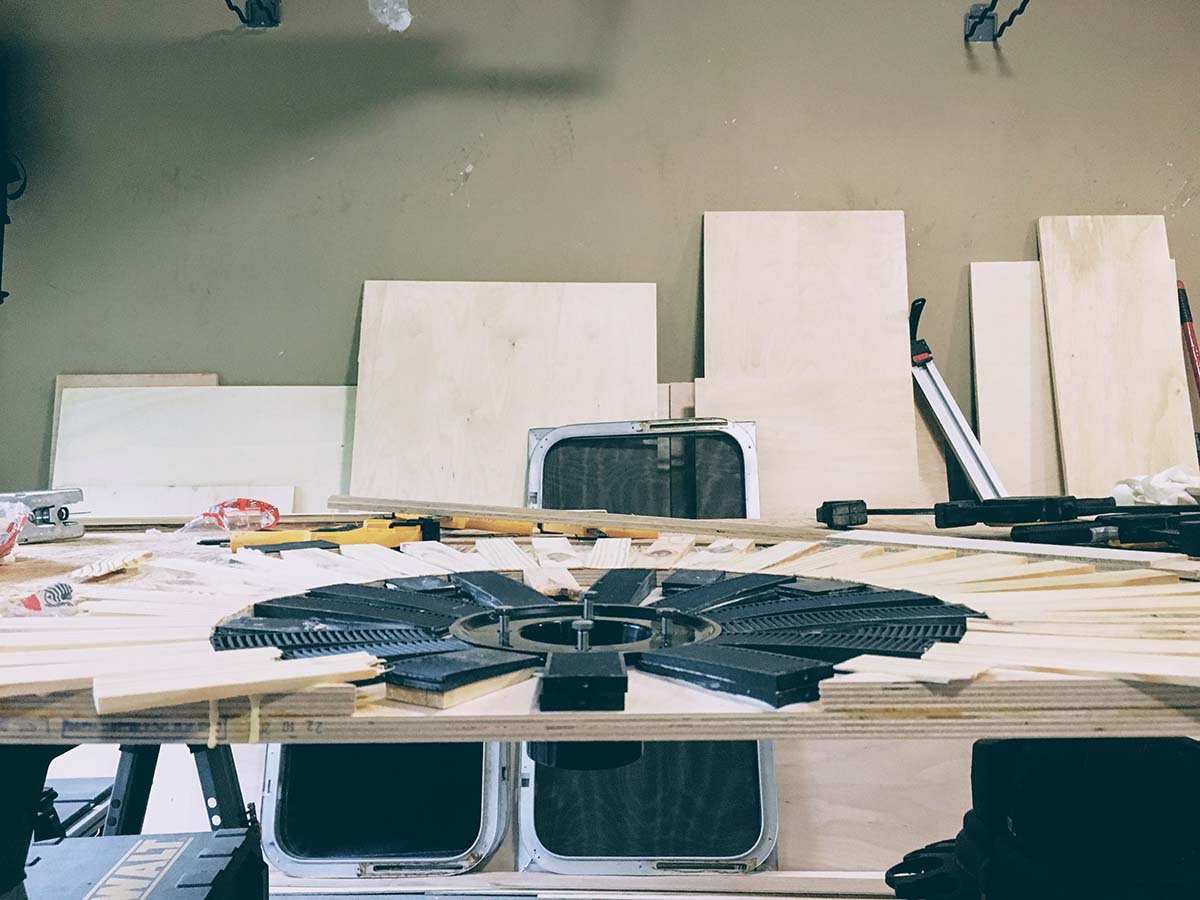
Repeat the shim process again, doubling up if desired/necessary depending on your overall shower floor dimensions; don't worry about gluing or cutting these outer shims yet.

You can now start to see how this will shake out, looking at it from the side shows a perfect slope towards the drain:
Step 4: Glue
Liberally apply wood glue between the layers of plywood and under the wood/composite shims. Do not worry about cutting your shims that are hanging off the edges, it will be easier to cut them all at once when everything is secured and dried. I used construction adhesive to join together my composite shims due to the ridged structure.
Step 5: Spray Foam the Voids
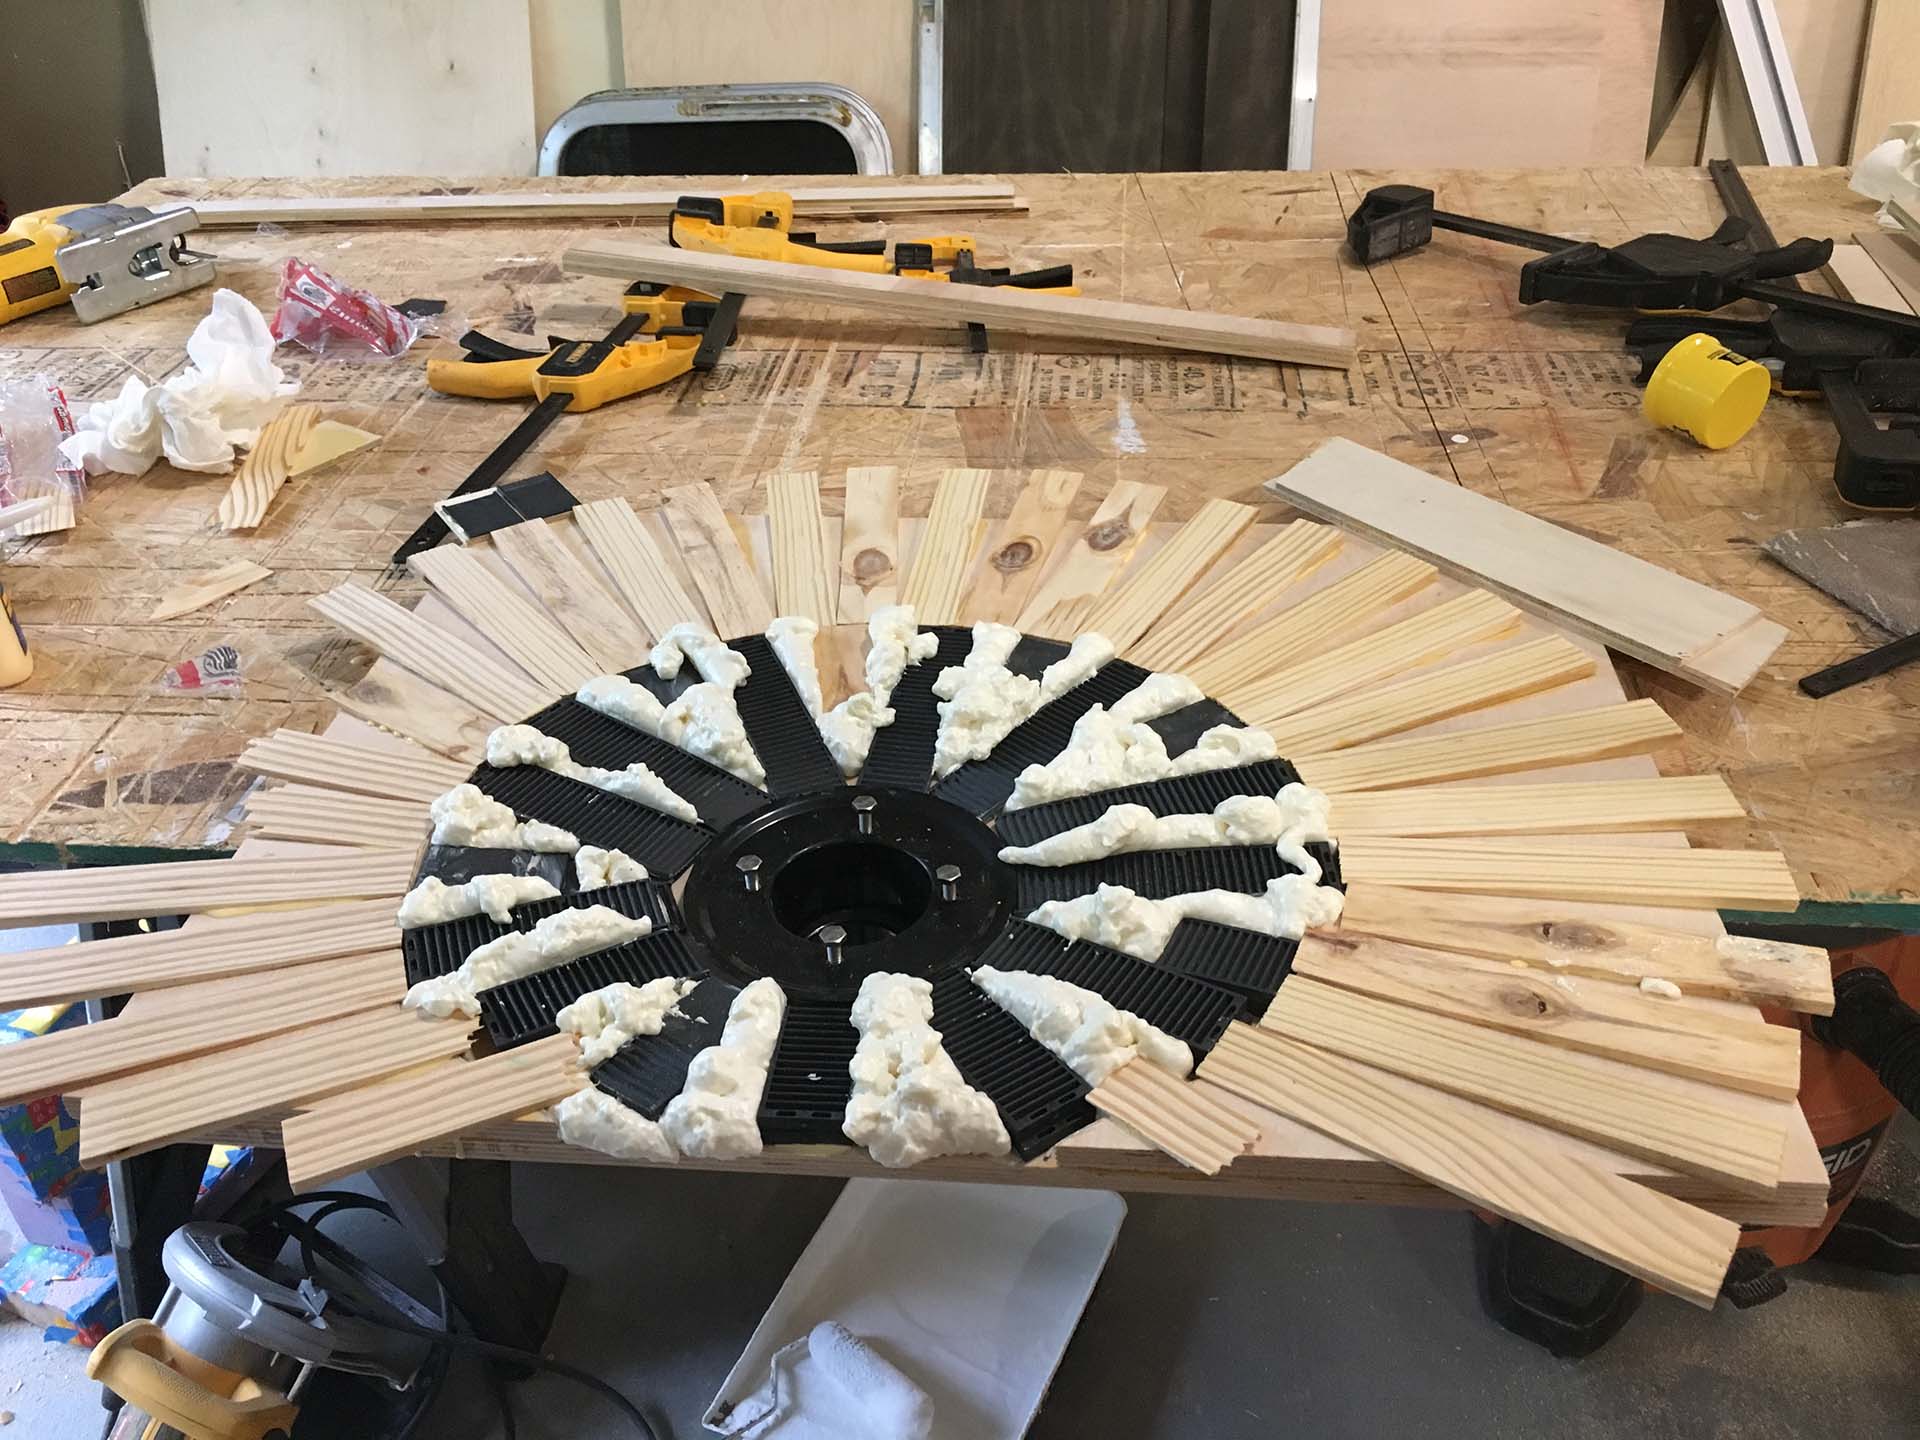
This step is really optional, but I decided to go for it since I was doing all this work as it is. Simply spray in the foam between the larger voids and wait for it to cure.
Step 5: Trim the Overhanging Shims
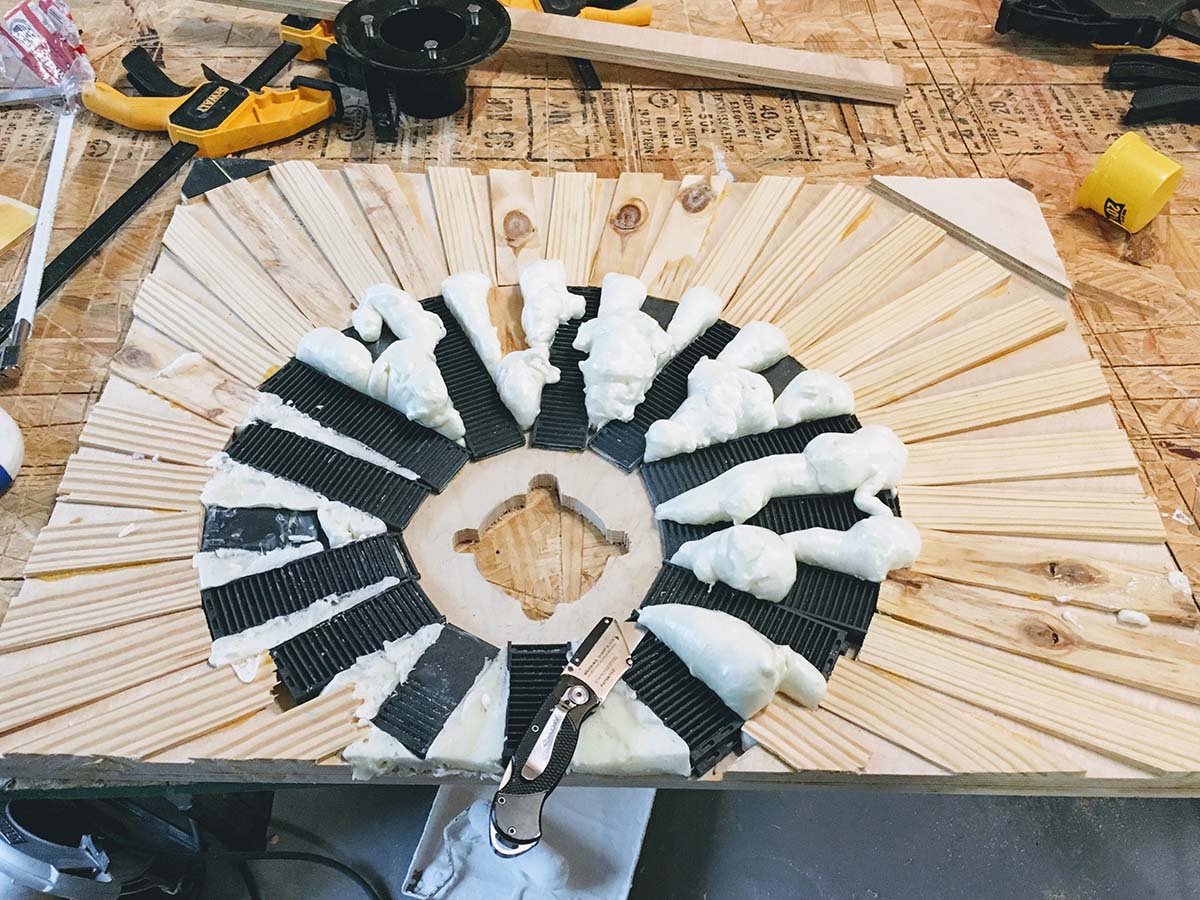
Trim off the overhanging shims using a hacksaw or jigsaw, and trim your foam with a razor knife.
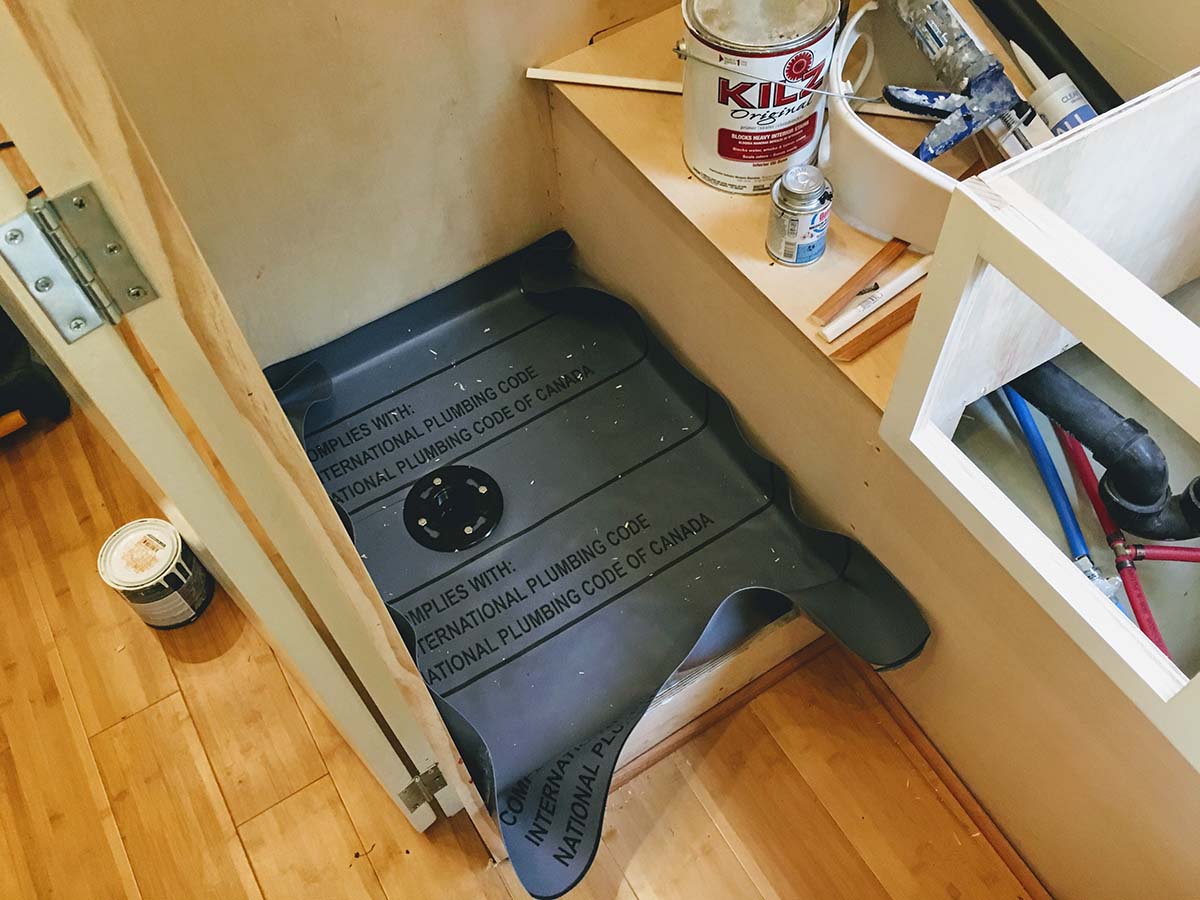
Step 6: Install Drain
Set your shower pan in place. Dry fit your drain assembly and make sure everything lines up correctly. Cut a section of ABS pipe to size as needed to cover the gap between your u-trap and the bottom of your flange, adding in your 1.5" to 2" reducer/couple to make the transition between your 1.5" ABS pipe and the 2" drain. Double check everything, then use the Oatey ABS Cement to bond everything together and hold for thirty seconds while the cement sets.
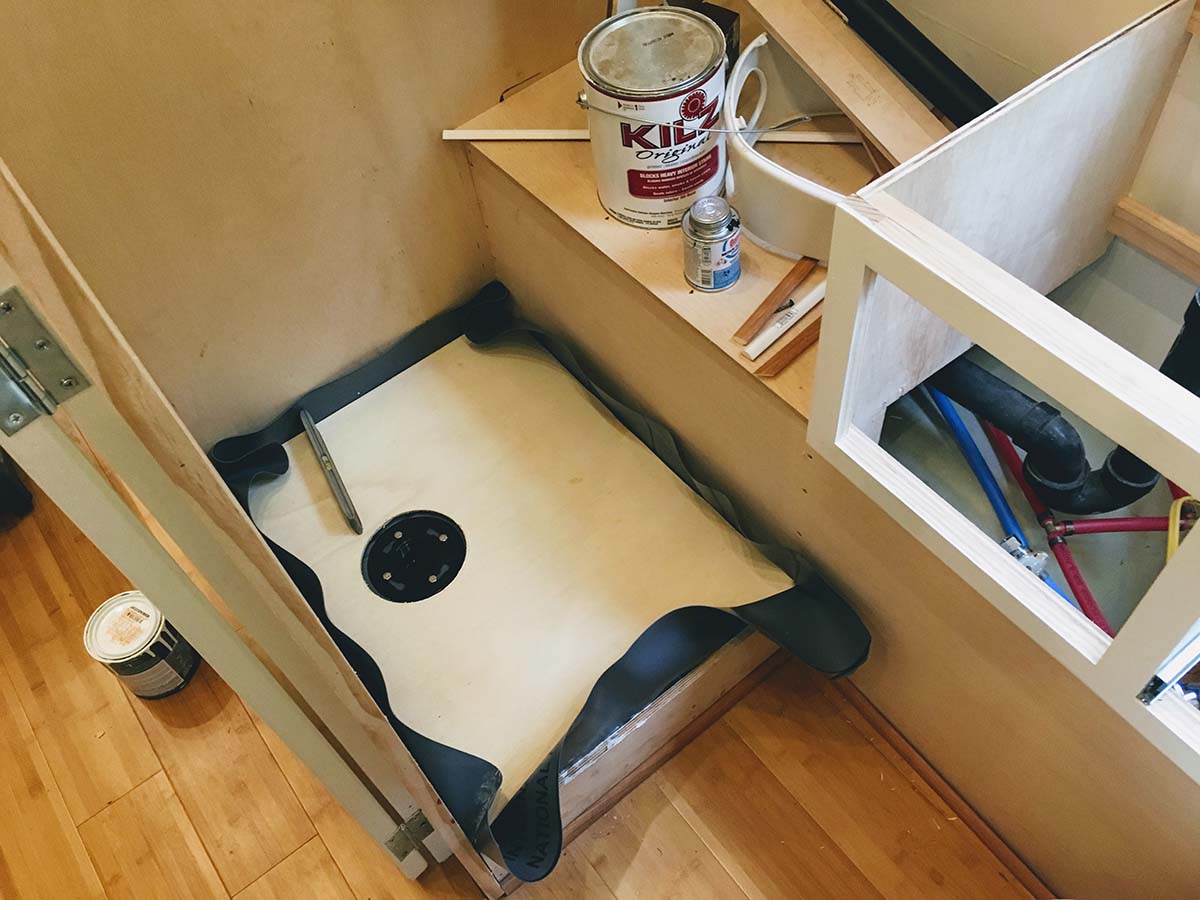
Step 7: Install PVC Shower Liner
This is the first step in waterproofing. First, cut your PVC liner to size, adding about 3-4" inches all around and a little more for the "curb"/entrance area of the shower. Then, cut your 1/4" plywood sheet to the same dimension as the shower pan, and mark and cut a hole for the top piece of the shower drain flange assembly. Install the PVC liner directly to the platform you just built. The below video shows this process well, with the obvious difference of subbing out the mortar base with the wood base you just built:
I used construction adhesive under the PVC liner to attach it securely to the wood. Immediately proceed to step 6.
Step 8: Install 1/4" plywood tile base
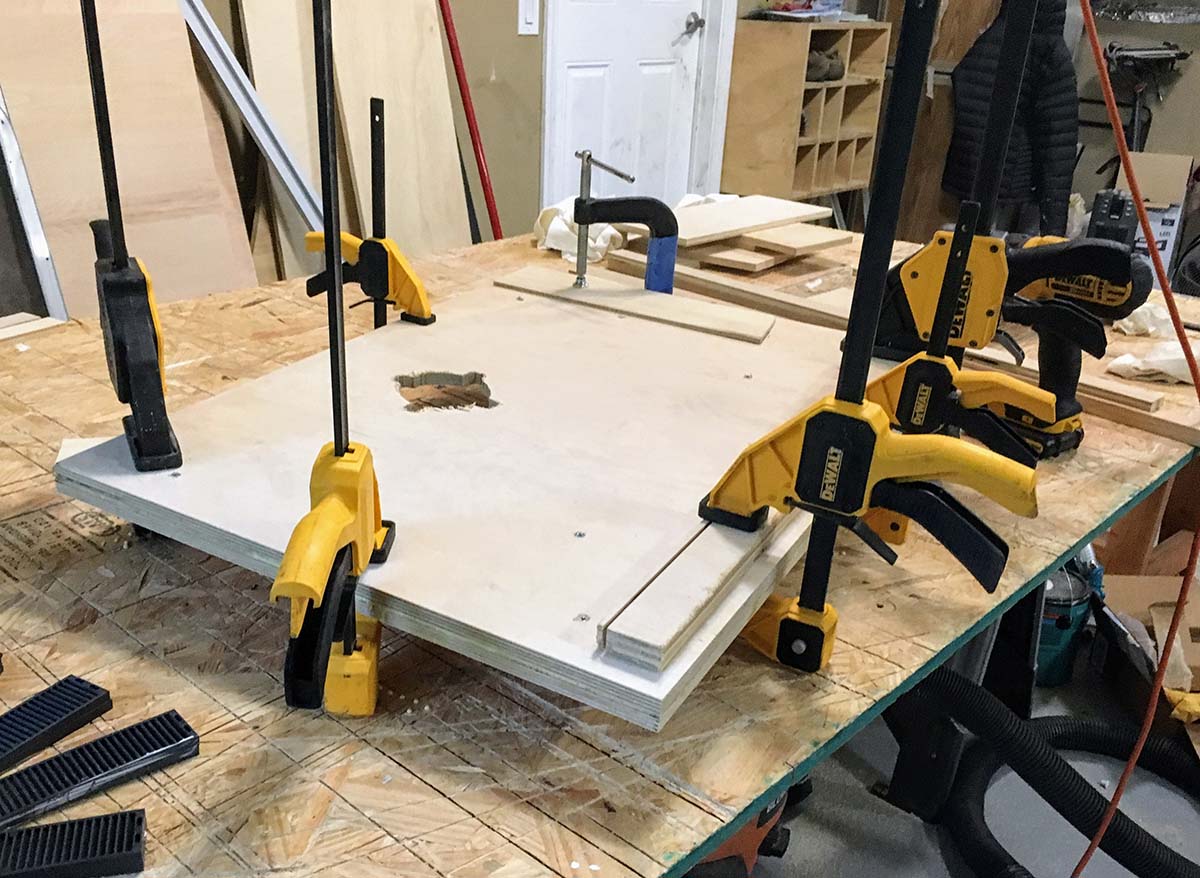
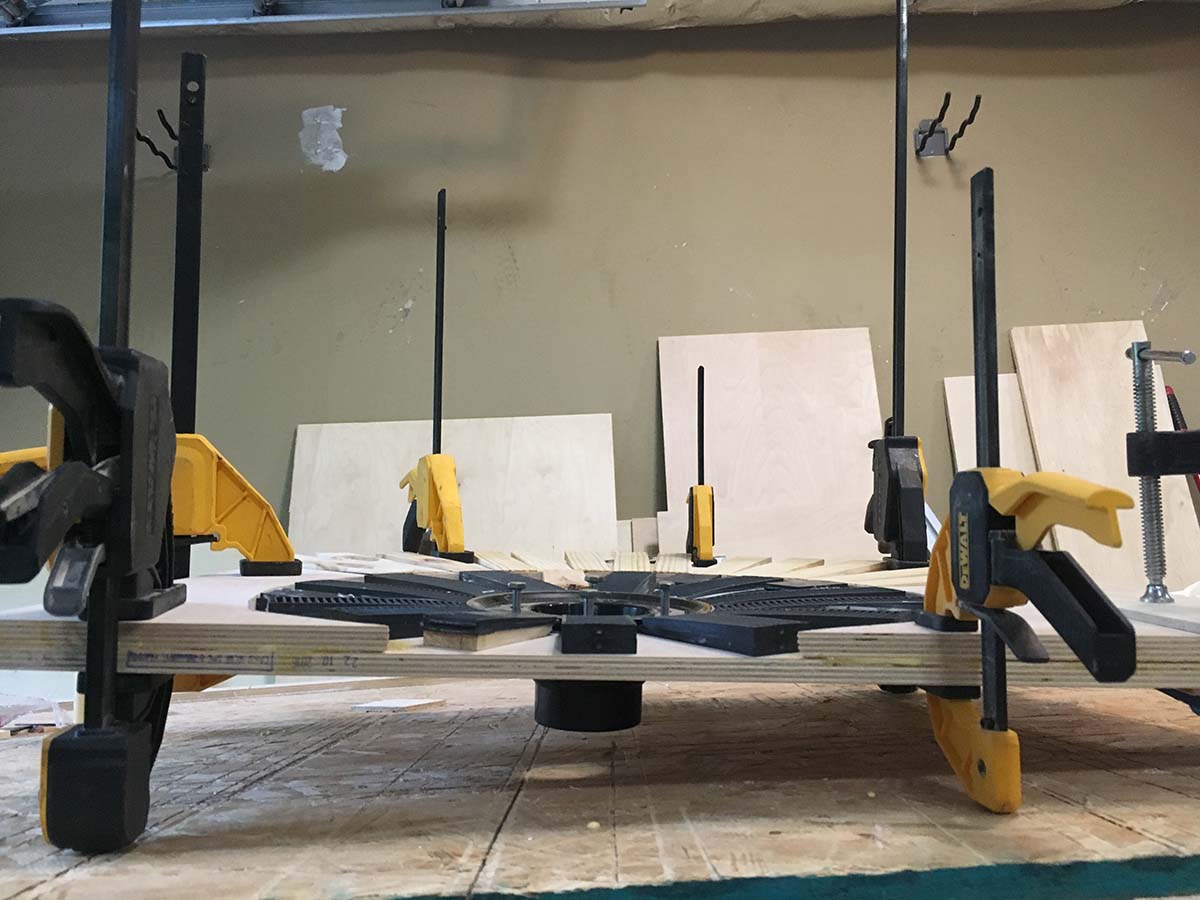
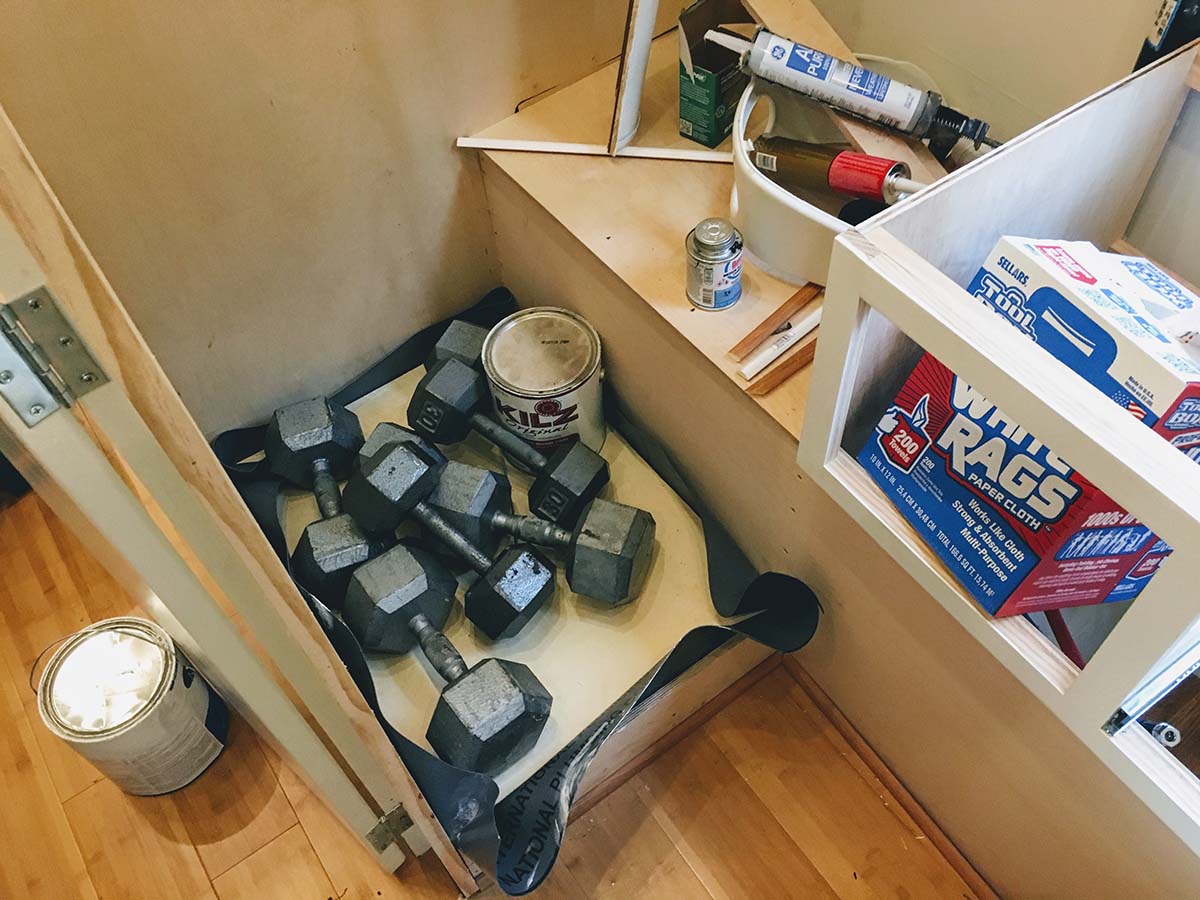
Attach the top portion of the drain flange assembly and secure in place (see video above for how to do this). Next, add some construction adhesive or 100% silicon liberally on top of the liner in a zigzag fashion. Next, place your 1/2" plywood on top of the liner/glue:
Check your pitch, which should be spot on because it should still follow the contour you've established throughout. To ensure everything stays tight to the pitch/slope, use weights/water-laded buckets/anything heavy to set on top while everything cures:
Up Next: Flexible Water Proof Membrane and Tile
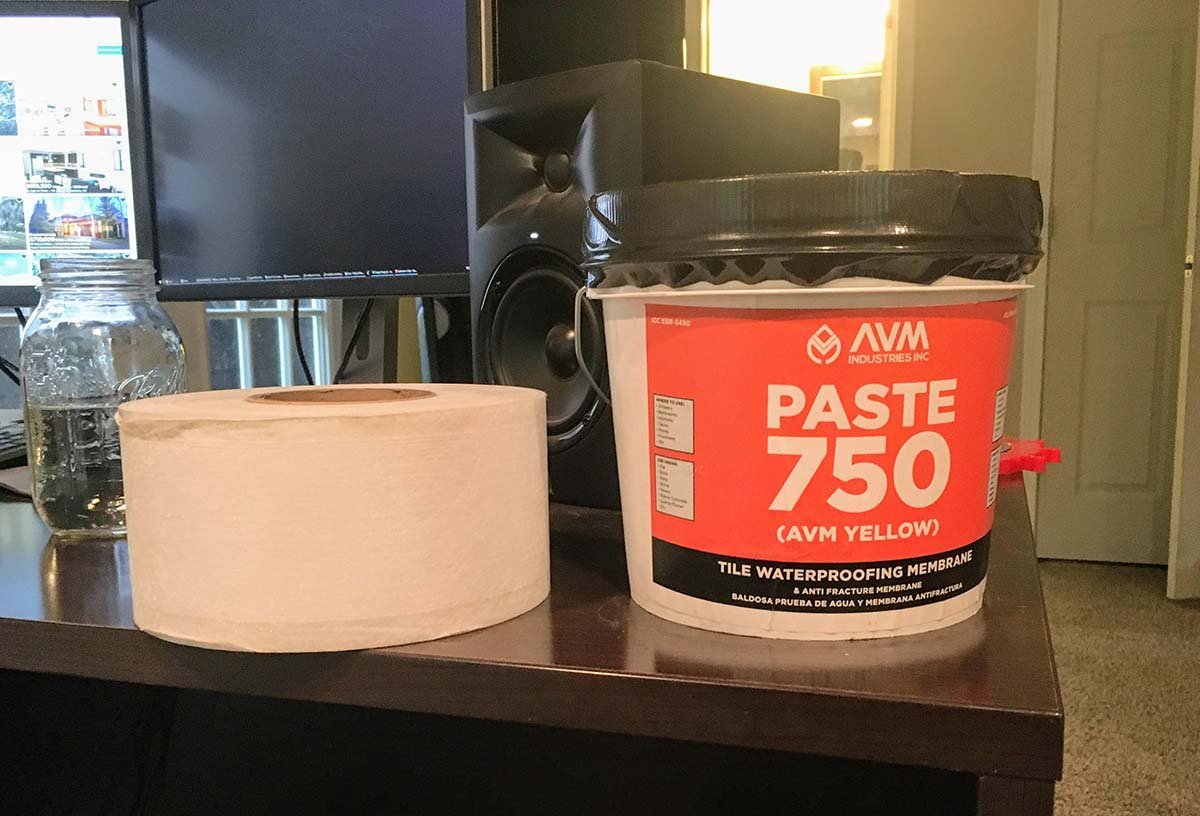
The next post will provides details on the second phase of the shower pan/waterproofing process, which involves the application of the water proofing membrane (AVM 750 Paste/Fabric Mesh). This will go directly on the plywood structure, and once cured will form a flexible water proof membrane that you can apply thinset and tile directly on.
If you get stuck or want to discuss, feel free to contact me - I'd be happy to share any information I can.
Posted in the category Renovation.
Other articles to consider
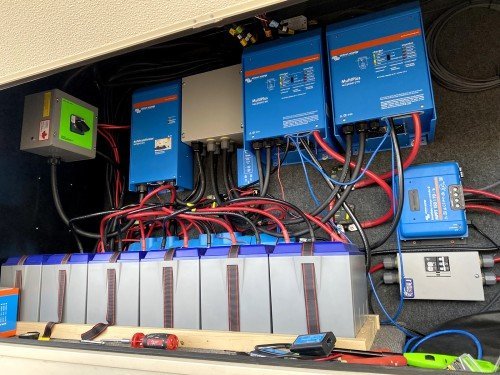 Nov1Dual Victron Multiplus 3000 3-Phase 50amp Power Issues
Trouble in Paradise
...See Details
Nov1Dual Victron Multiplus 3000 3-Phase 50amp Power Issues
Trouble in Paradise
...See Details May18Clinton Lake, KS and Sioux City North, SD
We finally are ready to...See Details
May18Clinton Lake, KS and Sioux City North, SD
We finally are ready to...See Details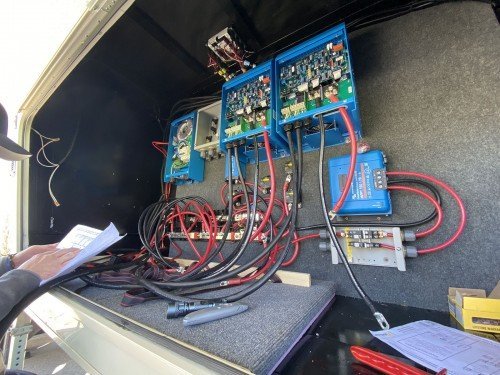 May1(Almost) The First Half of 2020
Wow, what a crazy (almo...See Details
May1(Almost) The First Half of 2020
Wow, what a crazy (almo...See Details Nov20We Sold the Airstream!As our family continues to get older (an...See Details

Comments