
Subfloor Install
January 29th, 2017


Wow, what turned out to be something I hoped would take a few days has really stretched out. First the leaks, then delays because of deciding on layout, and then dealing with new tank sensors and plumbing put a wrench in our plans. However we still pushed on, start with first addressing the lack of center supports in the front of the trailer:

We once again enlisted the help of our neighbor to grind and weld on new supports:

Next up, using the old floor pieces as much as possible as a template:
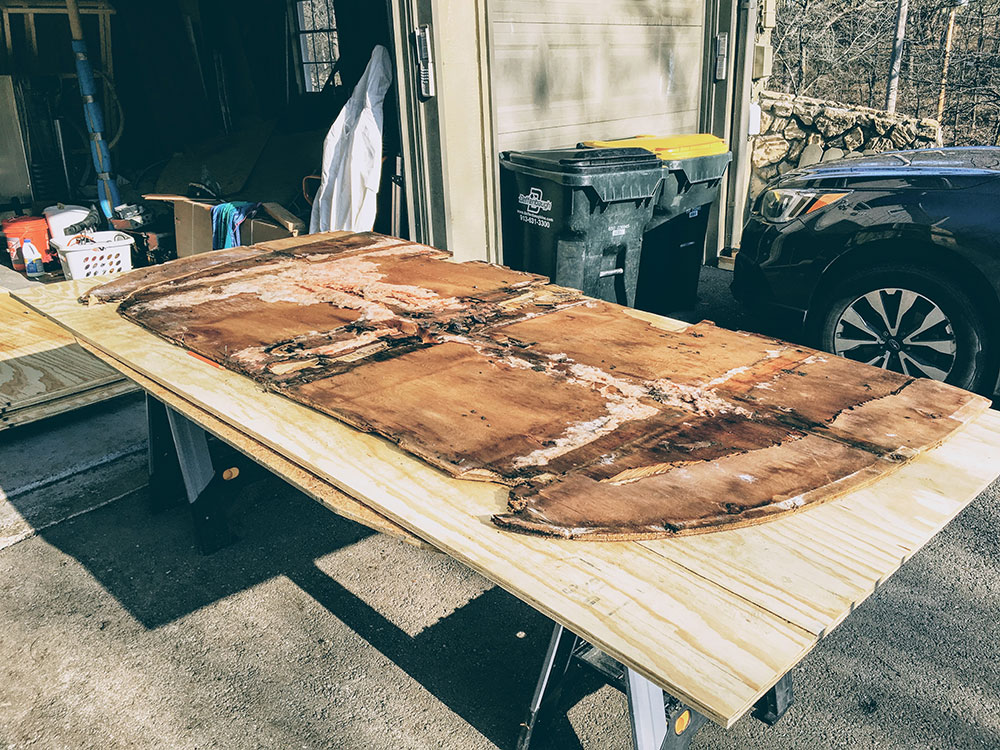
By the way, in the end the old floor was so damaged we ended up not being able to rely on it. We ended up using cardboard as a template and that worked well.
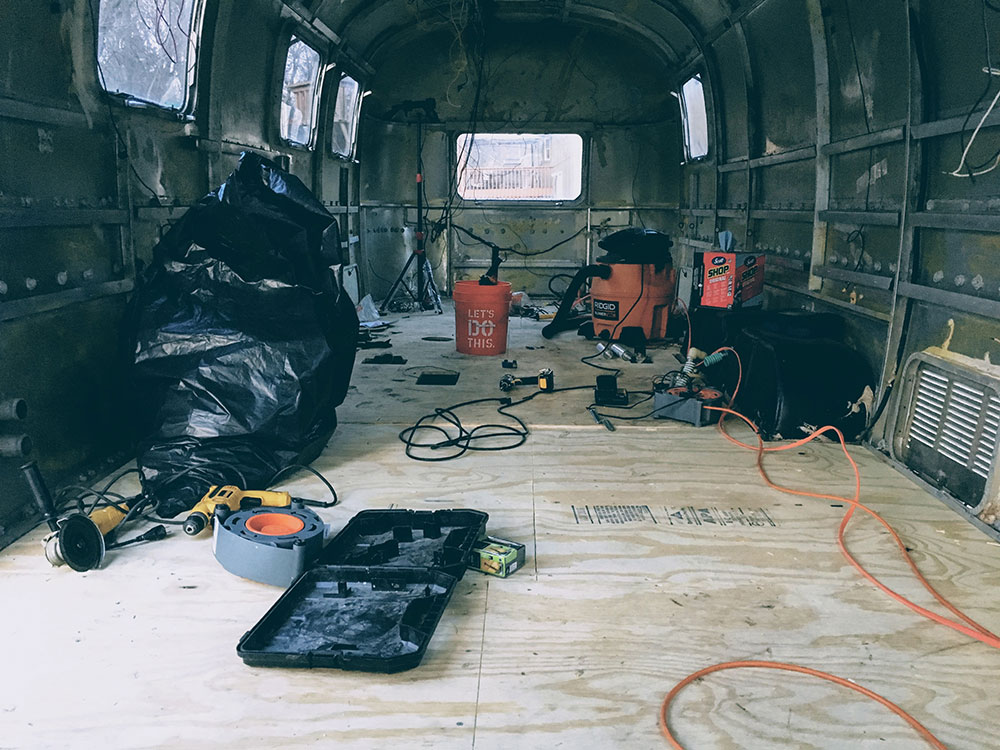
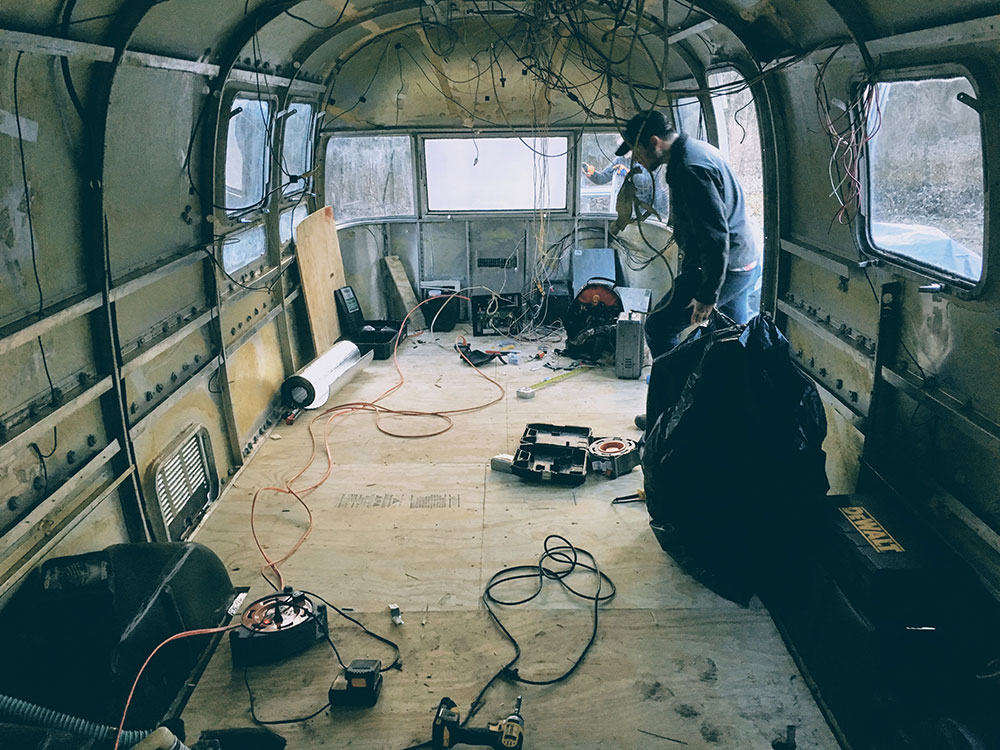
Then on to installing it. I didn’t take many photos of this process, but let me say that if I were to restart this project, I would strongly consider a frame-off restoration. Dealing with getting the plywood jammed into the c-channel was a chore to say the least. Of course by the time the last pieces were installed it was down to a science, but boy it was slow-going at first:

But we got it done (with help from my kids and father-in-law):
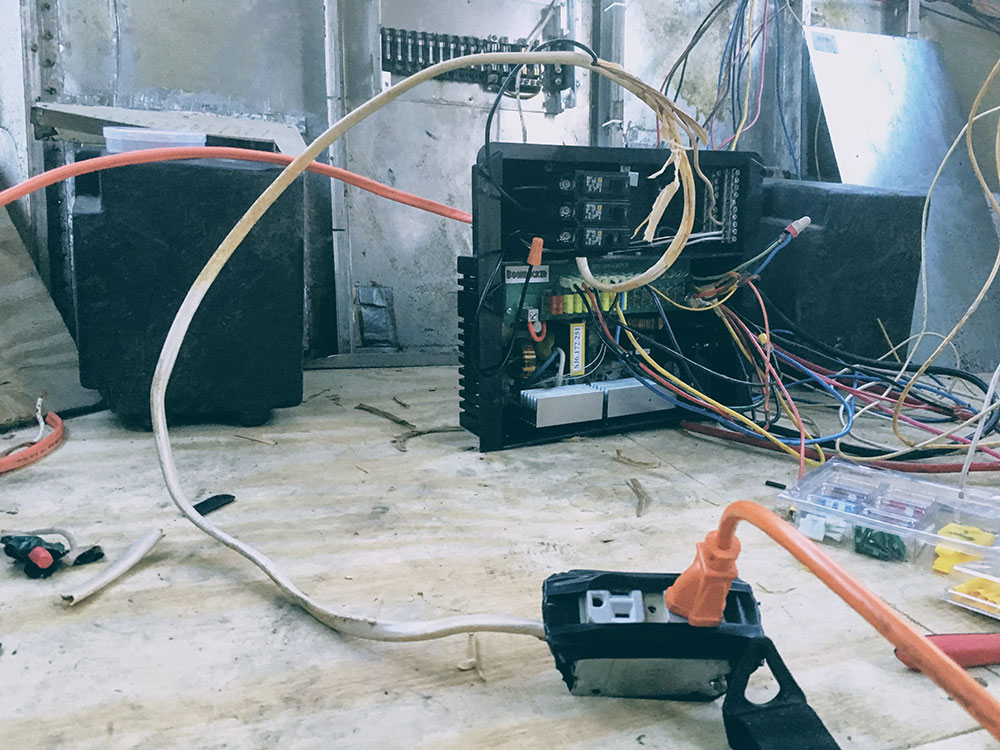
I also had a college buddy who is an electrician come down to setup and test our new Boondocker Power Center. He had it rigged up in no time and we confirmed working shore power and battery power:
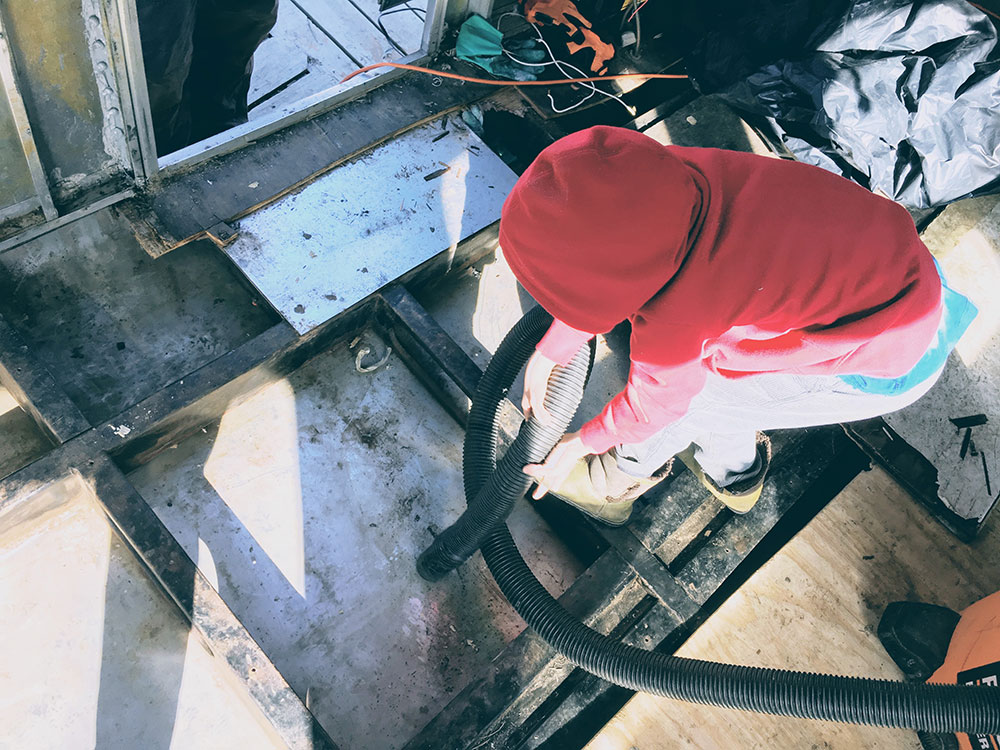
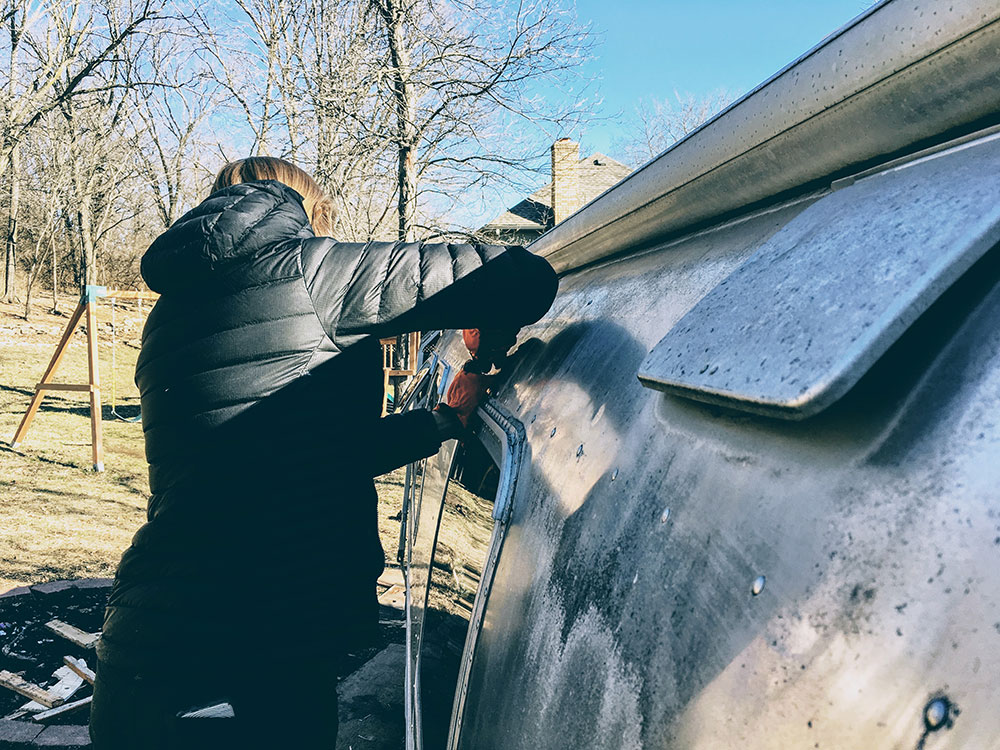
While my father and law and I were finishing up the floors, my better-half was diligently working away on scraping away the final bits of caulk on the exterior so we can put on new:
I will say, there were some moments this last week where I was ready to completely throw in the towel (or light this thing on fire) - one specific moment that stands out was when I had cut out (for a third time) a new curved plywood piece for the the endcap, installed it (whacking with a 2x4/sledgehammer) and then realized I needed to pull it back out because it was pushed the frames close to falling off the outriggers. However, getting the floors installed and having a solid surface to walk on was a huge win, and we are more motivated than ever to get this finished out.
Posted in the category Renovation.
Other articles to consider
 Nov1Dual Victron Multiplus 3000 3-Phase 50amp Power Issues
Trouble in Paradise
...See Details
Nov1Dual Victron Multiplus 3000 3-Phase 50amp Power Issues
Trouble in Paradise
...See Details May18Clinton Lake, KS and Sioux City North, SD
We finally are ready to...See Details
May18Clinton Lake, KS and Sioux City North, SD
We finally are ready to...See Details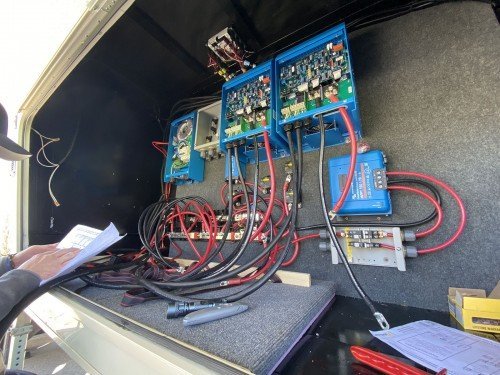 May1(Almost) The First Half of 2020
Wow, what a crazy (almo...See Details
May1(Almost) The First Half of 2020
Wow, what a crazy (almo...See Details Nov20We Sold the Airstream!As our family continues to get older (an...See Details

Comments