Dinette Prototyping, Ceiling Installation, and Flooring/Counter Decisions
March 10th, 2017
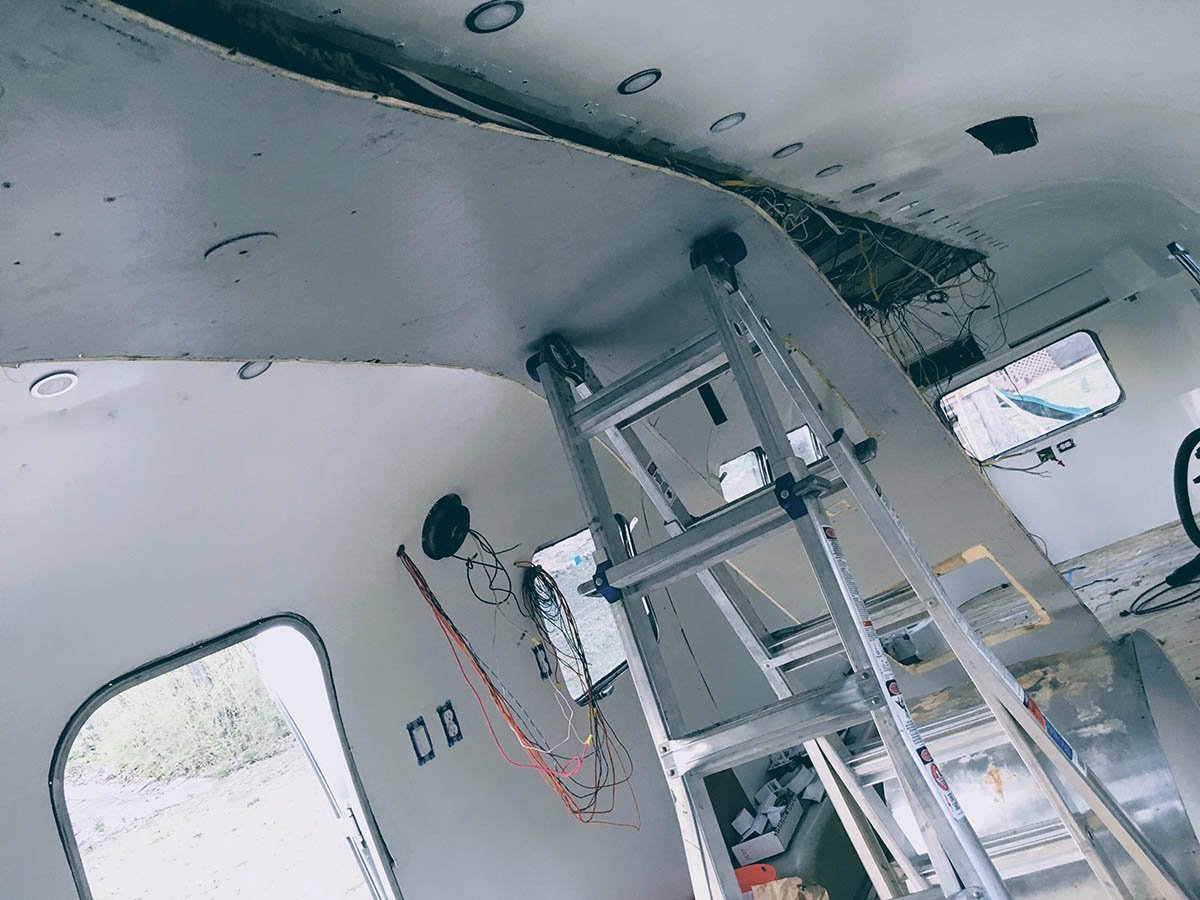
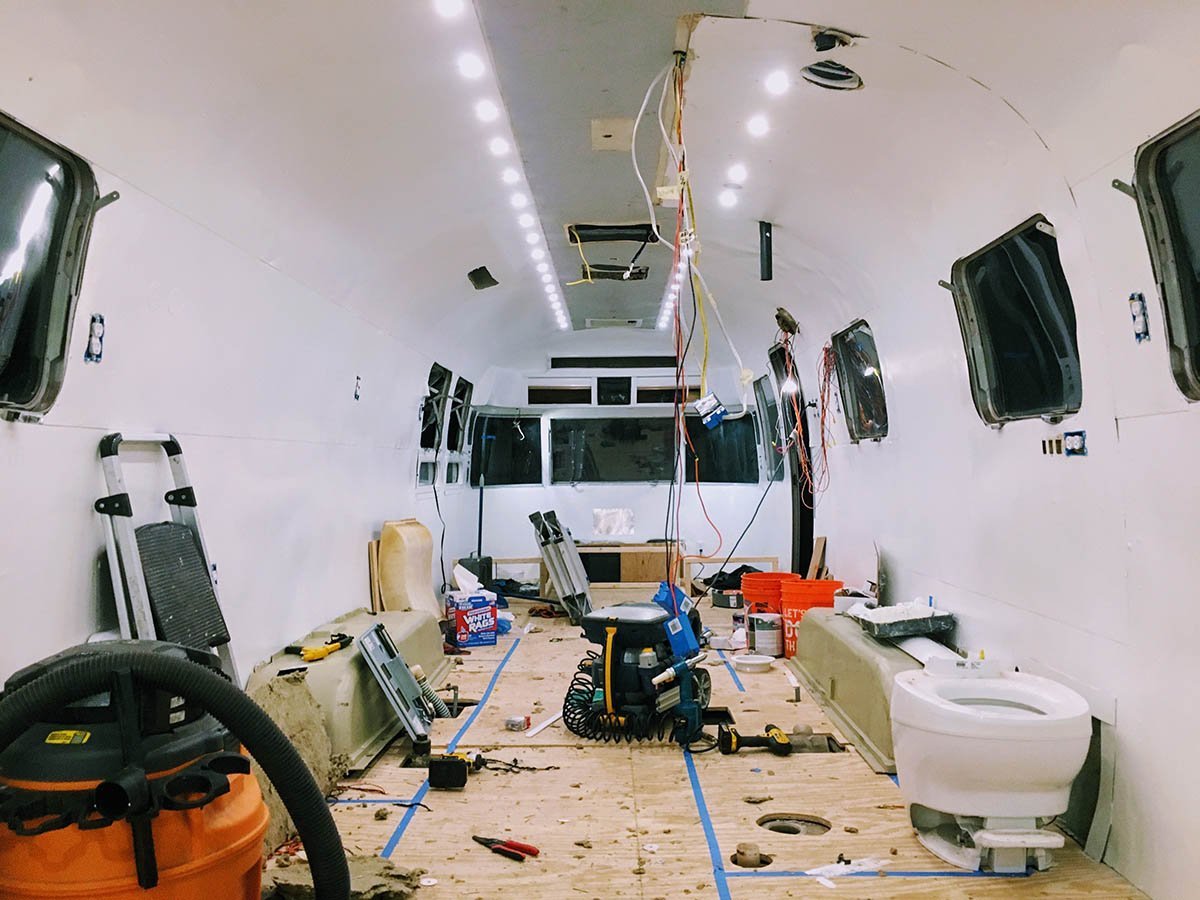
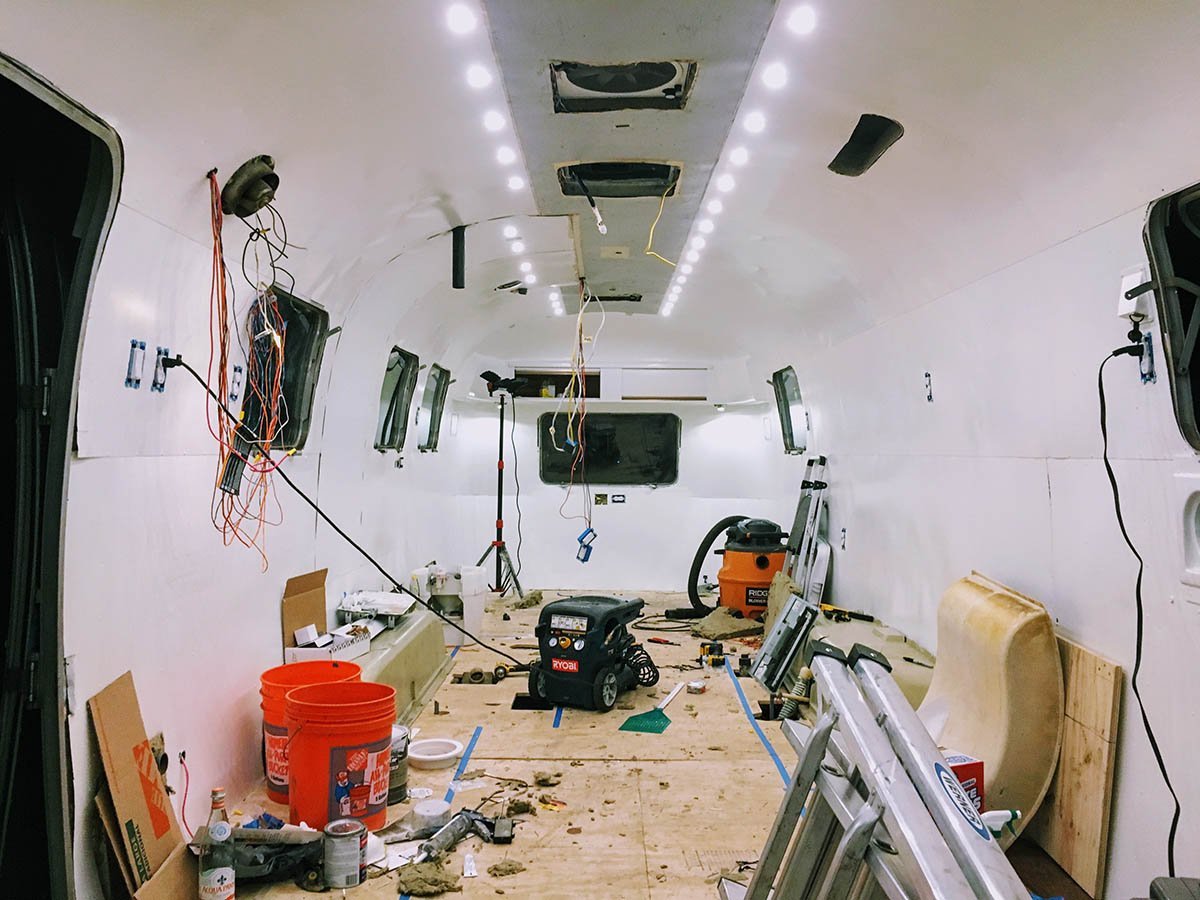
All of the lights are installed and it's finally time to seal up the last bit of the interior skins: the center ceiling panel.
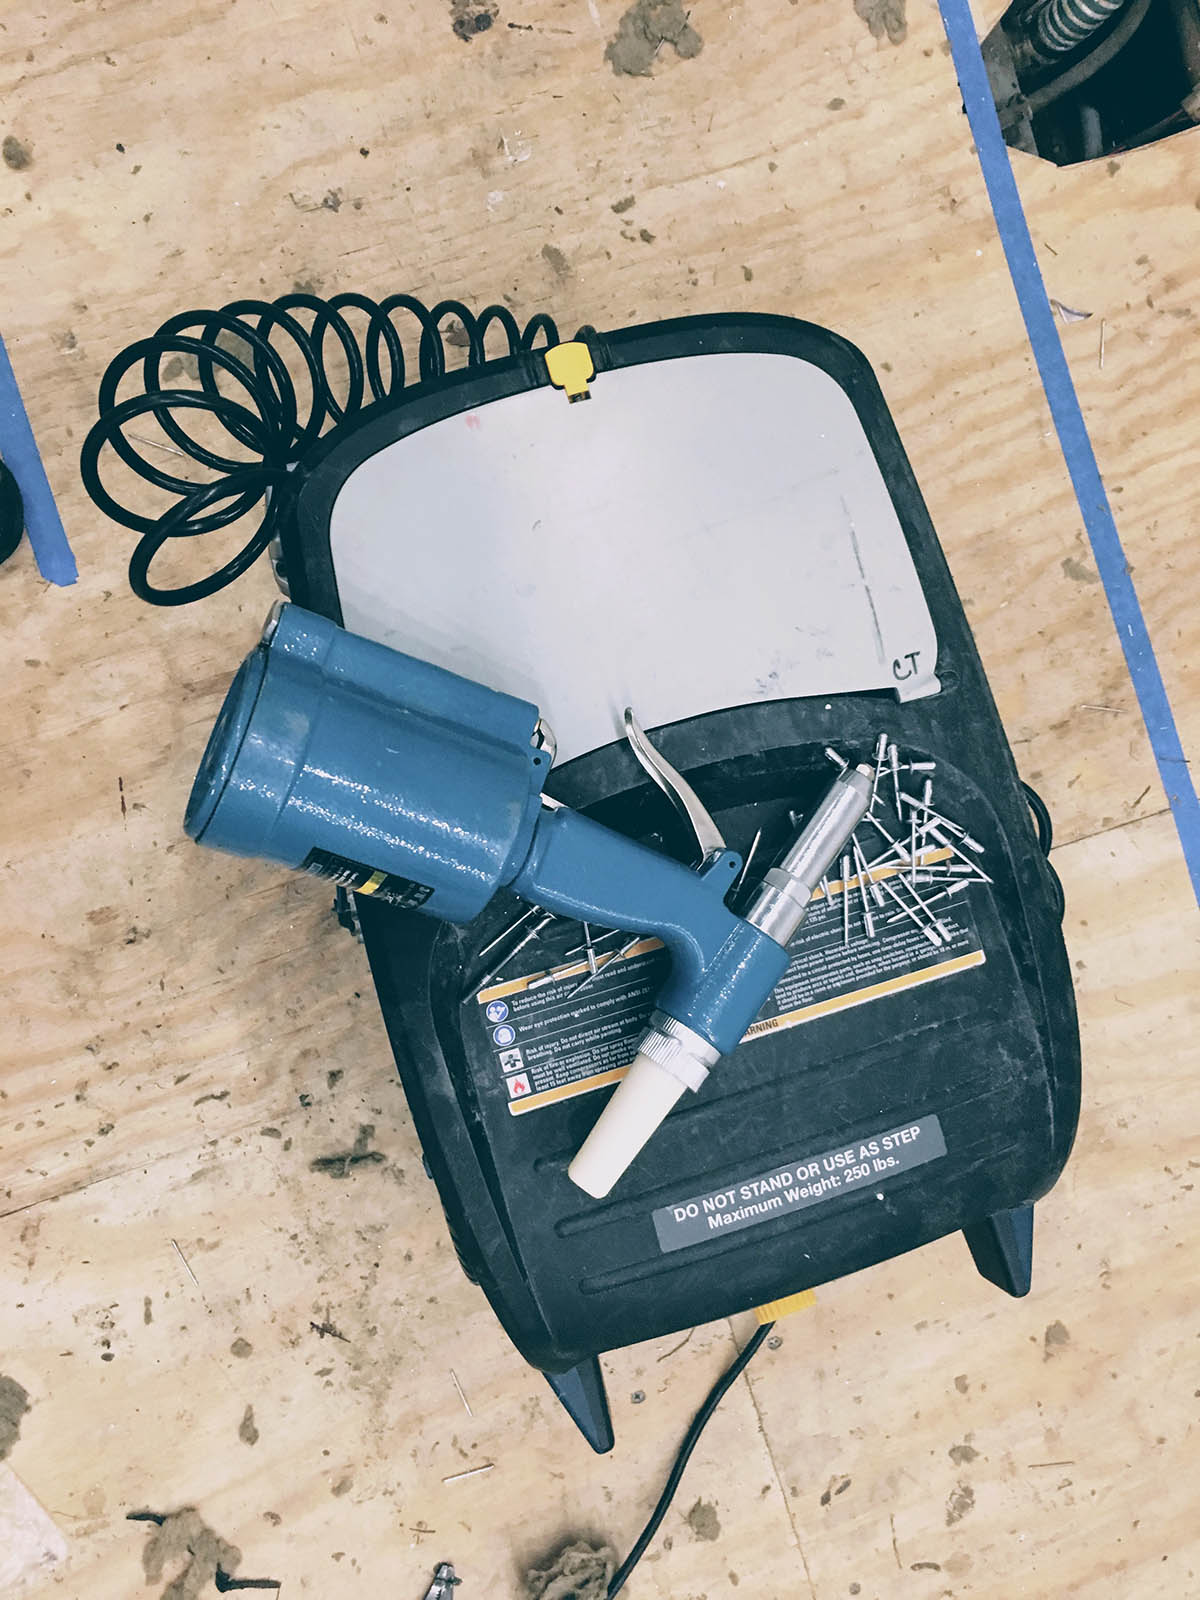
I mentioned in an earlier post that I had purchased a pneumatic riveter from Harbor Freight, and boy am I glad I did. This thing is amazing and makes the job of riveting pretty darned easy.
There are tons of blogs and YouTube videos that explain the process of removing rivets and installing new ones, so I won't go into that here, but the below photos sum up the last couple weeks of my life pretty well; step 1 - drill out old rivet hole, step 2 - put in new rivet (and repeat):
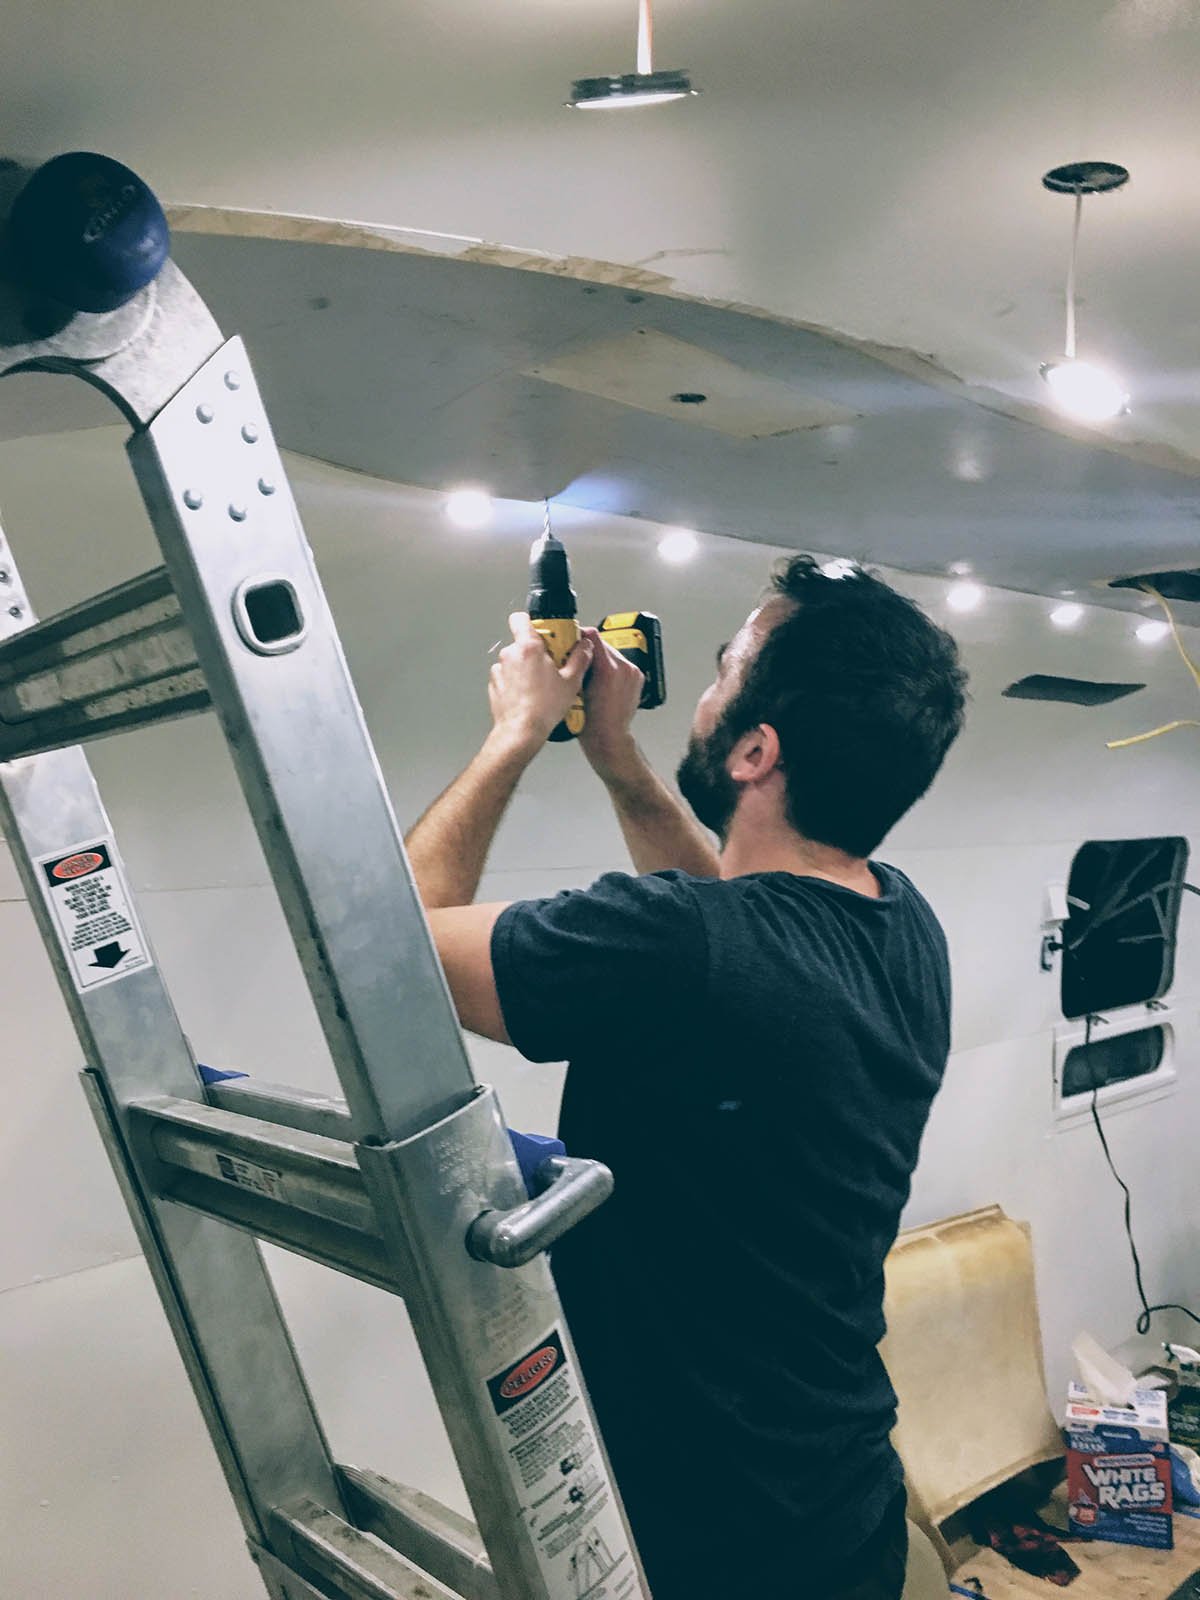
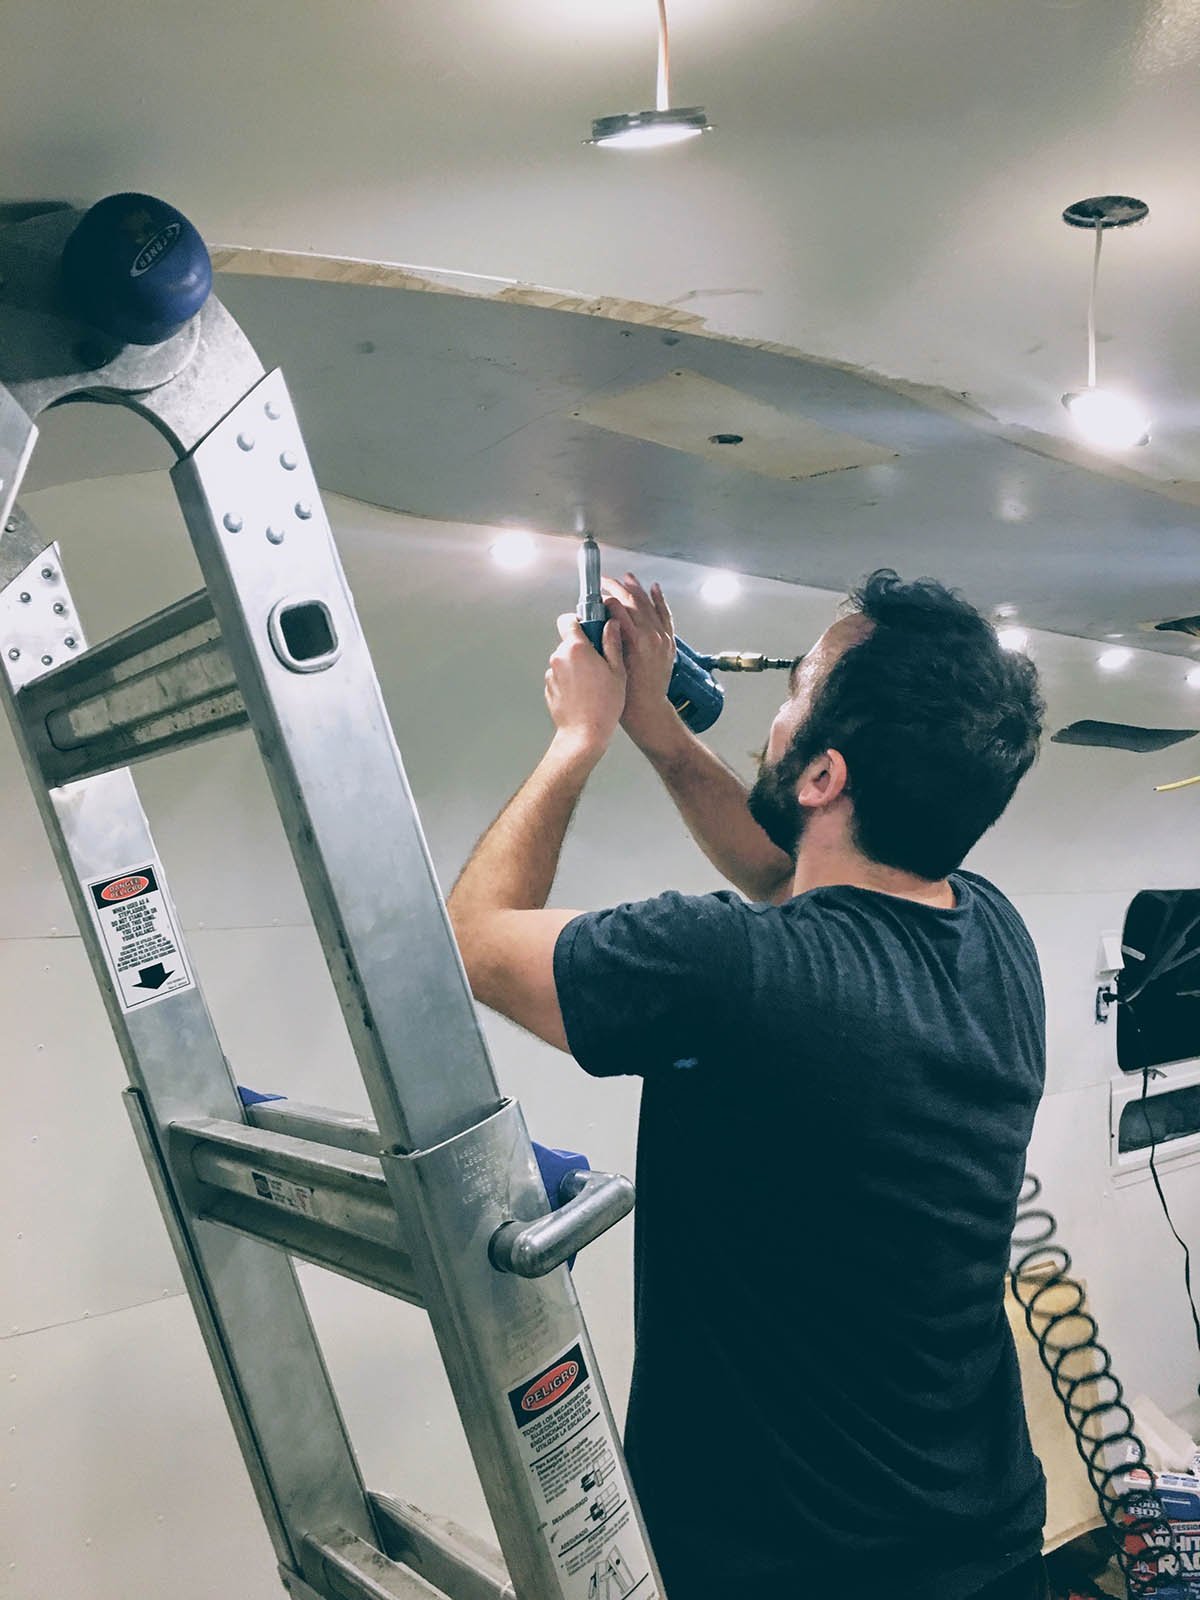
Even without paint it's looking pretty (messy but) great!
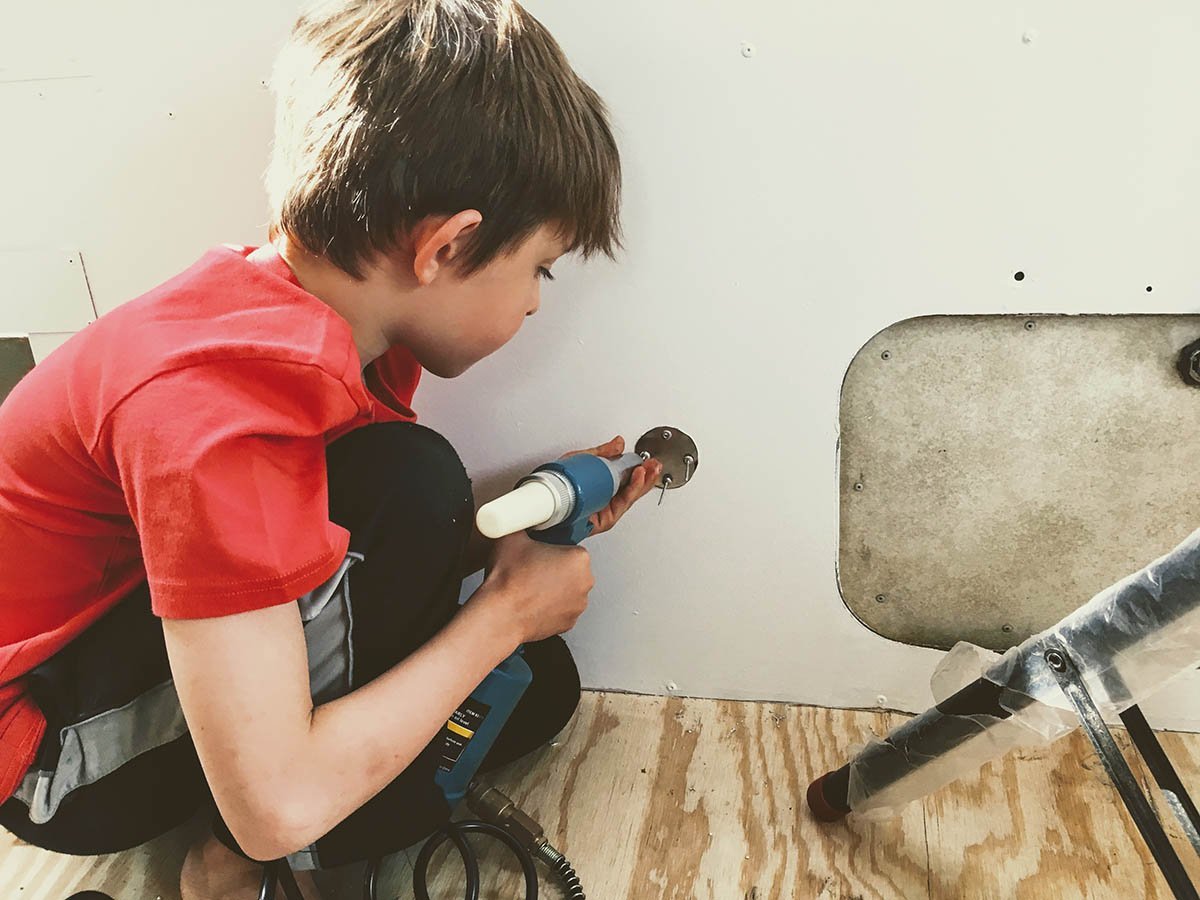
We still have a few patches to put in, but luckily I have a full work crew to assist:
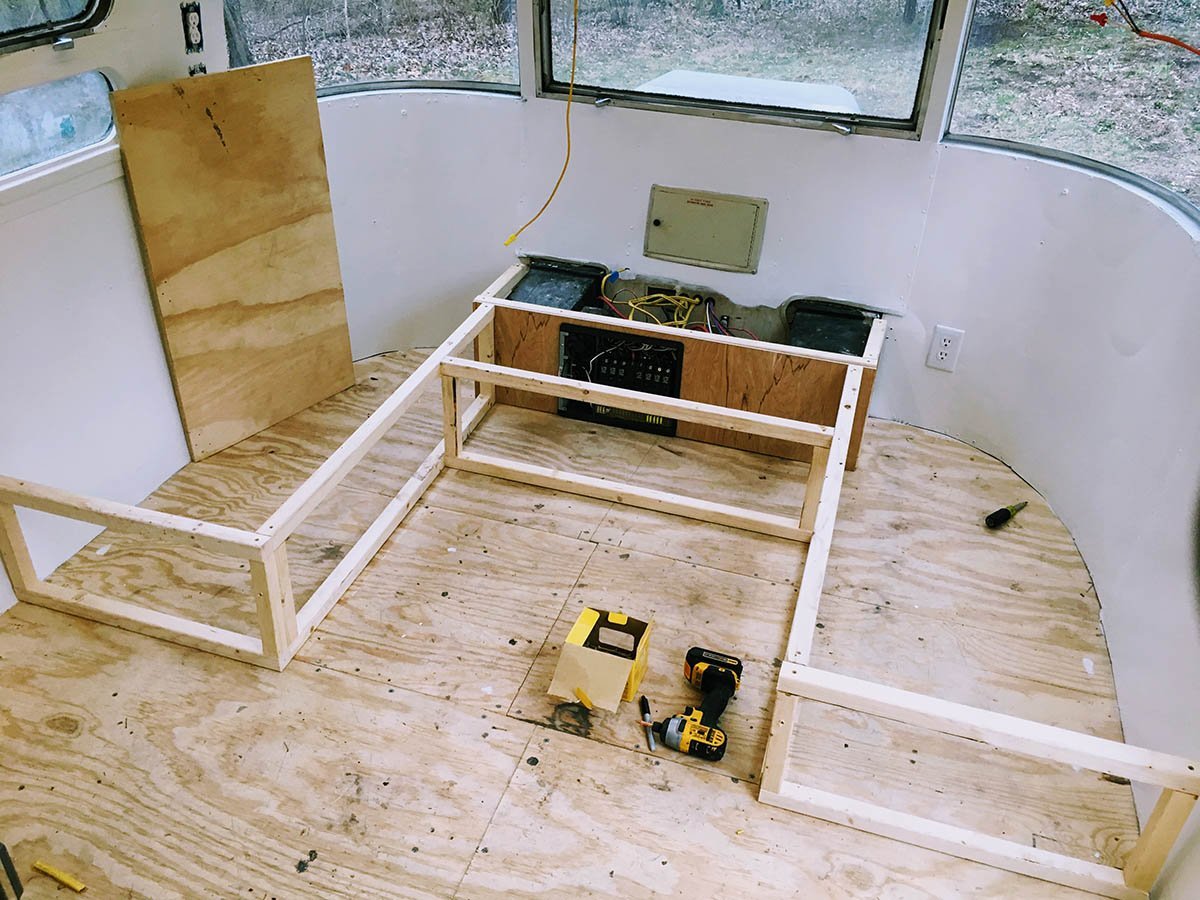
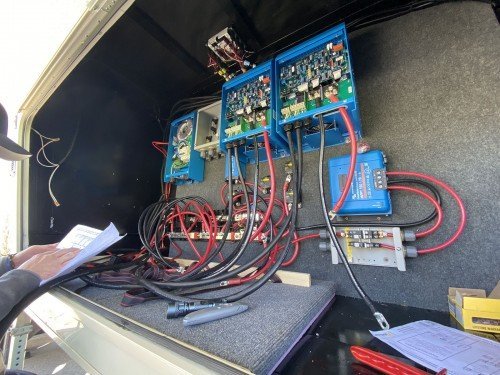
Next, I began prototyping the dinette. We honestly had no idea if we would want a u-shaped dinette or not, so to give us an idea of how it would feel, I quickly mocked up a basic frame using 2x2 lumber I had lying around. I have to admit, I'm really liking the look and feel of a u-shaped dinette over the old couch/goucho setup we had before. Also shown in this photo is the framed out/completed power center and battery compartment.
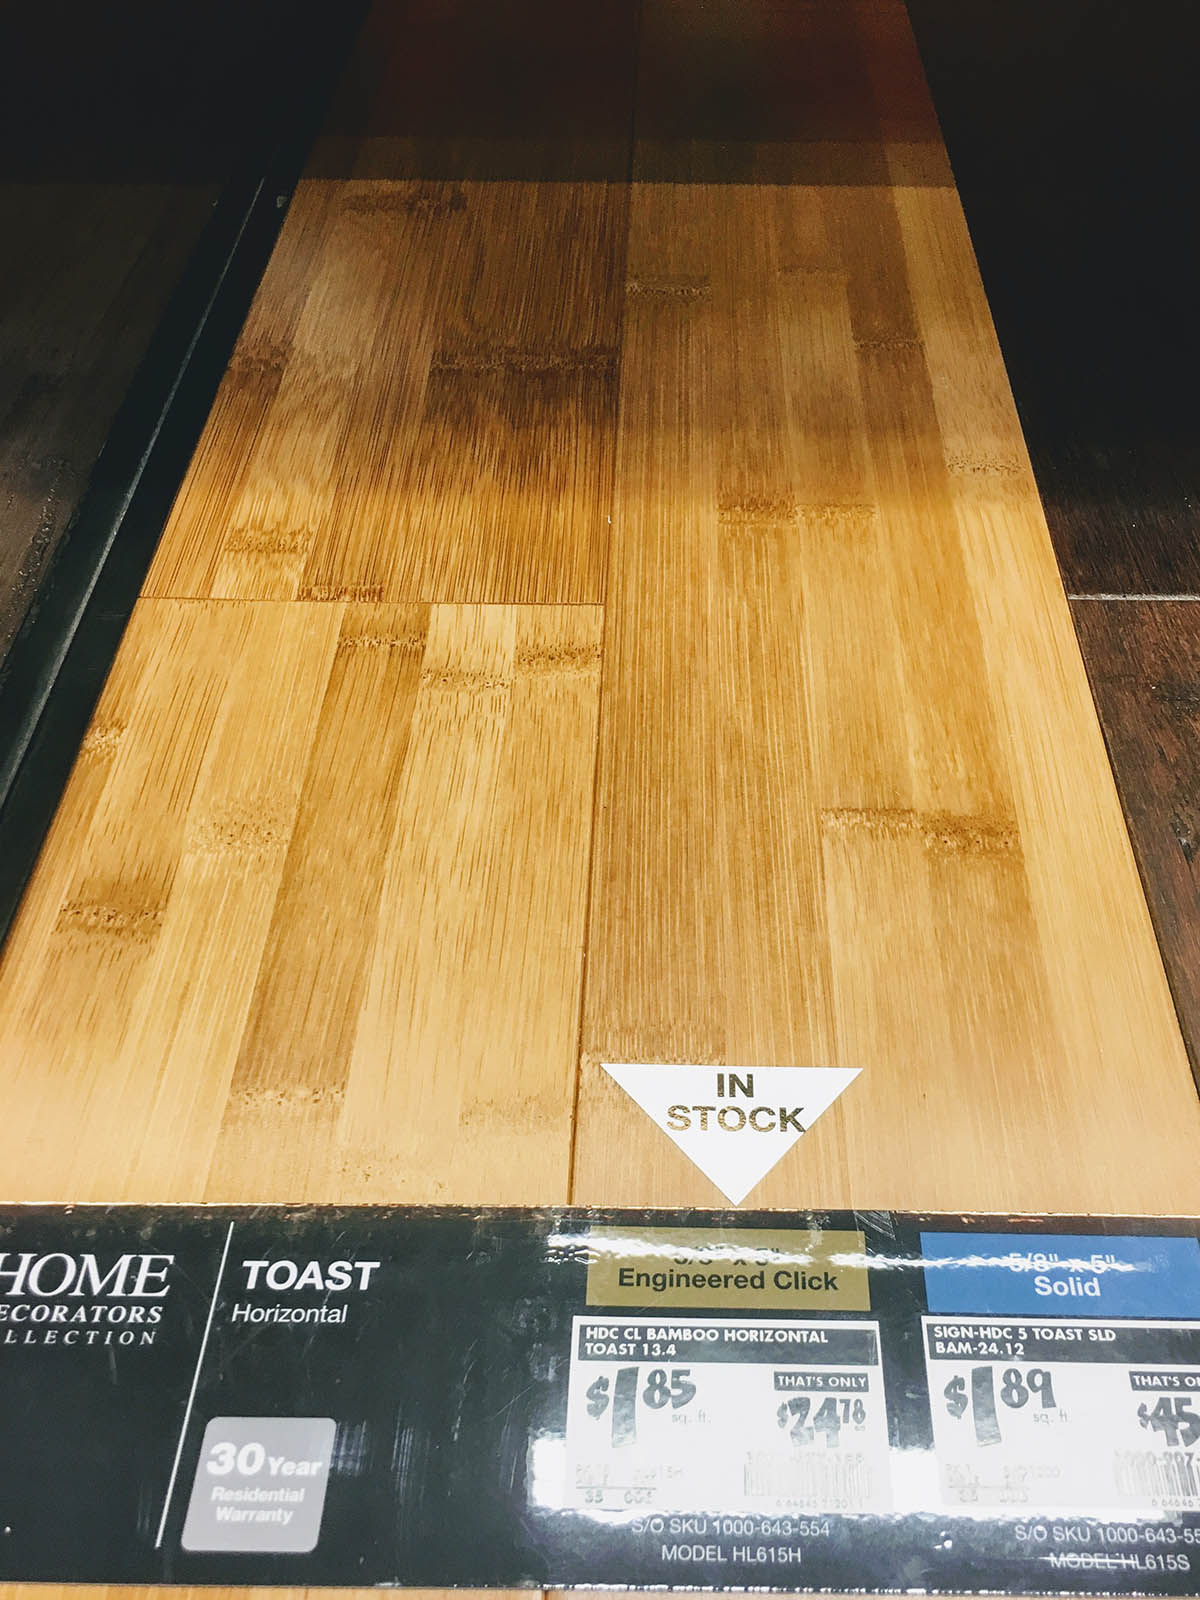
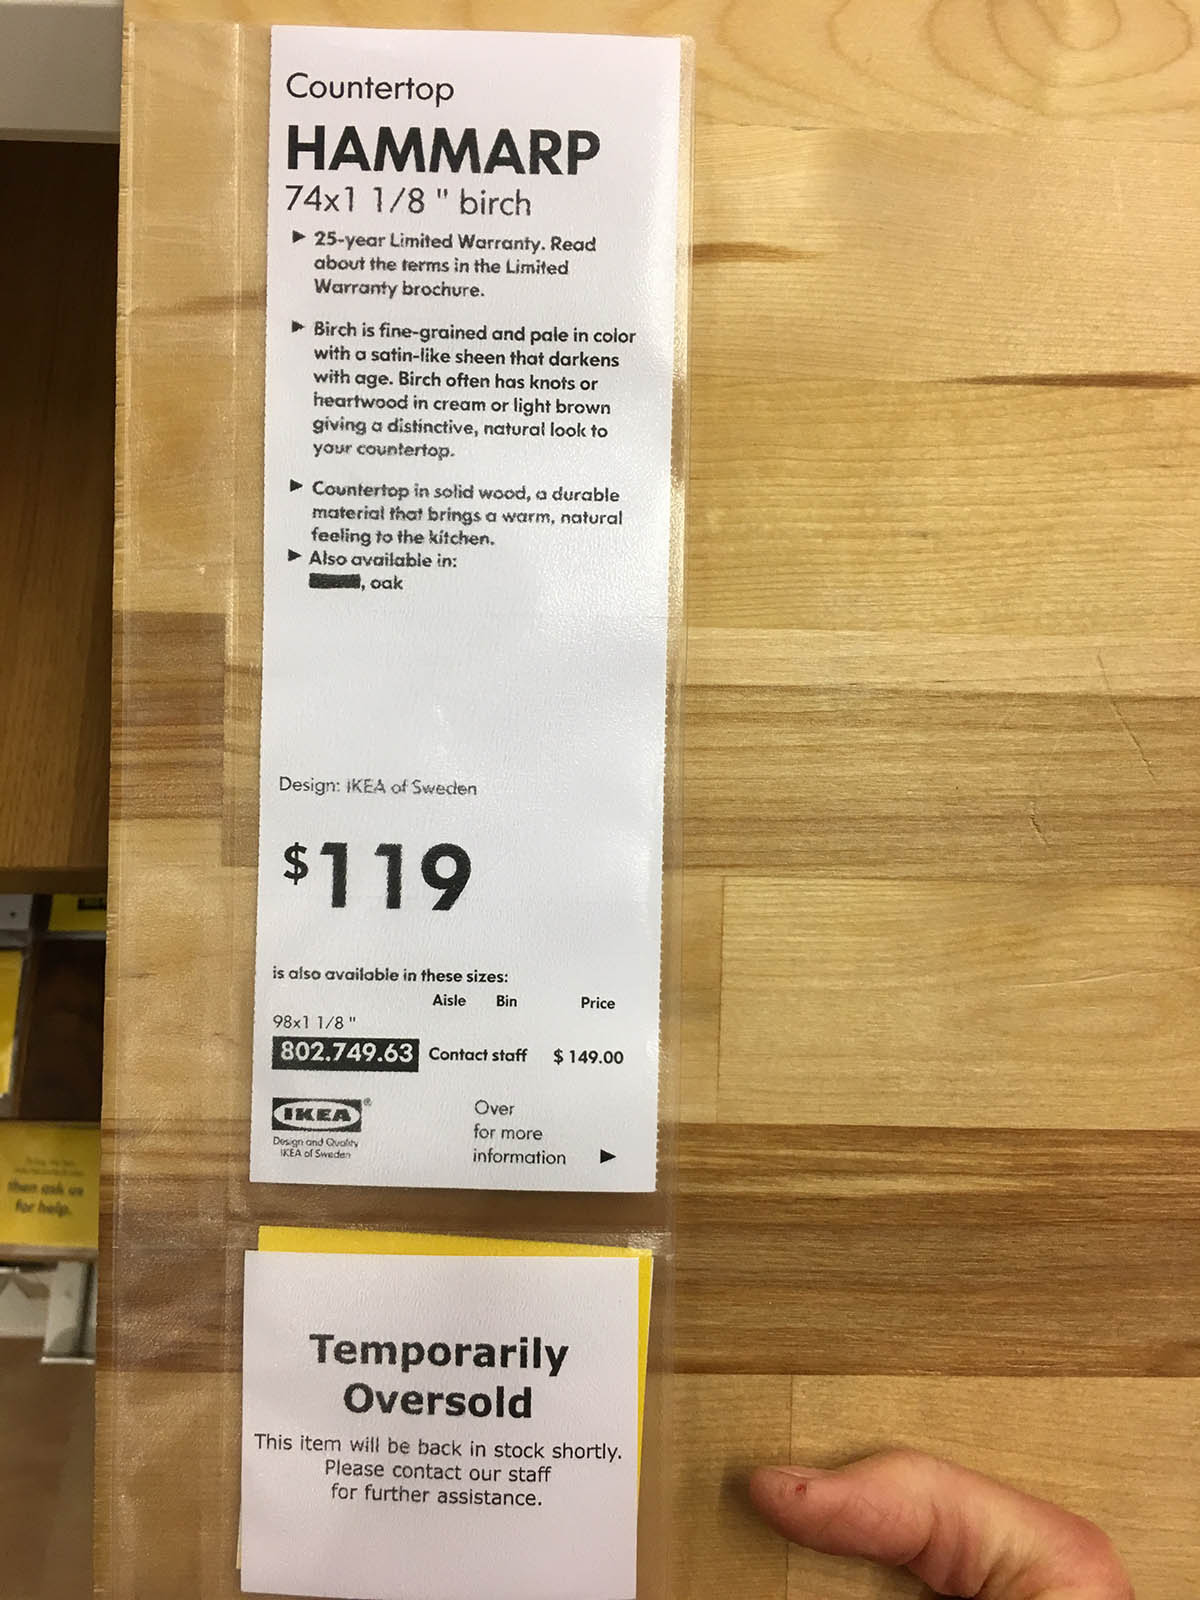
I can't believe it but we're getting close to needing to decide on finishes! We took a trip to the Home Depot and IKEA to see about flooring and countertops. We are really liking this Bamboo Flooring we found at Home Depot and this Butcher Block counter from IKEA isn't too shabby either!
Other articles to consider
 Nov1Dual Victron Multiplus 3000 3-Phase 50amp Power Issues
Trouble in Paradise
...See Details
 May18Clinton Lake, KS and Sioux City North, SD
We finally are ready to...See Details
 May1(Almost) The First Half of 2020
Wow, what a crazy (almo...See Details
 Nov20We Sold the Airstream!As our family continues to get older (an...See Details


Comments