Putting the Aluminum Skins Back In
February 19th, 2017


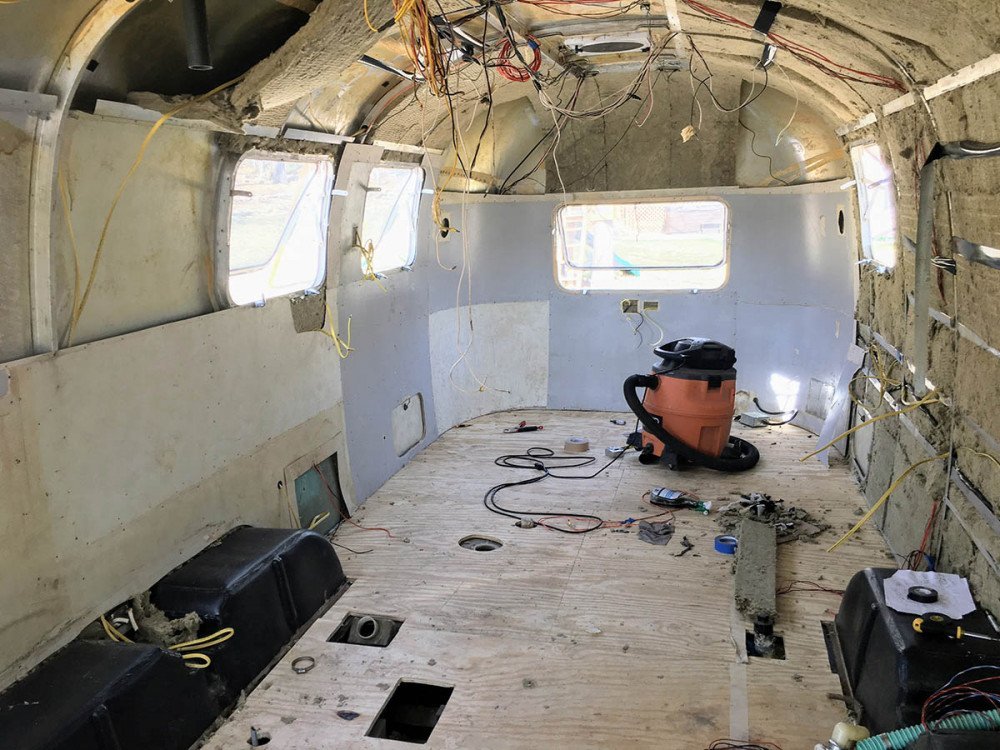
Today we decided to take a short break from hanging insulation so we could start putting up the interior aluminum skin. We started hanging some of the ceiling panels but they were not cooperating/staying up very well on their own, even with black tape, so we figured having the skin in place a section below might help with the process. I was a bit nervous about this process, but it went suprisingly smoothly:
Although I had purchased a pneumatic riveter from Harbor Freight, I was a bit nervous to use it in the beginning so I ended up using my hand riveter for these panels. What a great forearm workout! Takes about three squeezes per rivet. I also didn't have any clecos, so I basically tacked in the corners of each sheet initially to make sure all was lining up correctly.
The process involved a bit of riveting, drilling out the rivet, adjusting, and re-riveting. Luckily Air Parts Inc. is a 20 minute drive from me and a bag of rivets is pretty cheap.
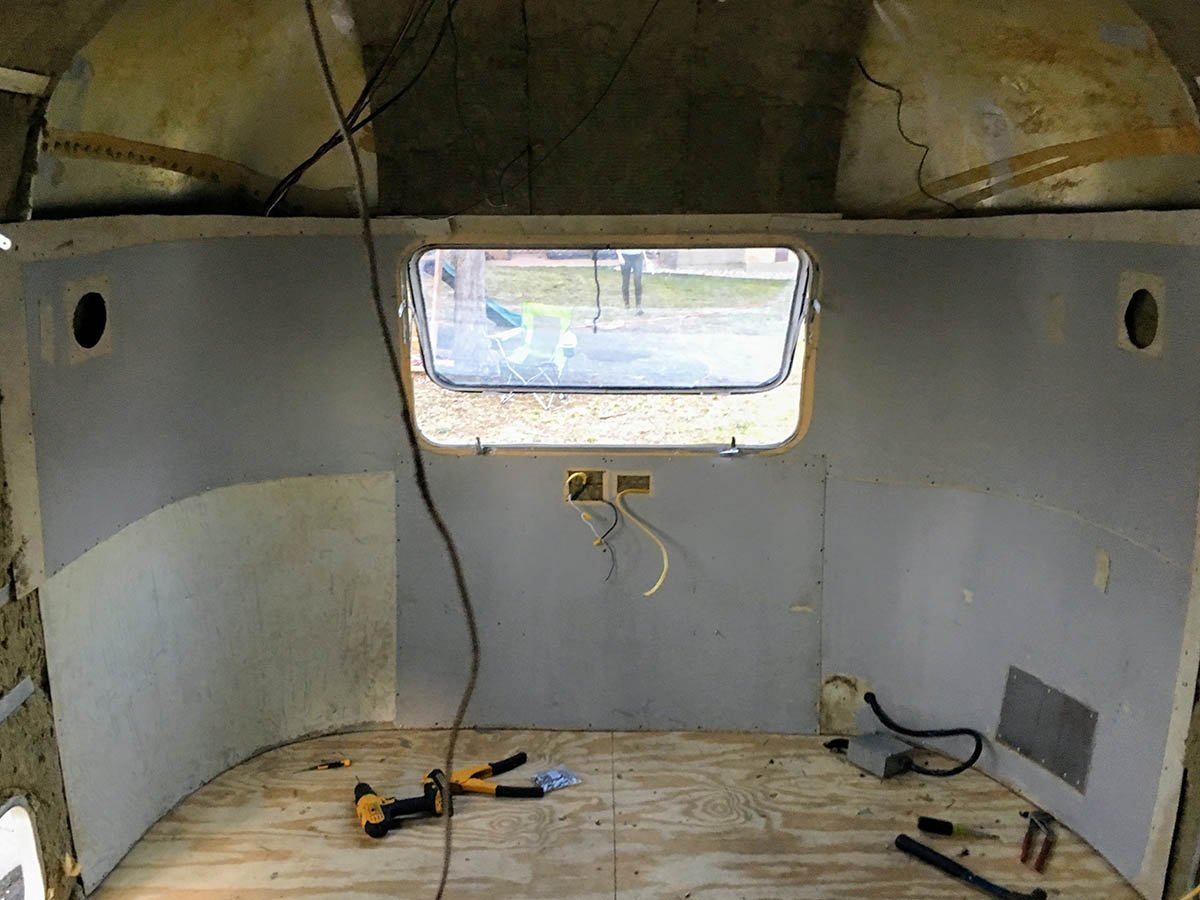
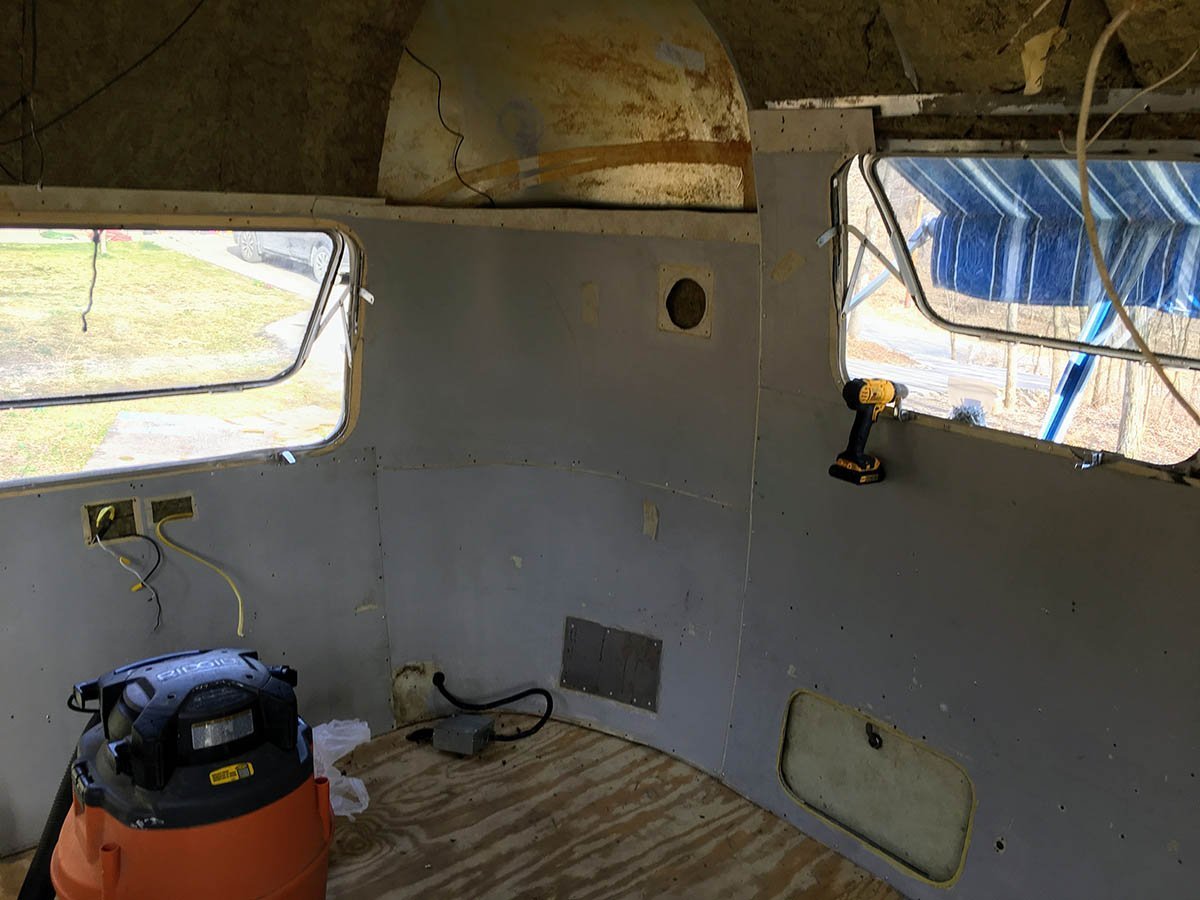
Next up was working down each side of the airstream getting the side panels back in place. We decided to scrub and clean them after we hang them because doing so outside was problematic due to weather and space reasons.
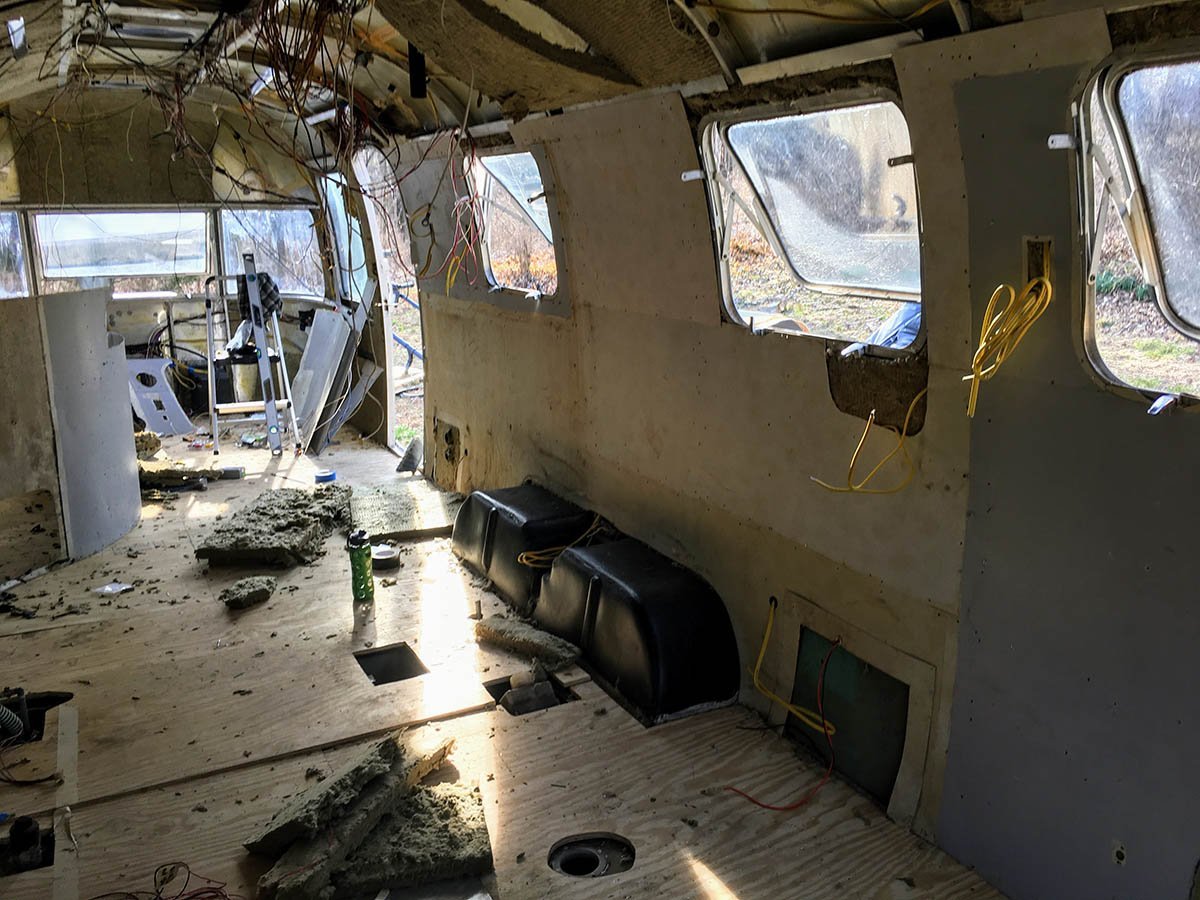
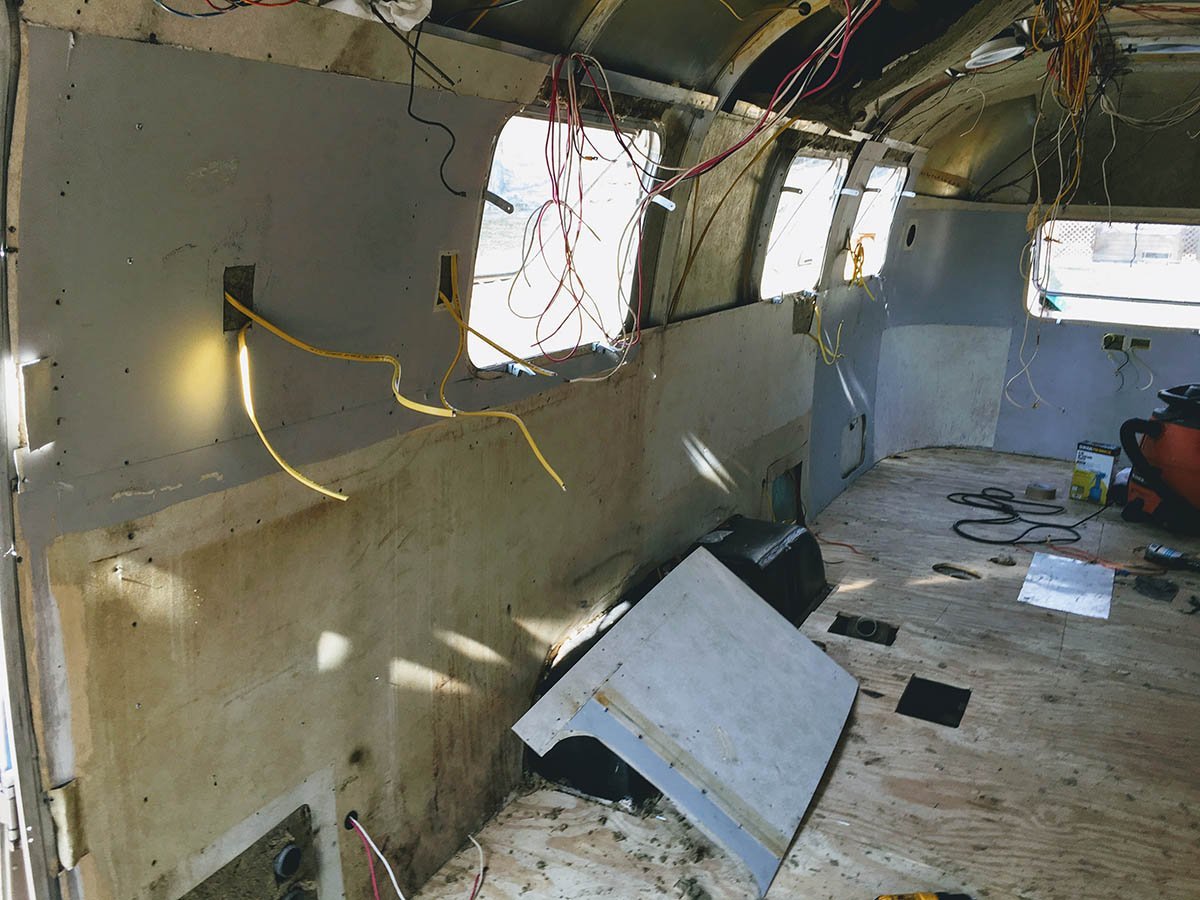
Now that we have the sides going we can go back to installing some insulation (hooray!):
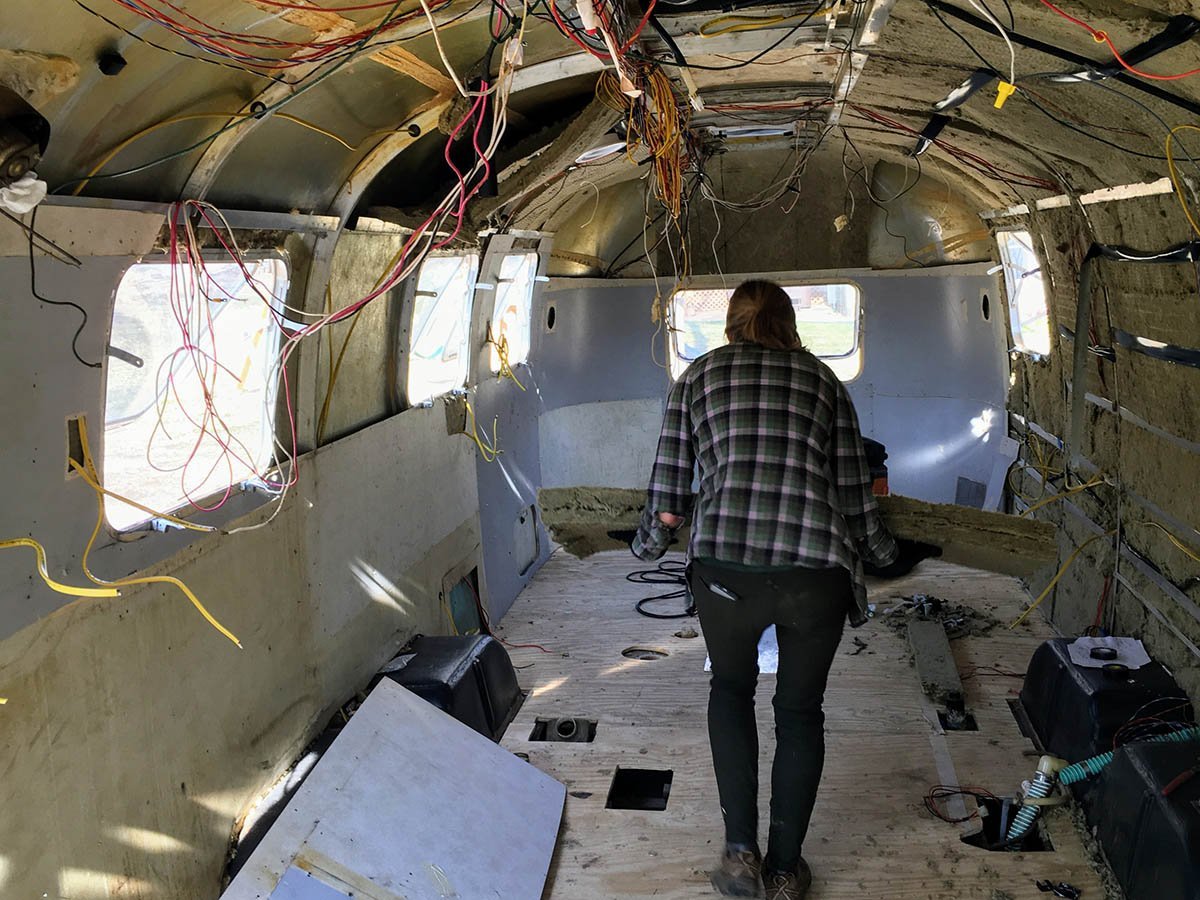
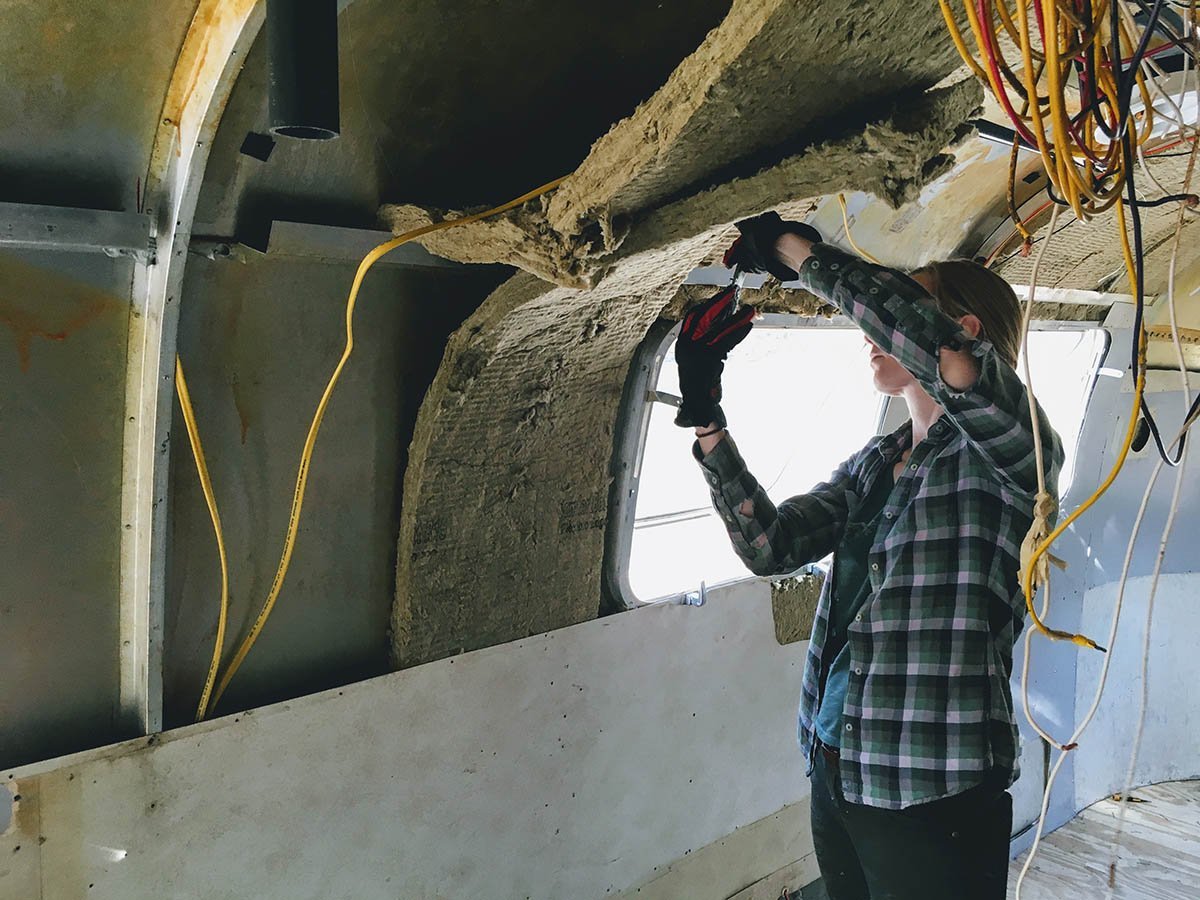
Having the extra lip from the lower skins made the process of installing the upper insulation slightly easier, but only barely. Still, we were happy with our progress:

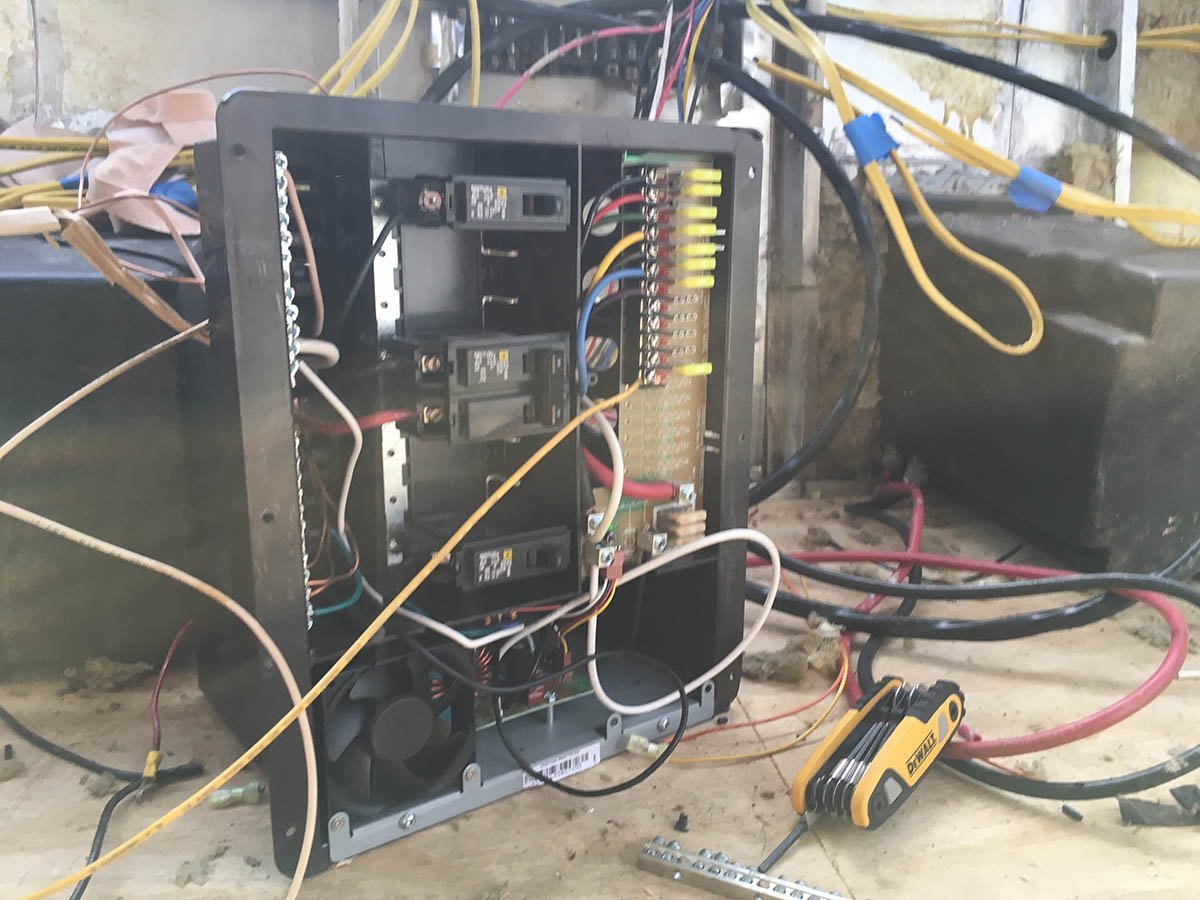
I also went ahead and hooked up and did some initial testing of our PD4560 power center. Looking pretty professional at the moment, haha:
Posted in the category Renovation.
Other articles to consider
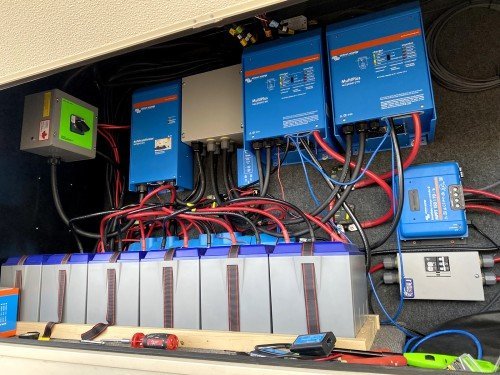 Nov1Dual Victron Multiplus 3000 3-Phase 50amp Power Issues
Trouble in Paradise
...See Details
Nov1Dual Victron Multiplus 3000 3-Phase 50amp Power Issues
Trouble in Paradise
...See Details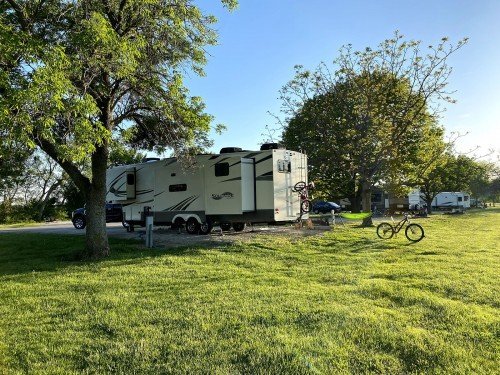 May18Clinton Lake, KS and Sioux City North, SD
We finally are ready to...See Details
May18Clinton Lake, KS and Sioux City North, SD
We finally are ready to...See Details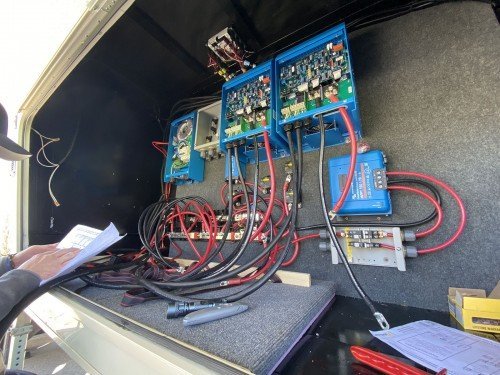 May1(Almost) The First Half of 2020
Wow, what a crazy (almo...See Details
May1(Almost) The First Half of 2020
Wow, what a crazy (almo...See Details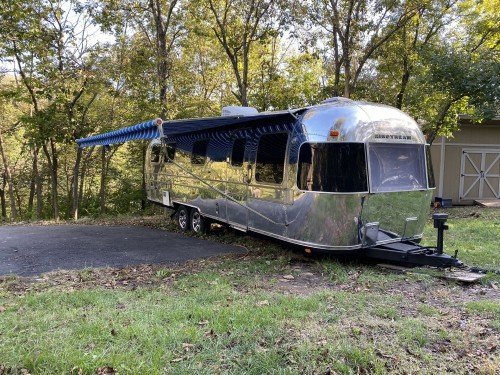 Nov20We Sold the Airstream!As our family continues to get older (an...See Details
