
Finishing Up and Hitting the Road!
May 1st, 2017


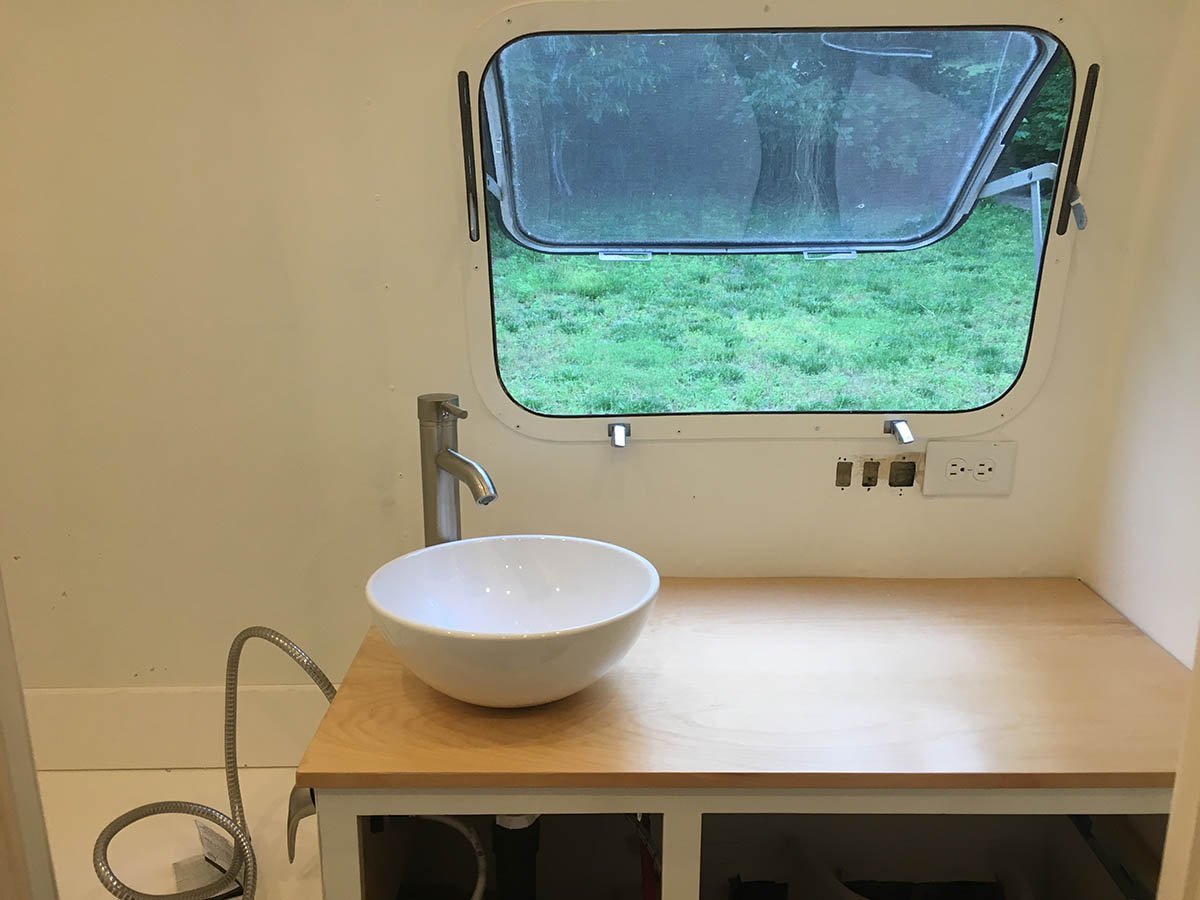
After getting the shower completed, we were feeling great about getting this project wrapped up and sprinted to knock out the last items. First up - getting the bathroom plumbing finished and sink/fixtures installed. For the sink, we decided on a vessel/bowl in white, with a stainless steel faucet:
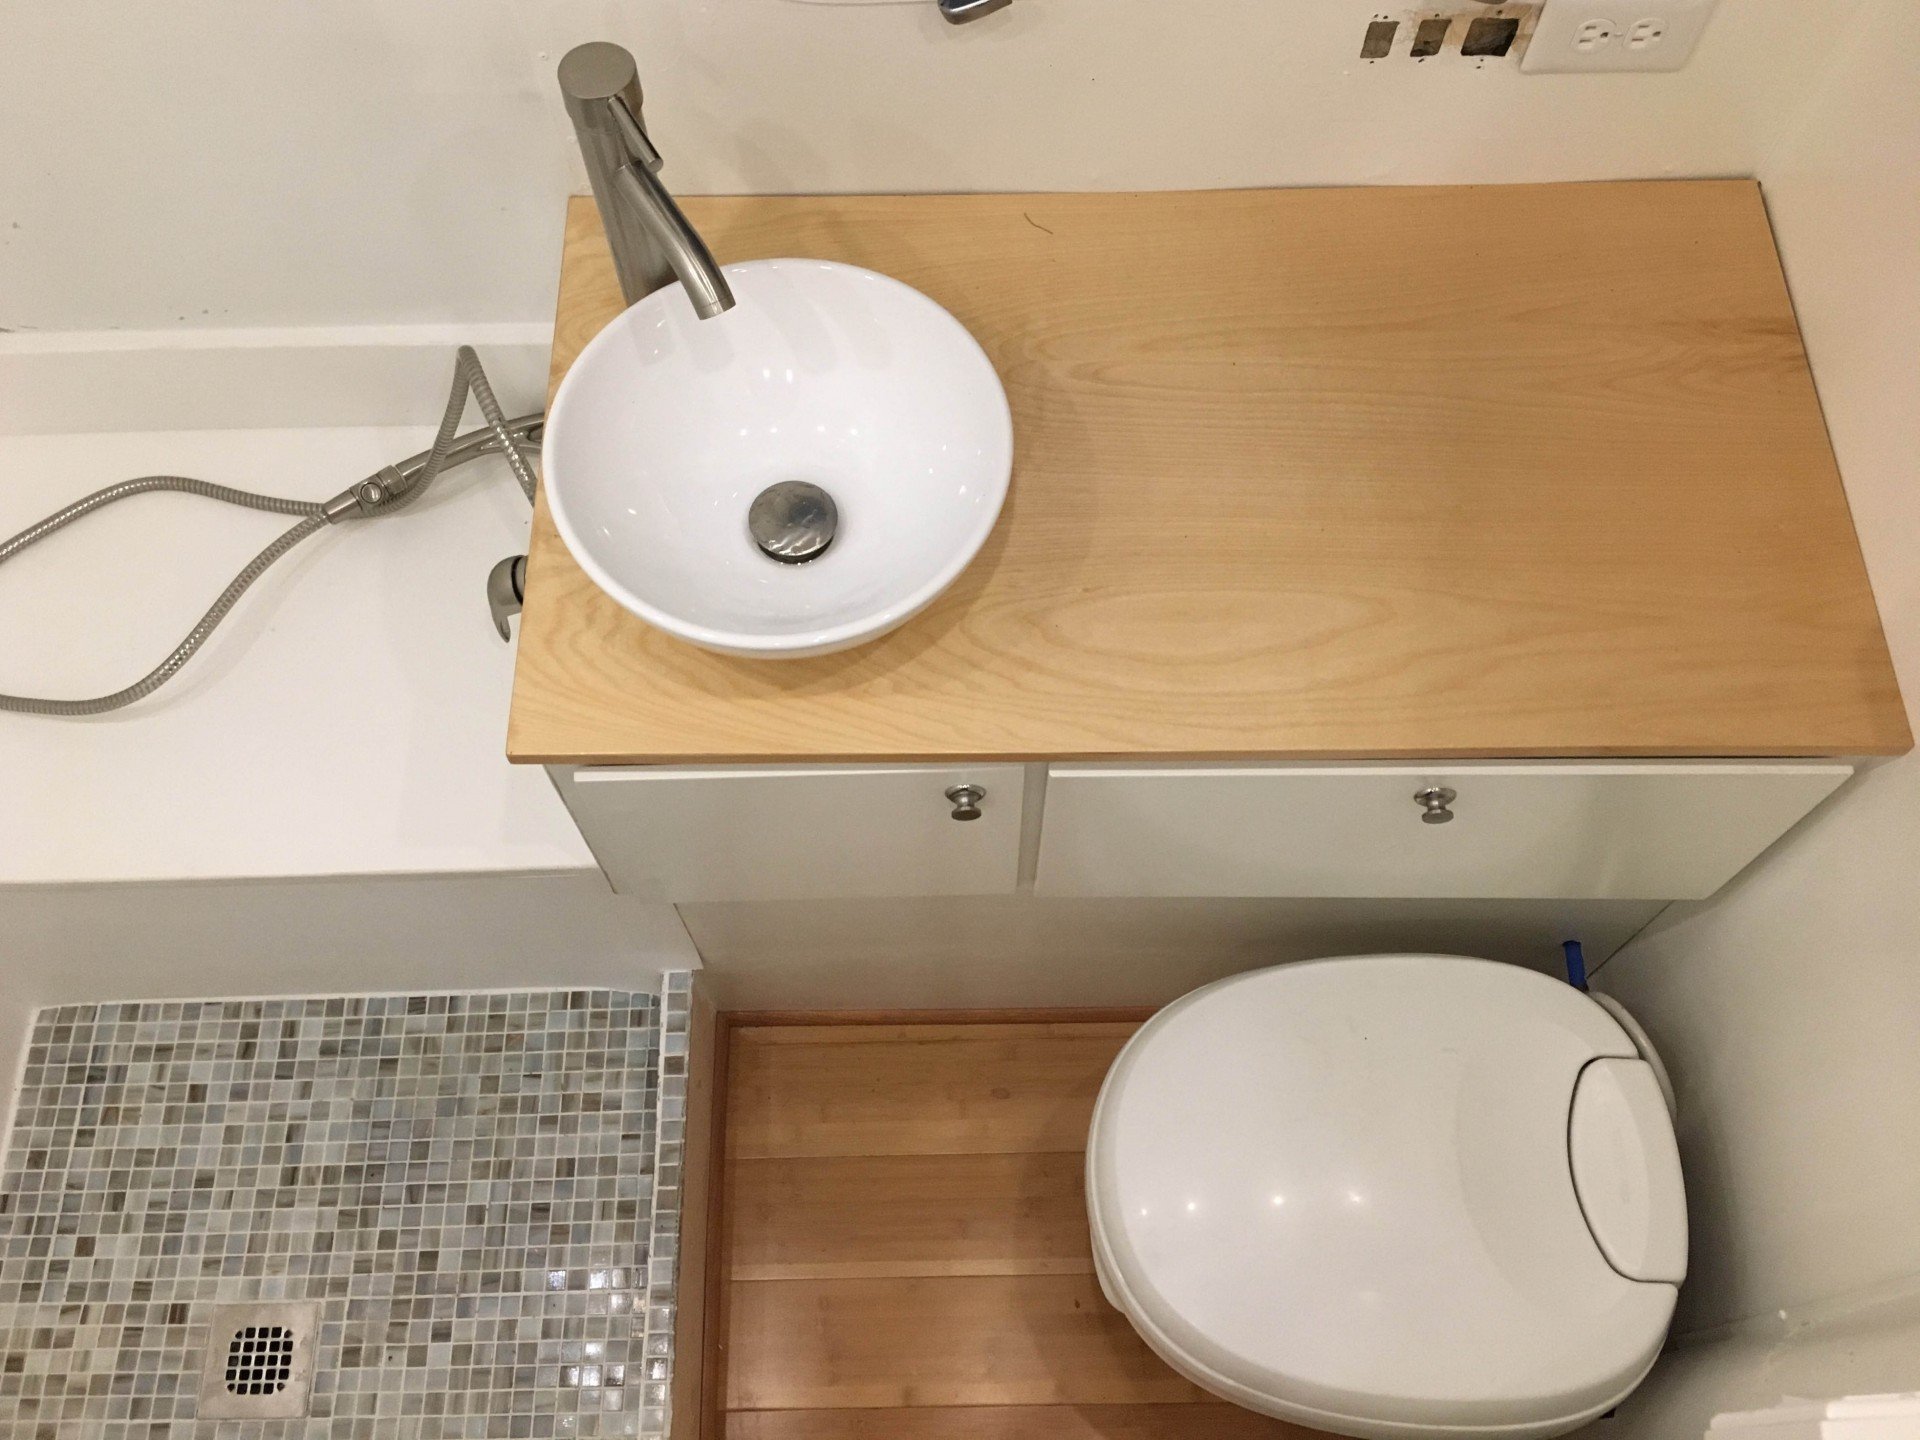
After that we installed the cabinet face for the left bay, and a massive drawer for the right side, giving us tons of storage for towels and other bathroom items.
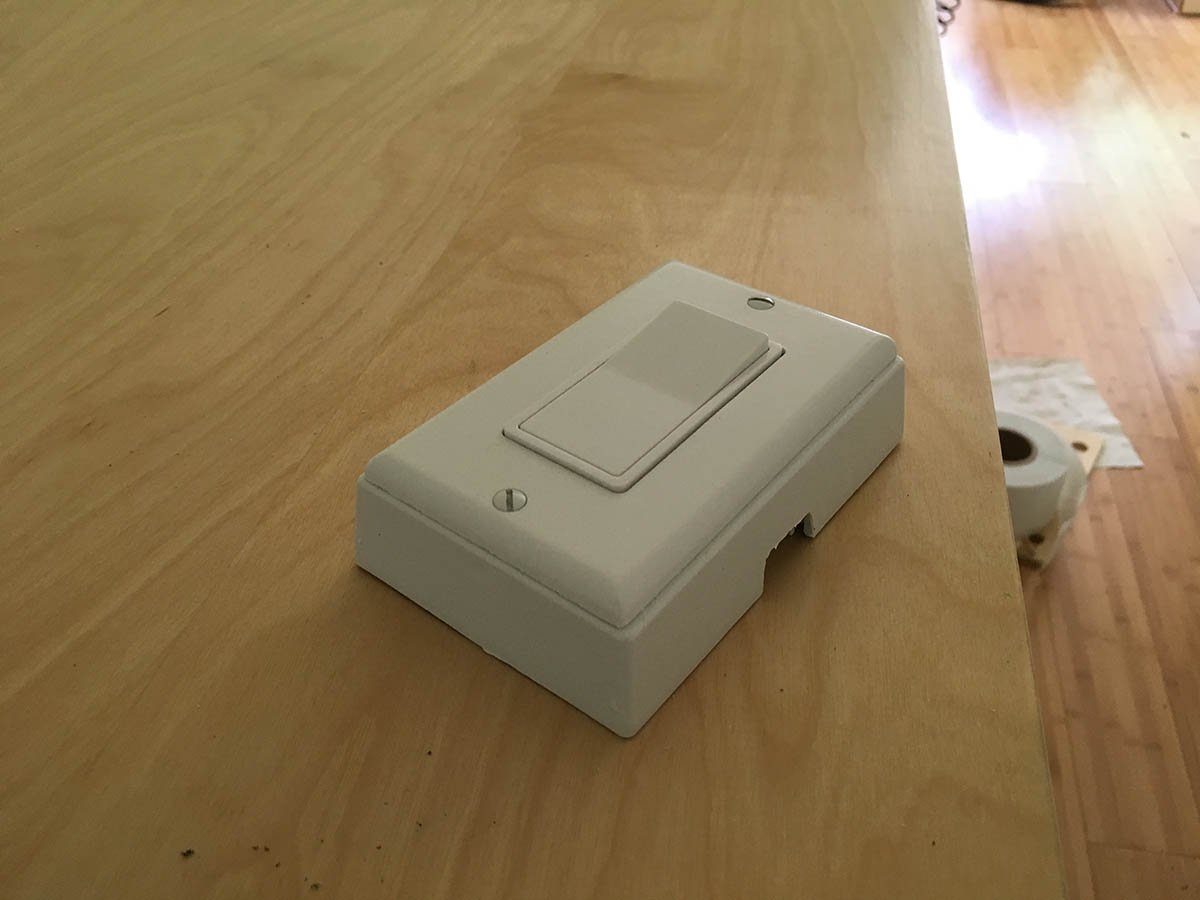
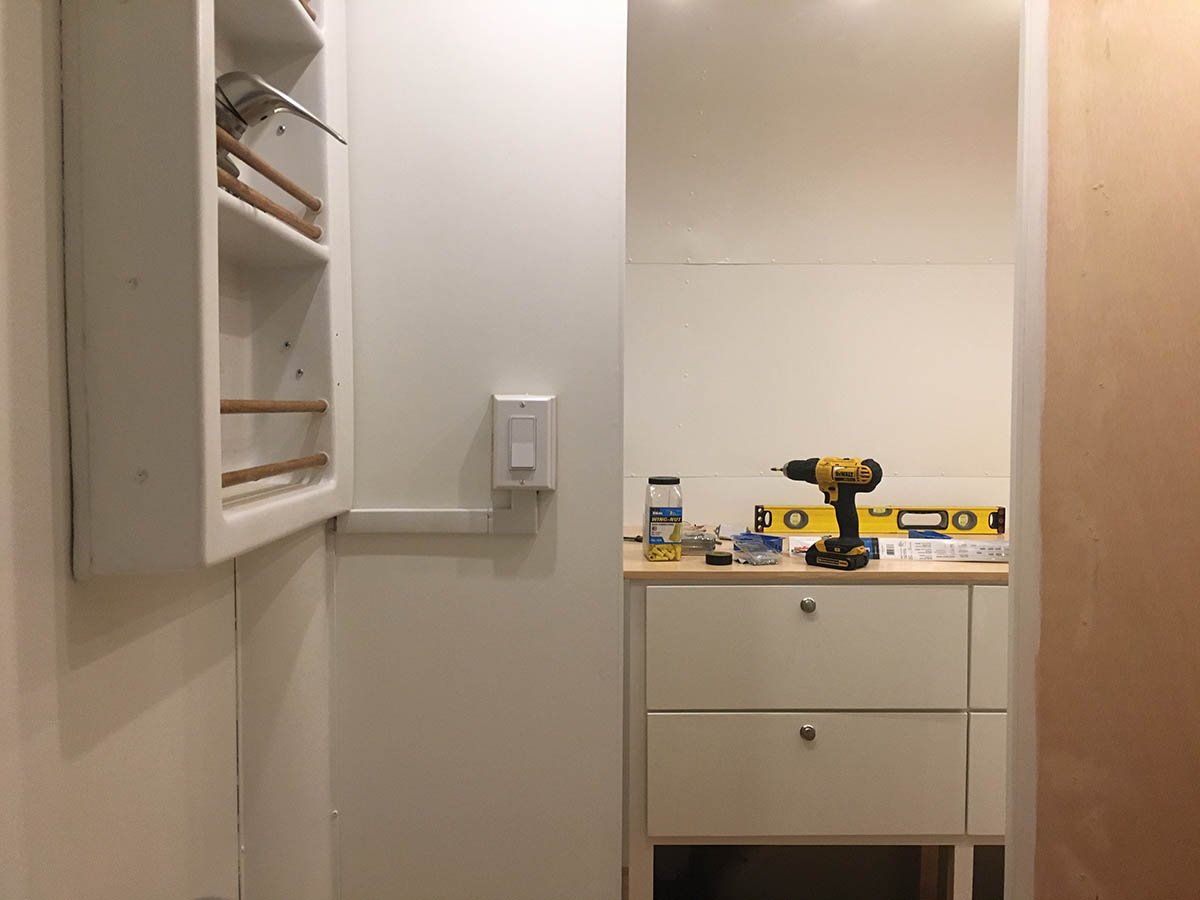
The other challenge we ran into was on the electrical side - specifically, how the heck are we going to hide the electrical wires that will go to the lightswitch we need to install (remember our walls are 3/4" plywood, not framed). In the end, I opted to use an raceway-style gang box (the type that mounts directly on a wall) and raceway wire channels to conceal the wires.
You can see the final setup in the photo below. Also shown is the original medicine cabinet that we were able to salvage. We thoroughly cleaned it, painted it, and remounted it and fit perfectly on our new walls (and had the added bonus of hiding our black tank vent pipe as it did originally).
The original door for the medicine cabinet was toast, so we ended up remaking it.
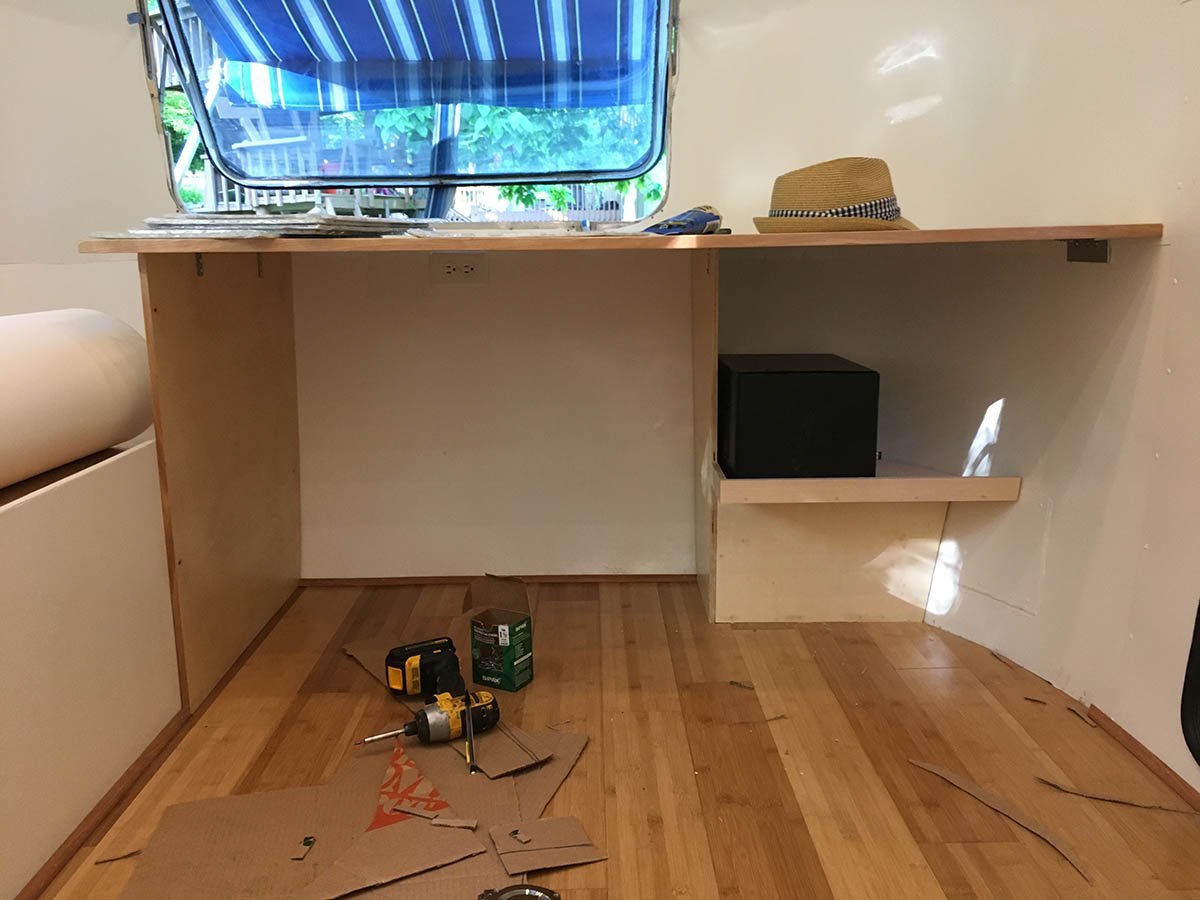
The next item on the list was finishing up my office/rear bedroom area. For the desk top I used 3/4" plywood with a veneer edge, and for the supports I used 1/2" plywood. To secure the top to the supports I used 90 degree angle brackets for the plywood-to-plywood junctions, and for the right side wall, I used a piece of 90 degree angle aluminum, riveted to the wall and screwed into the plywood. The computer/storage area in the lower right conceals a 50 amp gangbox that connects our internal power to our external power cord. Just like with everything in this airstream, we had to painstakingly cut custom curves for everything. On the floow you can see our multiple cardboard templates that helped with this task. The hipster hat on top of the desk is terrible, and there's no getting around that.
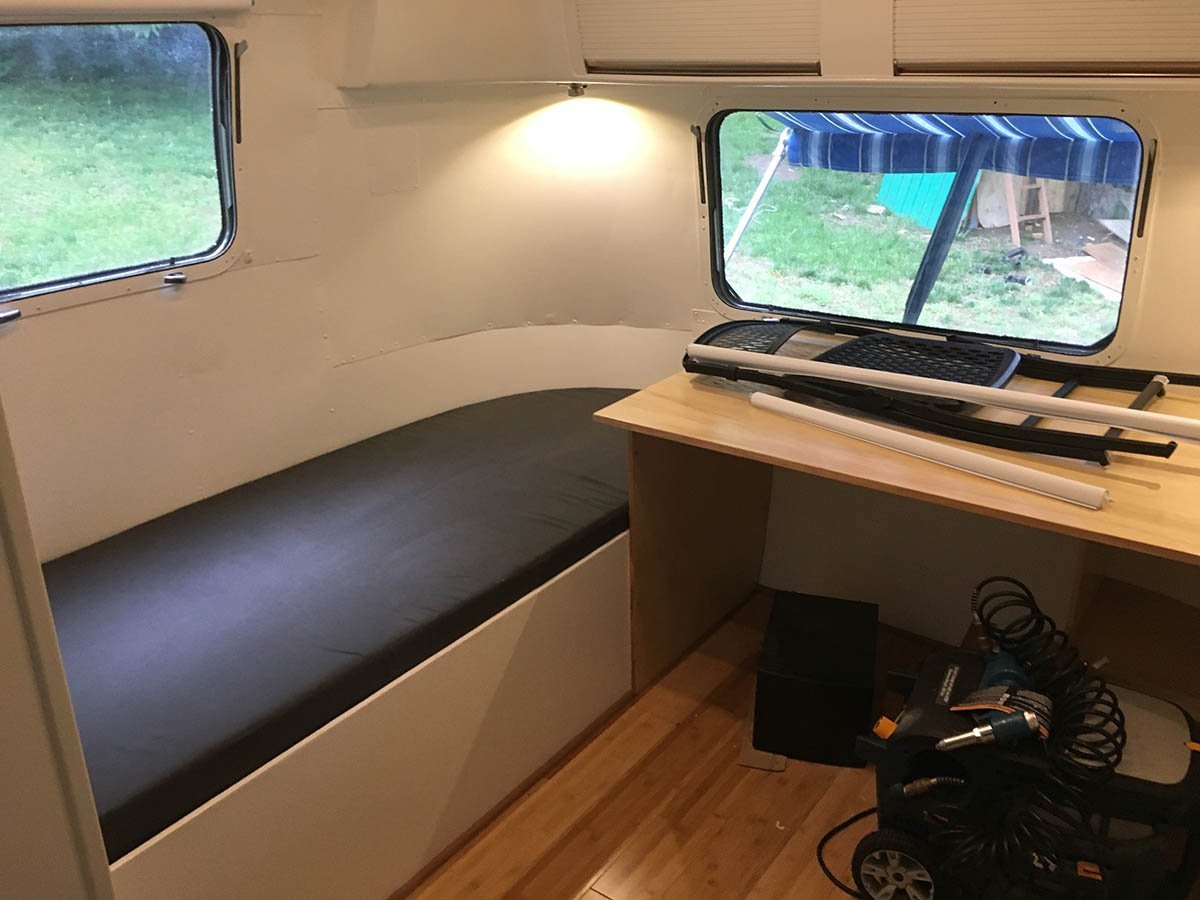
A bit of trim, some cushions, and the rear office/bedroom is complete!
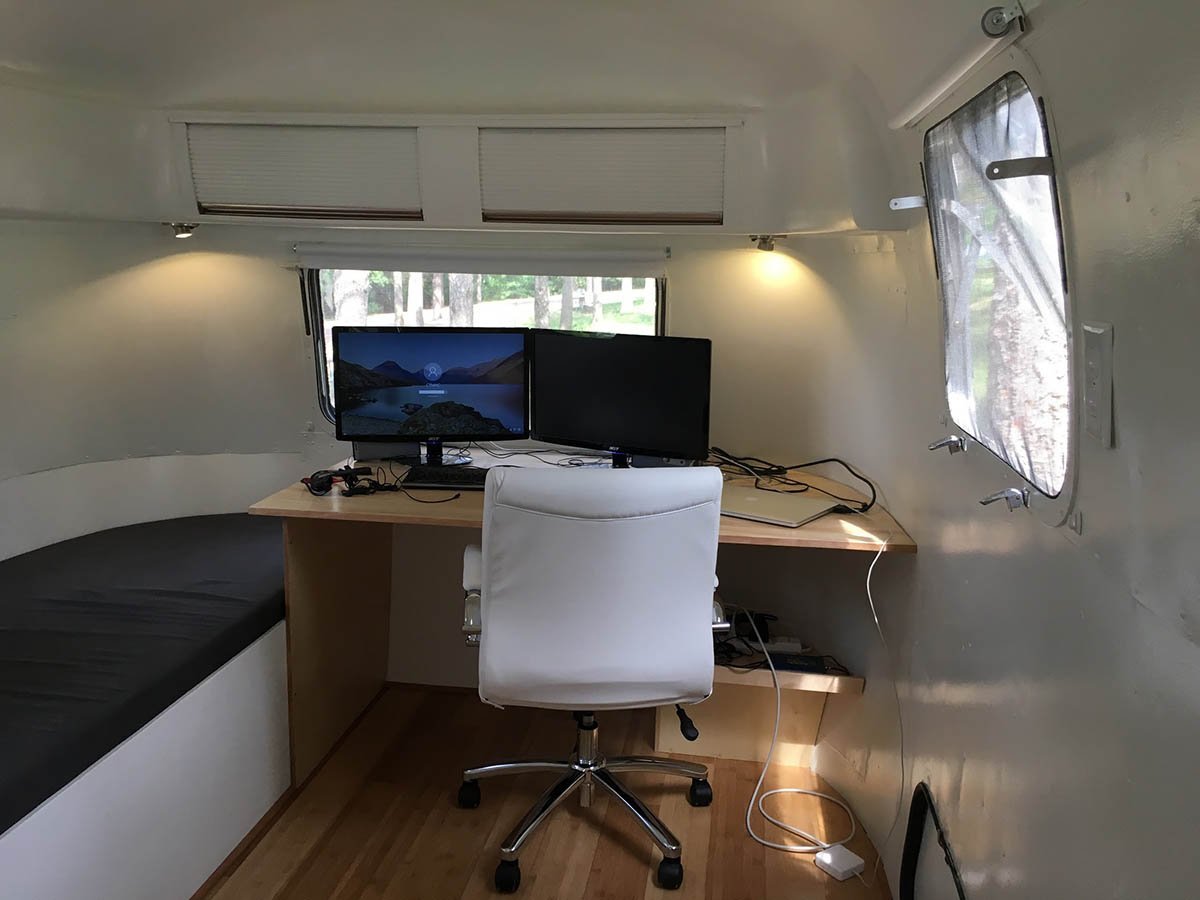
Finally for a test drive - I brought out my "mobile" dual-monitor + laptop setup and purchased a $100 white office chair from Office Depot. To secure the monitors we used industrial strength velcro, which holds so well I don't think I will have to get a prybar to get these monitors detached.
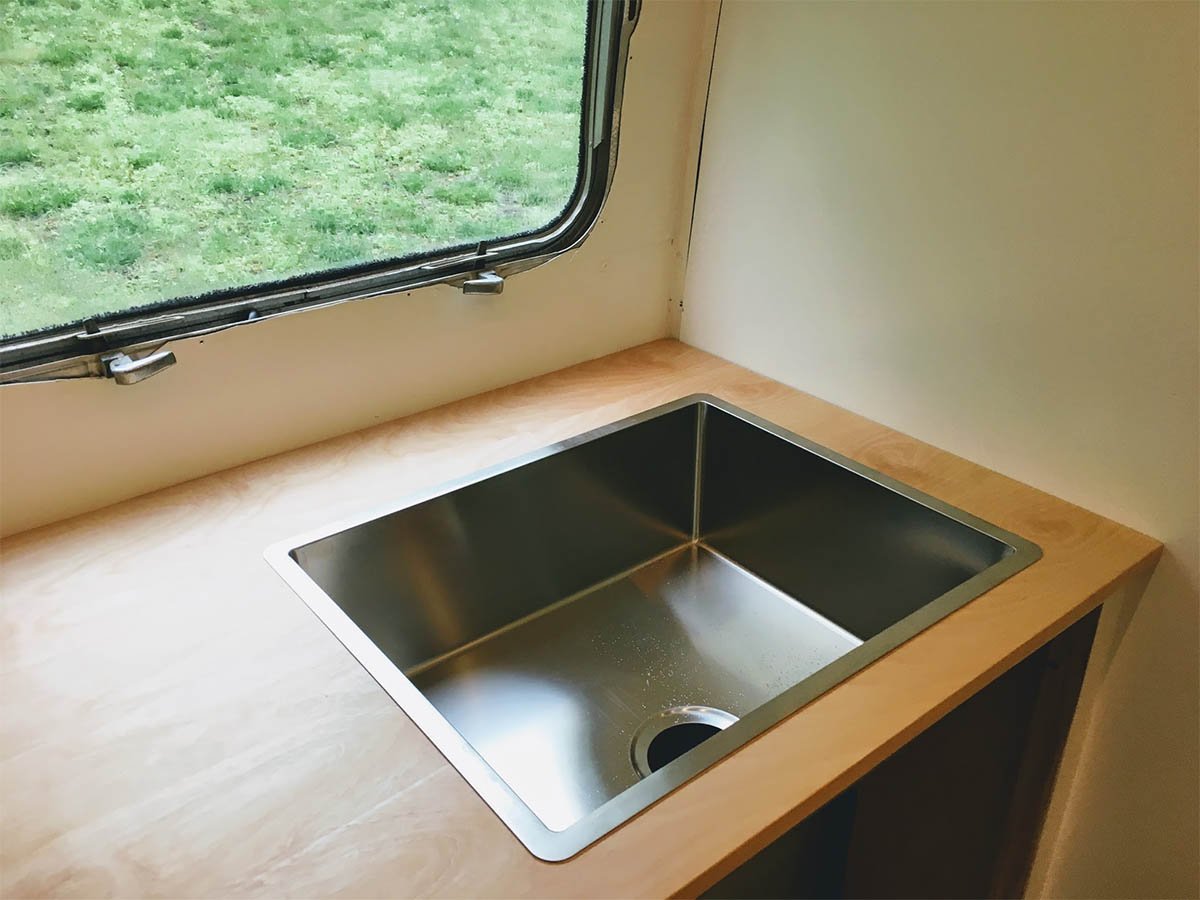
The next item on our list was the kitchen. First up, the IKEA single bay sink:
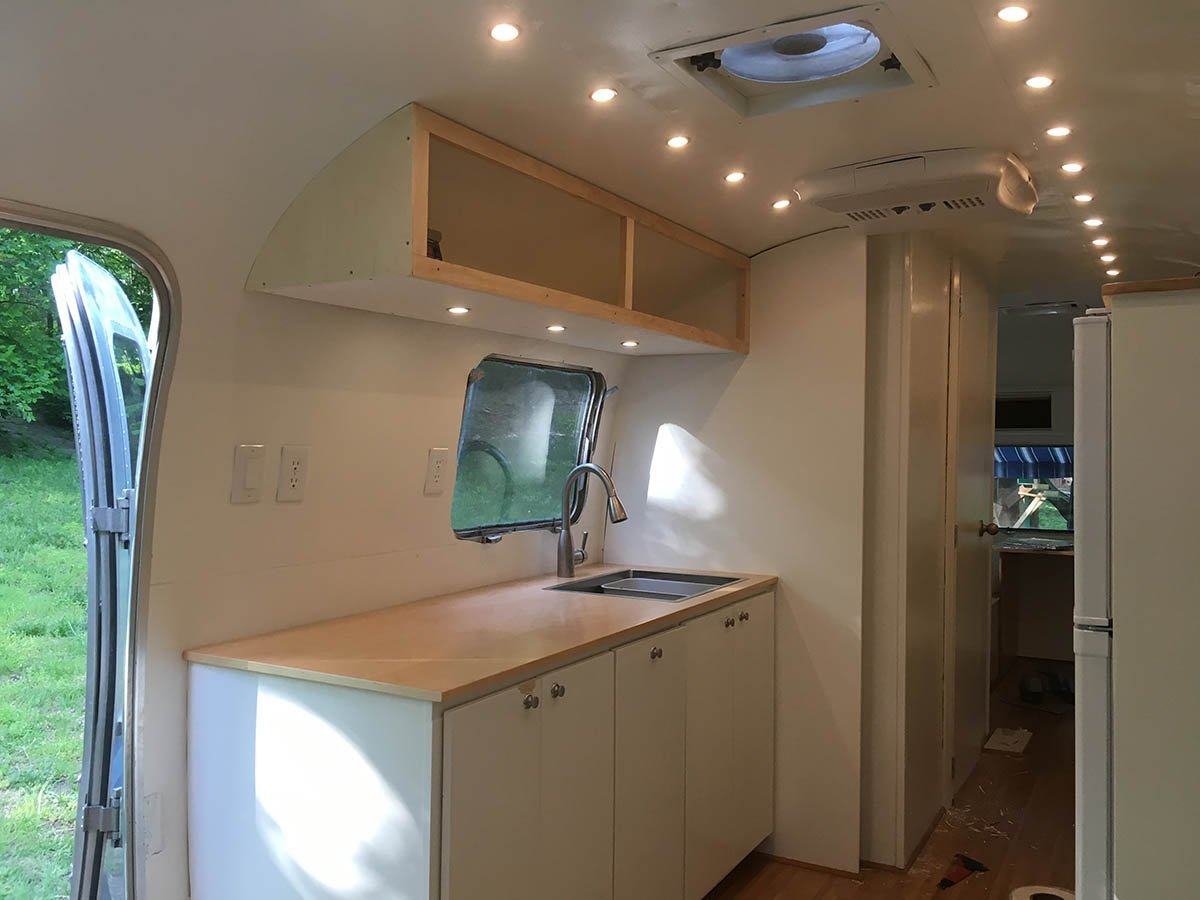
Next, drilling a hole and installing the faucet. After that, we fabricated a custom frame for the upper cabinets.
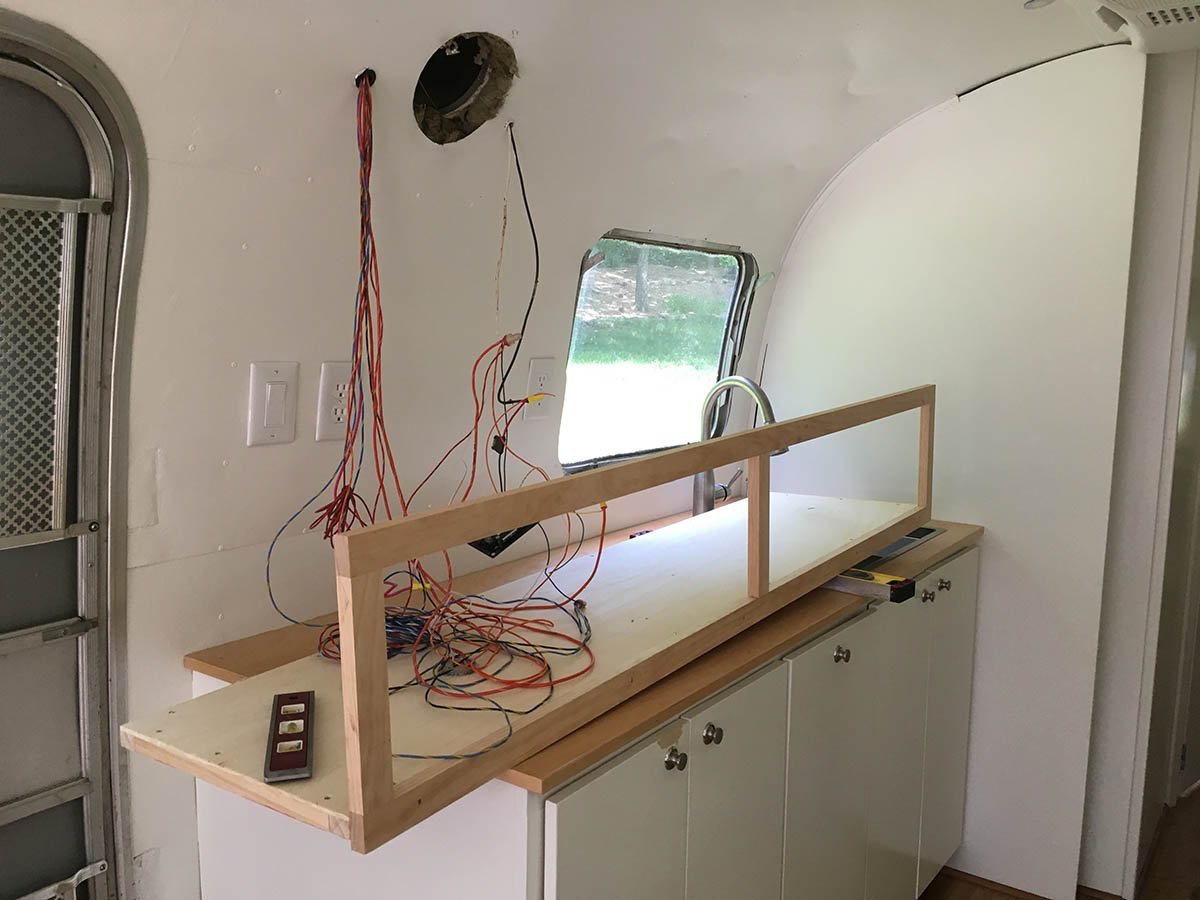
After that, installation of the custom frame along with installing the under-cabinet lighting (which are the same lights we used for our ceiling).
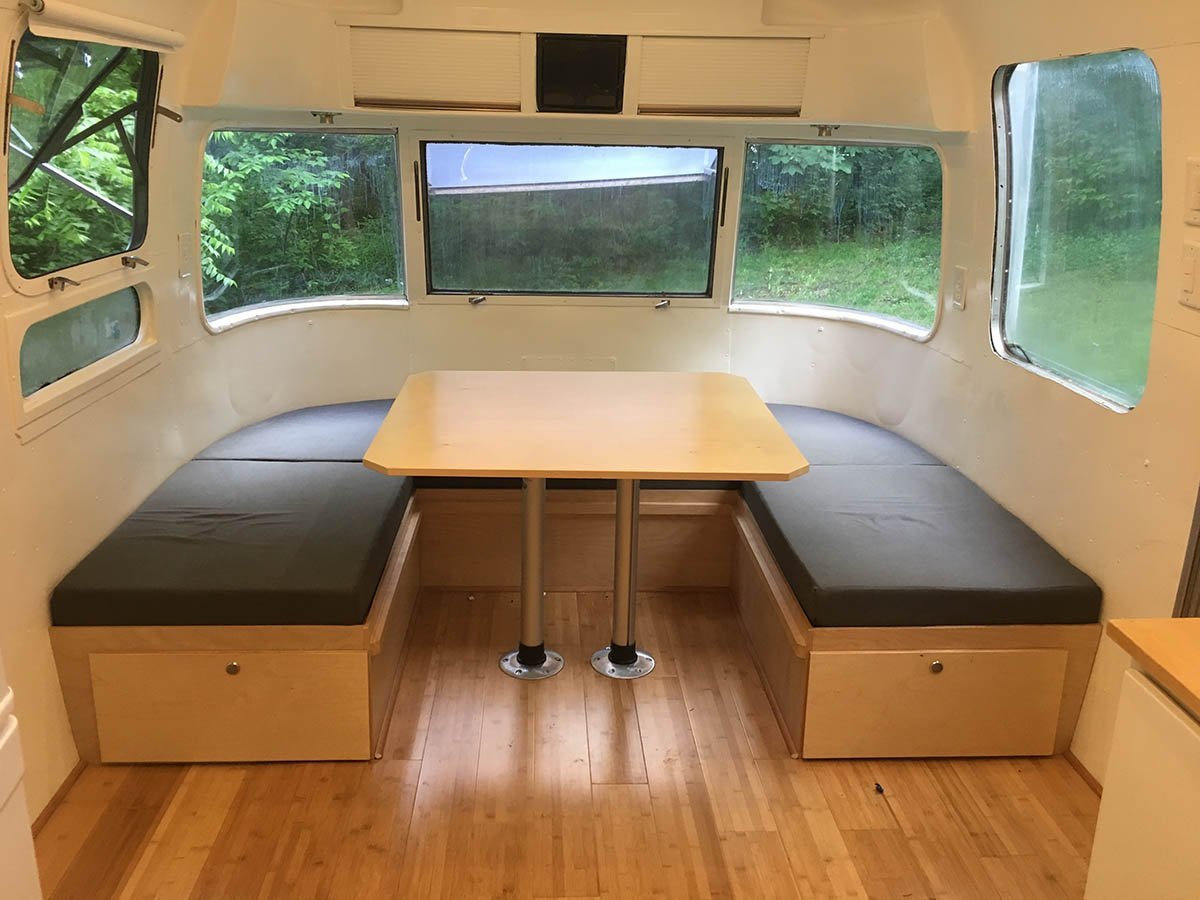
Next up was finishing up the dinette, hanging roller blinds, and taking it all for a test run.
The door still looked dingy from the inside of the airstream, so we decided to paint it white like everything else.

Unfortunately, there are lots of missing pictures of our progress because, in our haste to get the project done, we simply didn't take photos along the way. Not shown was the installation of the faucet, the hydraulic lift doors for the upper cabinets, painting, and a billion other small tasks.
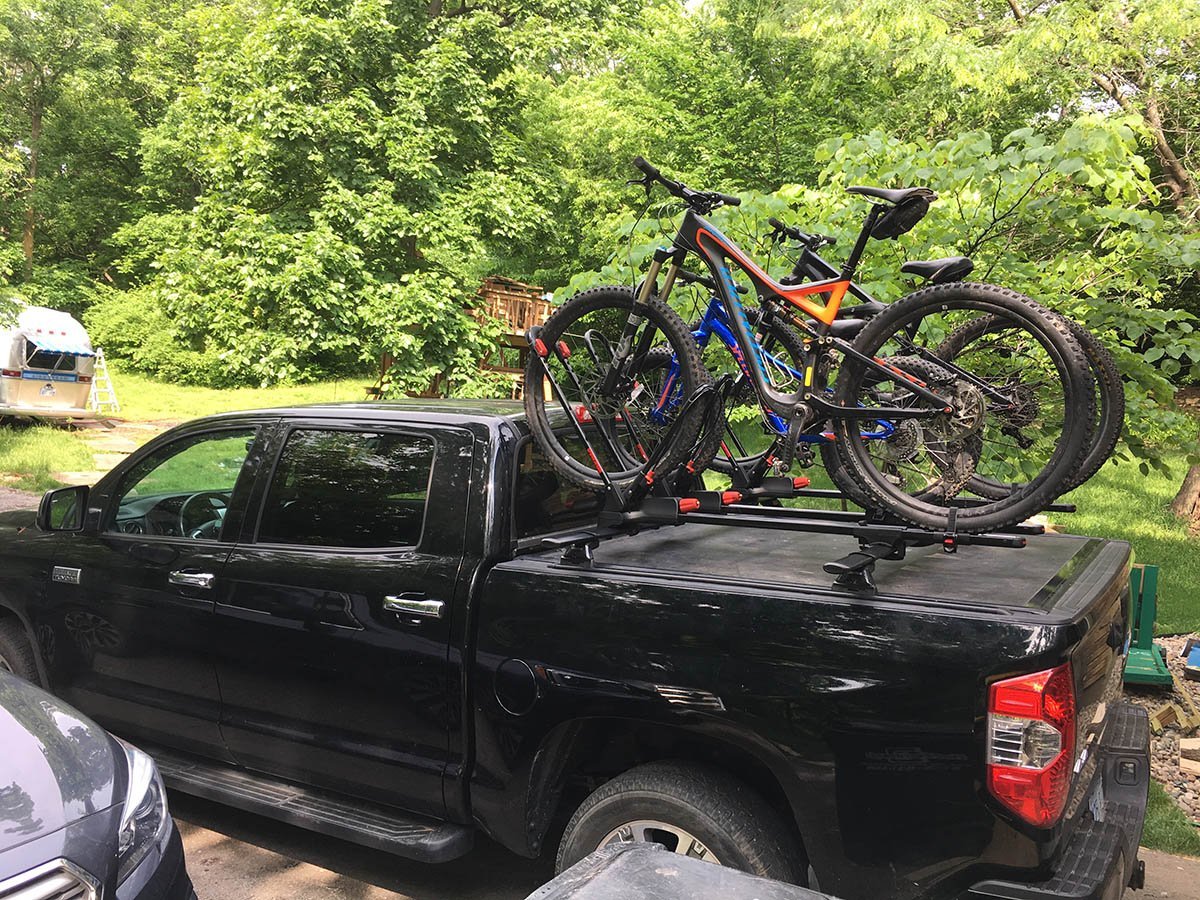
We also had to figure out what to do with our (four) bikes. We followed the Curren's lead on this one, and are super happy with how it turned out.
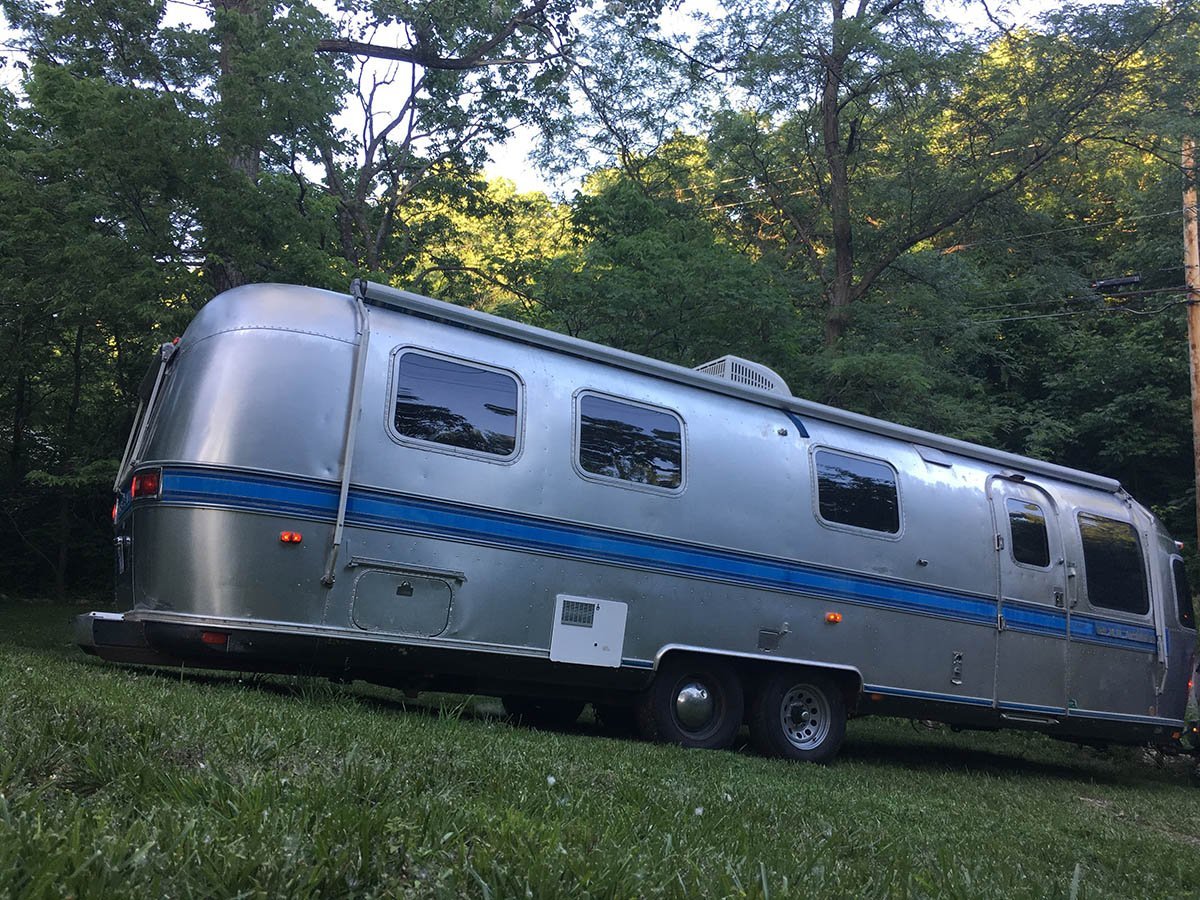
We wrote about how much fun it was to get the airstream up the driveway - getting it down was just as fun!
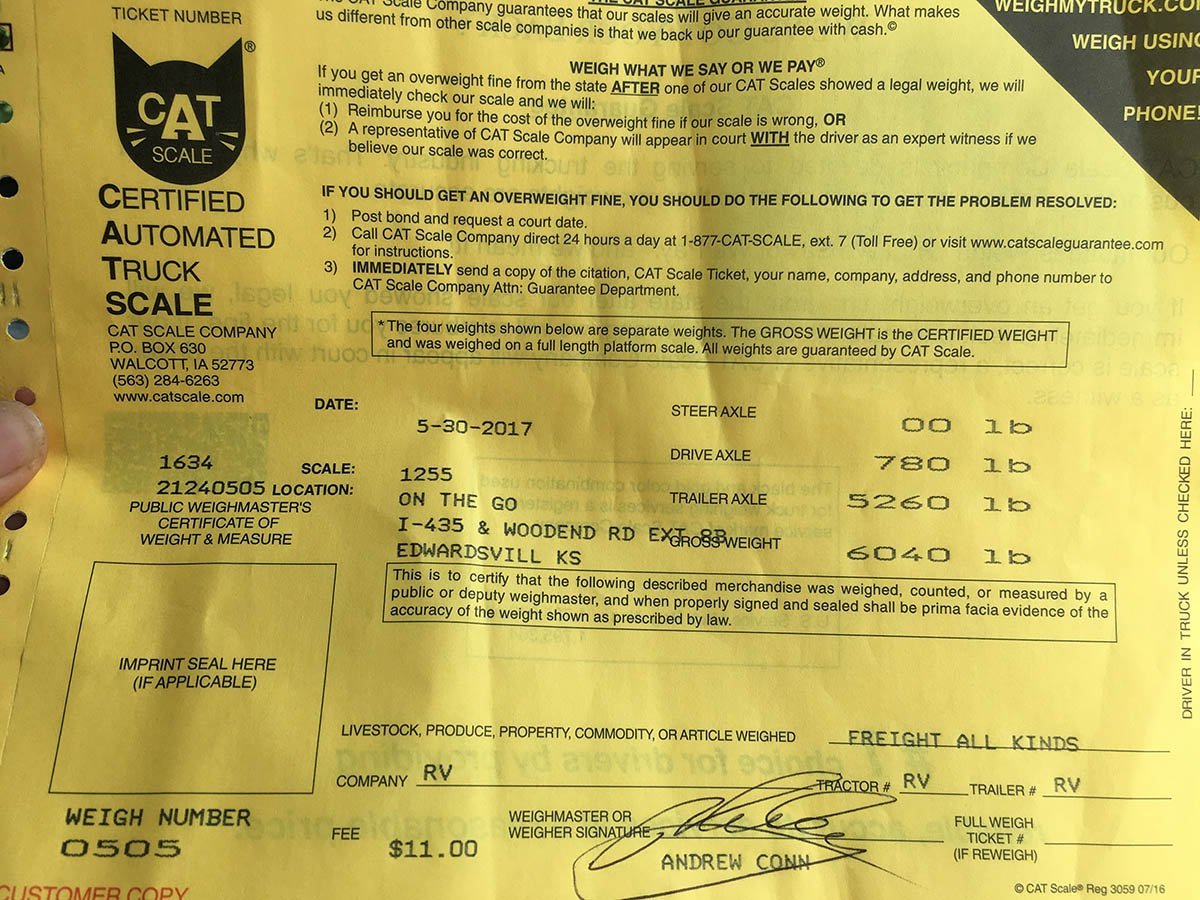
We were super nervous about how much this girl would weigh after all was said and done. We kinda made an effort to keep things light, but certainly didn't go over the top to do so. However, after weighing in, we were pleasantly surprised to see that the final weight (slightly loaded with our gear) came in at right around 6000 lbs, which is slightly less that it was originally!
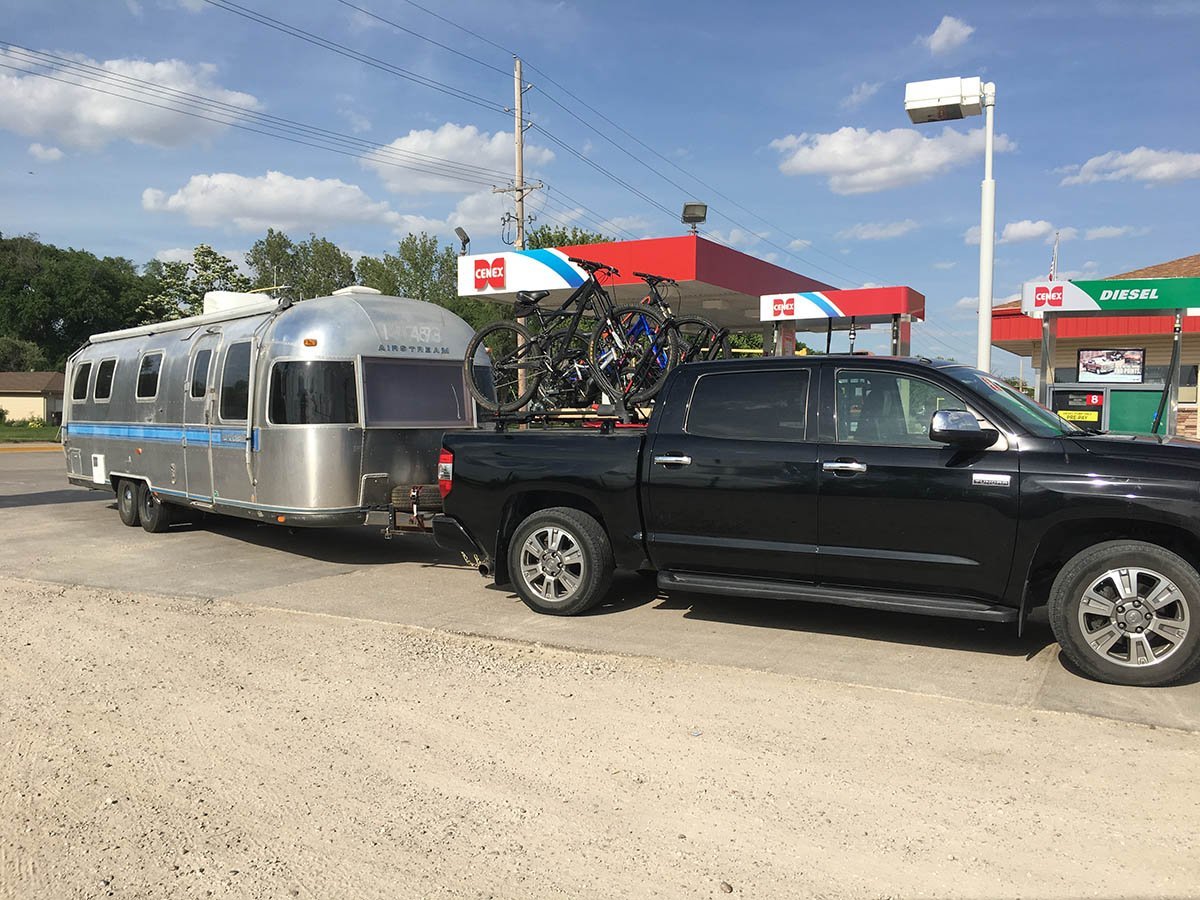
After all the hard work, we finally made it! Gassing up and hitting the road :).
Posted in the category Renovation.
Other articles to consider
 Nov1Dual Victron Multiplus 3000 3-Phase 50amp Power Issues
Trouble in Paradise
...See Details
Nov1Dual Victron Multiplus 3000 3-Phase 50amp Power Issues
Trouble in Paradise
...See Details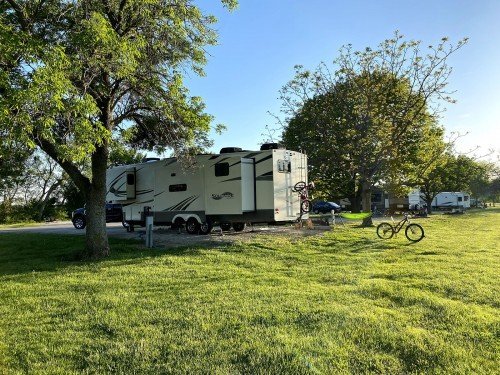 May18Clinton Lake, KS and Sioux City North, SD
We finally are ready to...See Details
May18Clinton Lake, KS and Sioux City North, SD
We finally are ready to...See Details May1(Almost) The First Half of 2020
Wow, what a crazy (almo...See Details
May1(Almost) The First Half of 2020
Wow, what a crazy (almo...See Details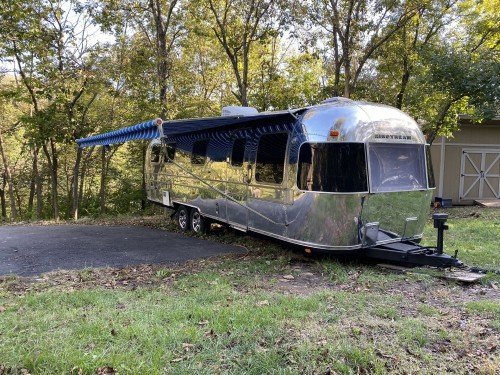 Nov20We Sold the Airstream!As our family continues to get older (an...See Details

Comments